
Sky L4-2.4L (2007)
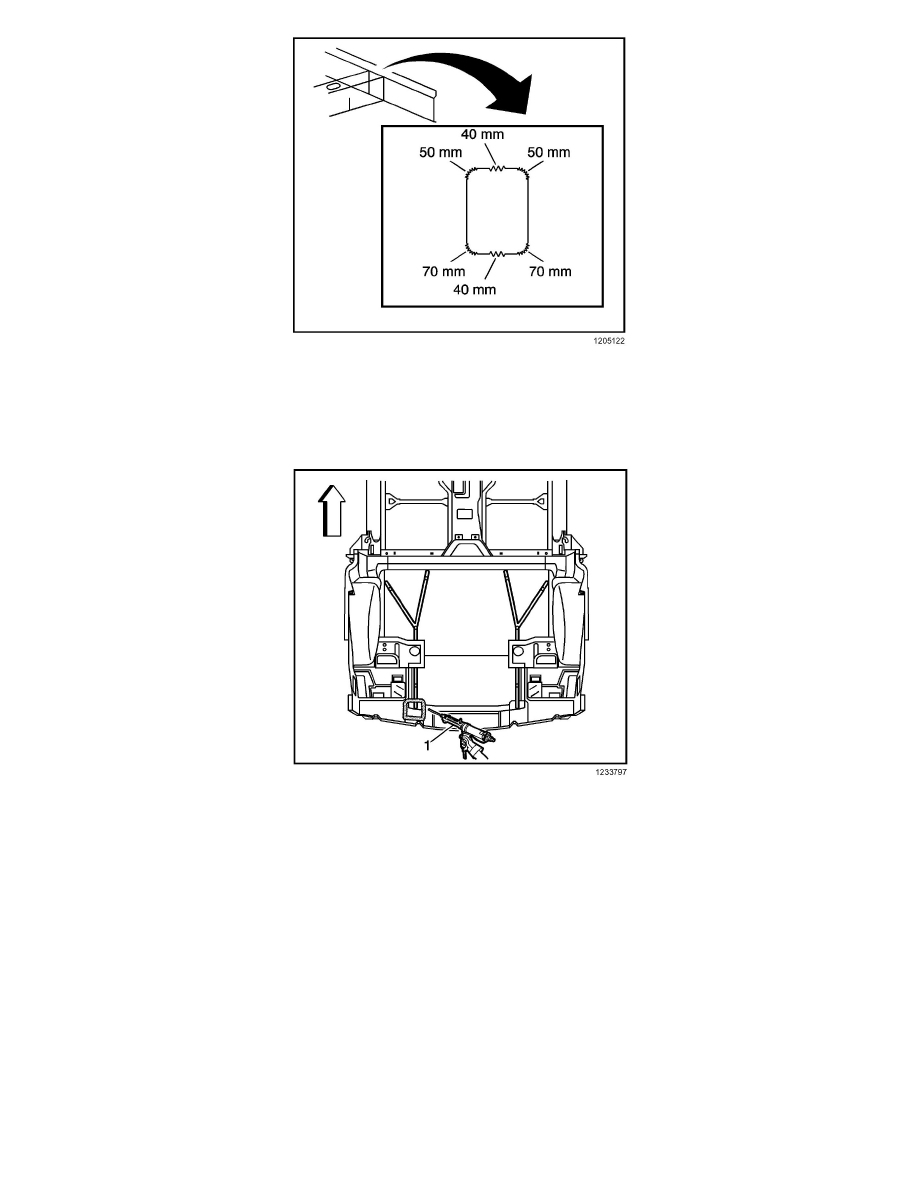
IMPORTANT: If no trace of the original welds are present, follow the pattern specified for welding the side rails to the impact bar.
5. Using a metal inset gas (MIG) welder, stitch weld the rear bar to the frame rail ends.
6. Apply the sealers and anti-corrosion materials to the repair area. Refer to Anti-Corrosion Treatment and Repair.
7. Use the original cut-out piece to patch the access hole.
8. Apply adhesive bonding material as necessary to the repair area of the floor and the patch. Refer to Sheet Molded Compound (SMC) Panel
Bonding.
9. Position the patch and press firmly into place.
IMPORTANT: A leak proof seal is necessary so that exhaust and fuel fumes cannot enter the vehicle.
10. Smooth out the adhesive around the repaired area.
11. Verify that no voids or gaps occur in the adhesive.
12. Paint the repair area.
13. Install all related panels and components.
14. Connect the negative battery cable.
15. Enable SIR system. Refer to SIR Disabling and Enabling Zones