
Sky L4-2.4L (2007)
14. Install the new right and left service part rear weatherstrips to the retainer using the new service part top guide pins. Make sure the guide pins are
in position on the bottom side of the weatherstrip. The weatherstrip has locating notches that align with the guide pins. If the pins are not installed
properly, the weatherstrip will not align.
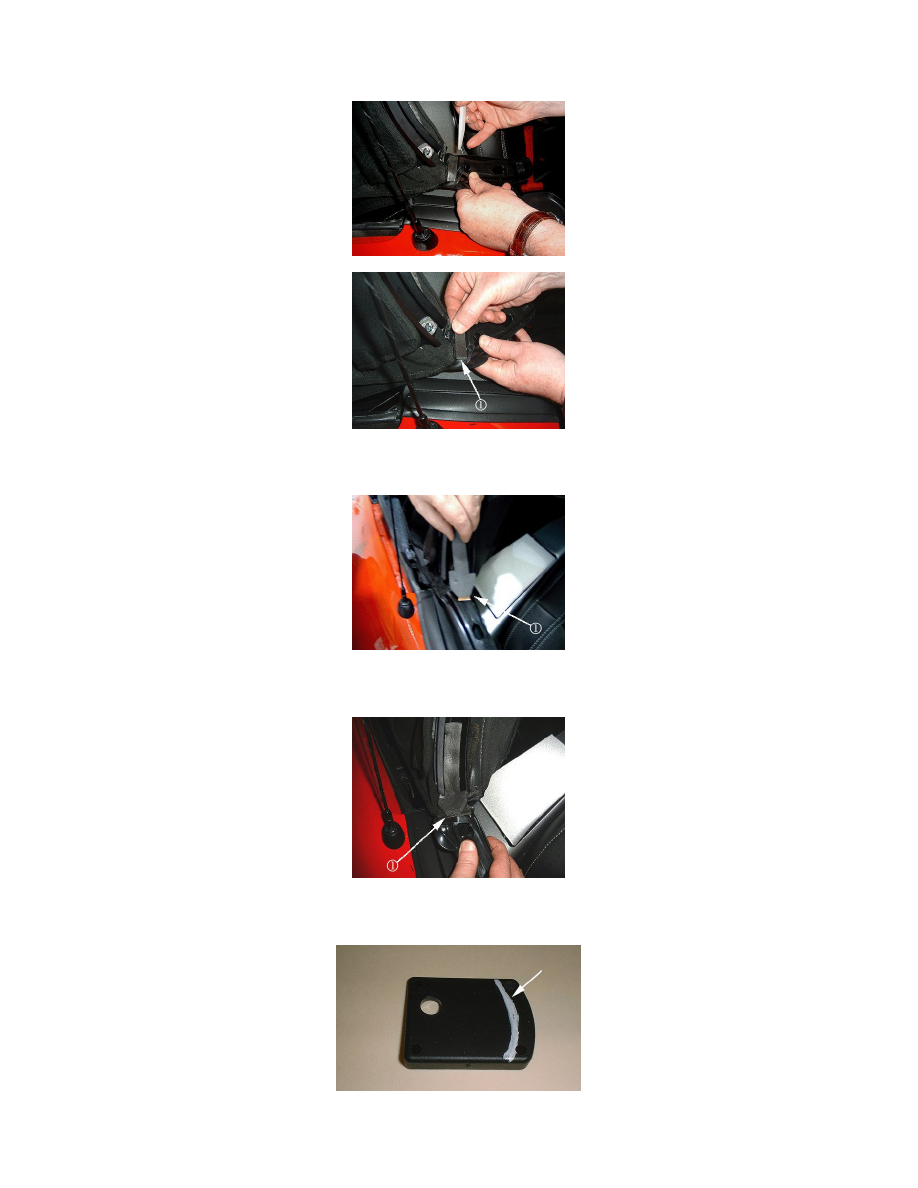
15. The new rear weatherstrips come with two adhesive seals. A small rectangular seal needs to be installed at the base of the weatherstrip (1). Fold
the weatherstrip back to expose the flat spot on the bottom of the weatherstrip. Clean the area and install the seal (1).
16. With the rear weatherstrip still folded back, install the arrow-shaped seal in the retainer with the large edge of the arrow out and the top of the
arrow tucked up to the bottom edge of the retainer (1).
17. With the arrow-shaped foam seal installed in the retainer, the head of the arrow will lay across the rear of the rectangular seal installed in Step 16.
Fold the weatherstrip up and install it in the retainer. (1).
18. The new rear side weatherstrip service part comes with a plastic cover that is screwed to the top of the weatherstrip. This part needs to be revised
(1).