Sky L4-2.4L (2007)

Convertible Top Weatherstrip: All Technical Service Bulletins
Body - Convertible Top Weatherstrip Conversion
INFORMATION
Bulletin No.: 09-08-67-007A
Date: April 28, 2009
Subject: Plan A to Plan B Convertible Top Weatherstrip Conversion
Models:
2006 Pontiac Solstice Built Prior to VIN Breakpoint 6Y118652
2007 Saturn SKY Built Prior to VIN Breakpoint 7Y103259
................................................................................................................................................................................................................................................
Supercede:
This bulletin is being revised to add the 2006 Pontiac Solstice. Please discard Corporate Bulletin Number 09-08-67-007 (Section 08 - Body and
Accessories).
................................................................................................................................................................................................................................................
Vehicles produced before the above listed breakpoints have a convertible top and sealing system known as Plan A. As the inventory of Plan A
weatherstrip service parts is depleting, some service parts are no longer available. If a discontinued weatherstrip is required for service of a Plan A
vehicle, the vehicle must be updated to the Plan B weatherstrips sealing system. Use the following steps to revise a vehicle from a Plan A system to a
Plan B system.
Important
The following instructions must be followed completely when converting the top sealing system from Plan A to Plan B. Avoiding any of the
steps will result in wind and water leaks and a binding condition when operating the top. Do not attempt to mix Plan A and Plan B
weatherstrips.
1. Replace the windshield frame weatherstrip. Refer to Windshield Frame Weatherstrip Replacement in SI. The new service part has a square tab
molded in the weatherstrip just to the inside of the top pin receiver. This tab is tucked behind the windshield upper garnish molding.
2. Replace the left and right front side door rear weatherstrips. Refer to Front Side Door Rear Weatherstrip Replacement in SI.
-
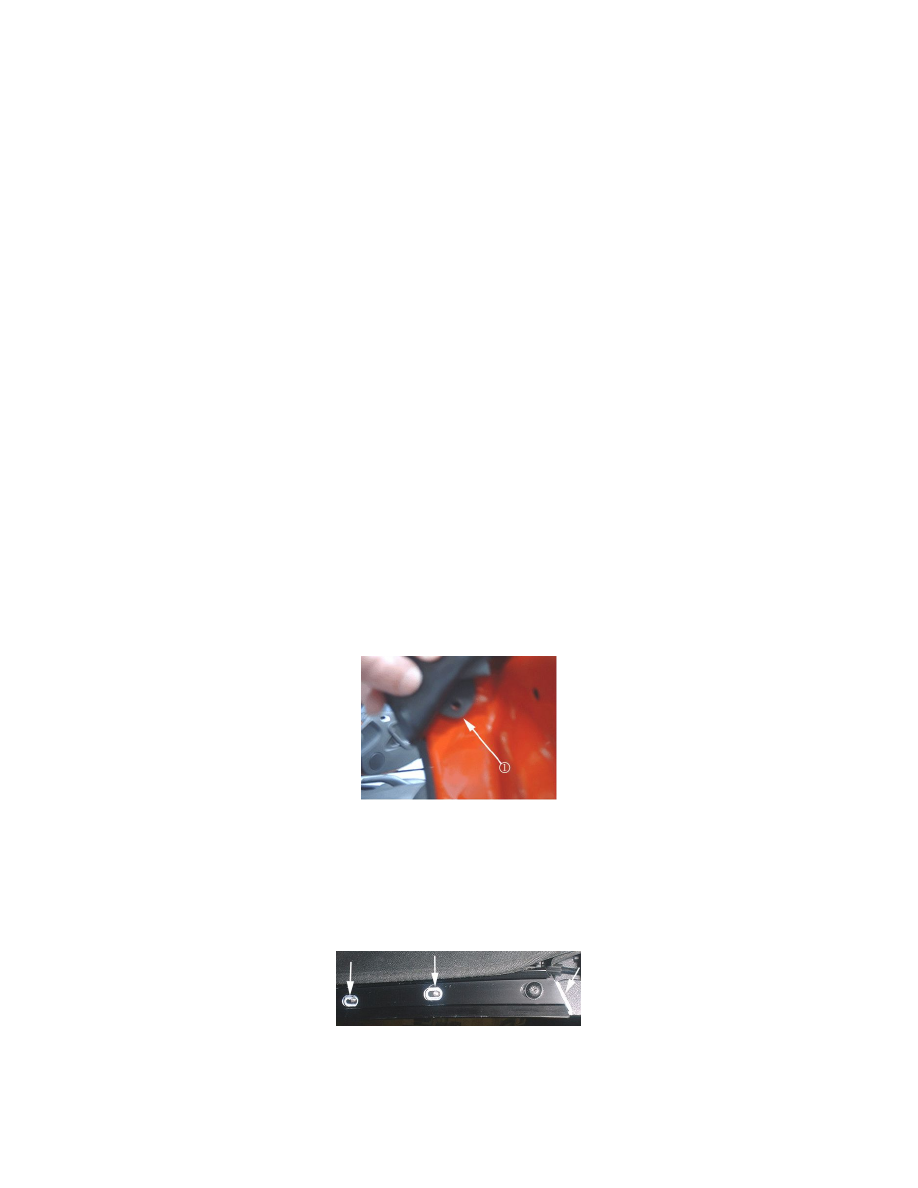
The replacement service part is fastened to the body with a rivet (supplied with the weatherstrip) in the upper door jamb area (1).
-
The hole for the rivet should already be in the sheet metal.
-
If required, locate and drill the required hole. Seal the hole with Synthetic Lubricant With Teflon (P/N 12371287 [in Canada, P/N 10953437])
in order to prevent corrosion.
3. Remove the left and right front and rear top side weatherstrips. Refer to Folding Top Side Rear Weatherstrip Replacement and Folding Top Side
Front Weatherstrip Replacement in SI.
Note
Prior to removing the weatherstrip retainers, mark the bolt heads and retainers with a white paint pen to aid in alignment during reinstallation (1).
4. Remove the left and right front and rear side weatherstrip retainers. Refer to Folding Top Side Front Weatherstrip Retainer Replacement and
Folding Top Side Rear Weatherstrip Retainer Replacement in SI. Save the front retainers for reuse.
