
SL L4-1.9L DOHC VIN 7 (1992)
2. Position piston indentation slots as shown.
3. Lift inner edge of piston boot to release any trapped air. The boot must lie flat, below the level of the piston face.
4. Install new pad clips into caliper support.
5. Install inner and outer brake pads into caliper support.
NOTICE: The brake pad with the wear sensor is the outboard brake pad.
NOTICE: Make sure that the piston indentation slots are positioned correctly to accept the brake pads.
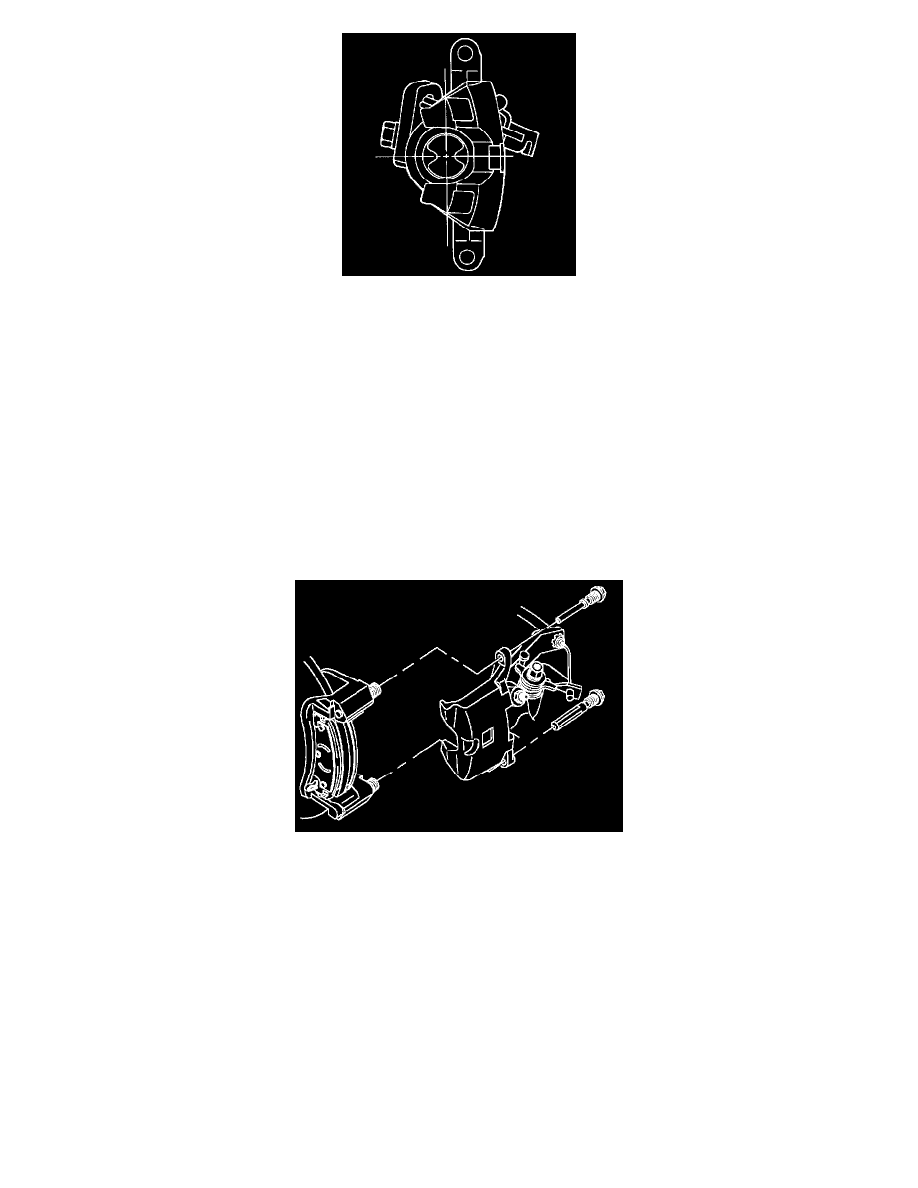
6. Install caliper body onto caliper support.
NOTICE: Be careful not to damage lock pin or guide pin boots.Compress pin boots by hand as caliper moves into position.
7. Lubricate straight sections (not threads) of lock pin and guide pin with silicone grease.
8. Install pins through caliper body into caliper support and torque to specification.
Torque: 36 Nm (27 ft.lbs).
NOTICE: Make sure lock pin boots are properly positioned before installing pins, or boot damage may occur. Re-check position of pad clips. If
necessary, use a small screw driver to re-seat or center the pad clips on the support.
NOTICE: Before installing wheels, remove rust or corrosion from wheel mounting surfaces and brake rotors/drums. Failure to do so can cause wheel
lug nuts to loosen in service.
9. Position wheel onto hub.
10. Install wheel nuts and tighten in a criss-cross pattern. Repeat tightening pattern to be sure torque is correct.
Torque: 140 Nm (103 ft.lbs).
11. Lower vehicle from hoist.
CAUTION: IF THIS OPERATION IS NOT CARRIED OUT BRAKES WILL NOT OPERATE DURING INITIAL BRAKE
APPLICATIONS.
12. Prior to operating vehicle, depress brake a few times until brake pads are seated against rotor.