
SL L4-1.9L SOHC VIN 8 (1997)
NOTICE: Take care not to damage rubber boot when installing ball joint to knuckle.
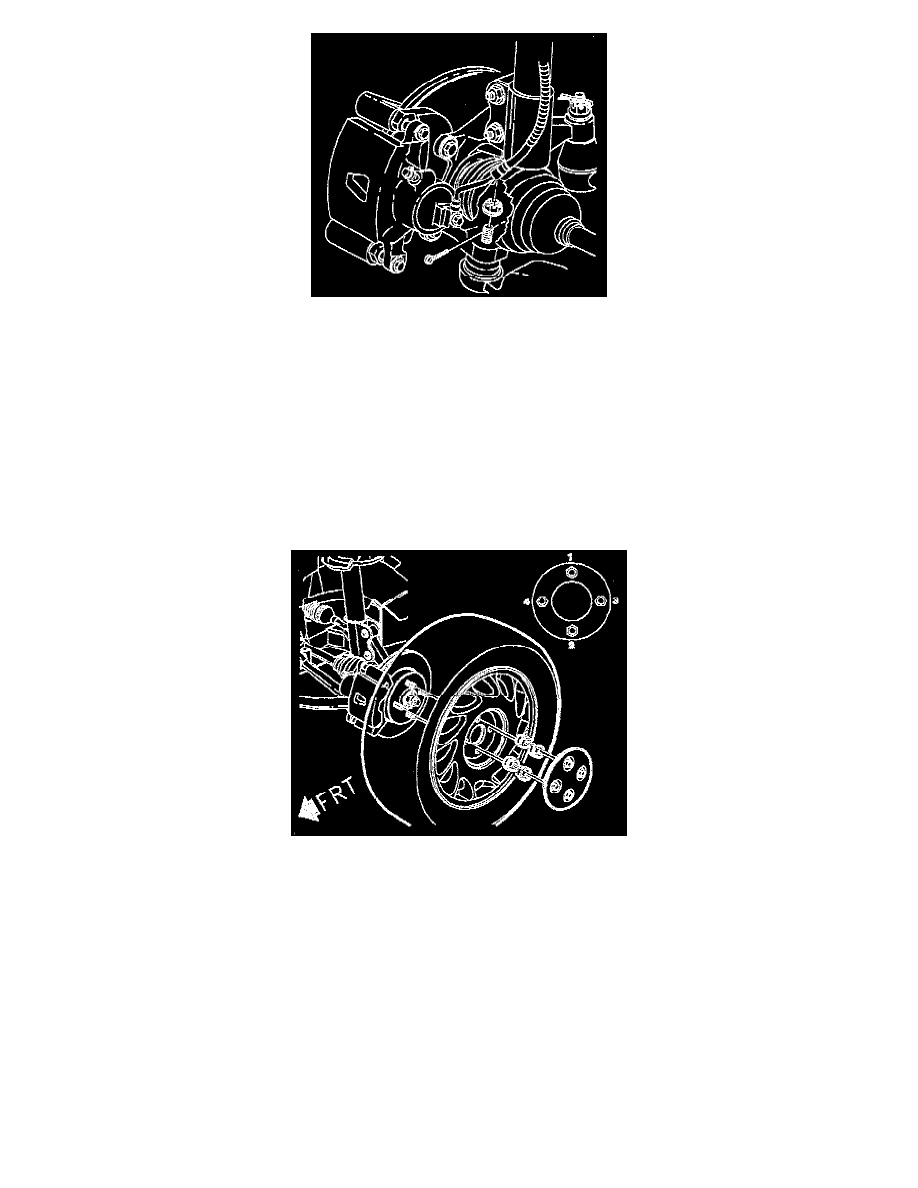
9. Clean and lubricate ball joint threads.
10. Position ball joint into steering knuckle.
11. Install nut to lower ball joint and torque.
-
Torque: 75 N.m (55 ft. lbs.).
If necessary, after torquing, tighten nut additionally to align slot in nut with cotter pin hole in ball joint, and install a new cotter pin, and bend.
12. Clean and lubricate threads on tie rod end.
13. Position tie rod end into steering knuckle.
14. Install nut to tie rod end and torque.
-
Torque: 45 N.m (33 ft. lbs.).
If necessary, after torquing, tighten nut additionally to align slot in nut with cotter pin hole in tie rod end, and install a new cotter pin, and bend.
NOTICE: Before installing wheel, remove rust or corrosion from wheel mounting surfaces and France rotors/drums. Failure to do so can cause
wheel lug nuts to loosen in service.
15. Position wheel onto hub.
16. Install wheel nuts and torque in a crisscross pattern.
-
Torque: 140 N.m (103 ft. lbs.).
Repeat torquing procedure to make sure torque is correct.