
SL L4-1.9L SOHC VIN 9 (1991)
7.
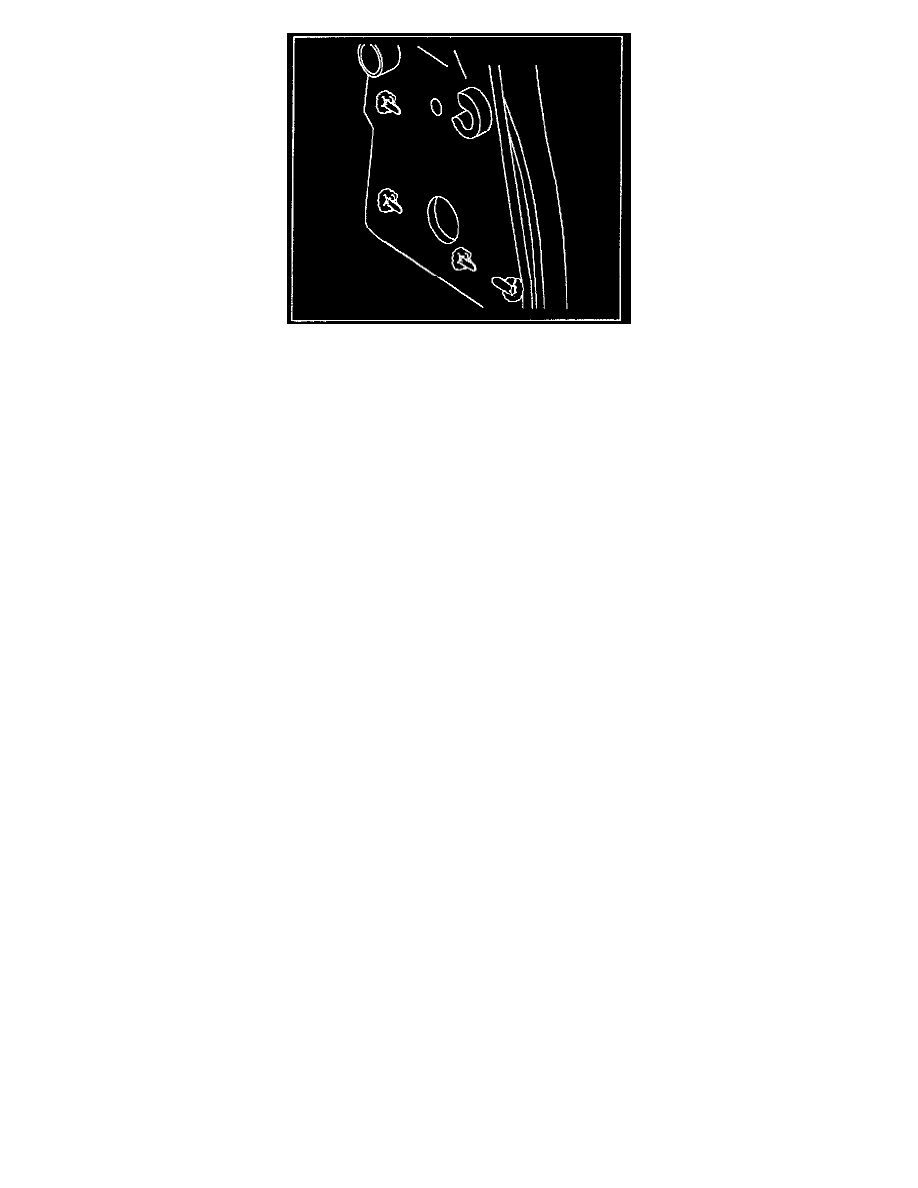
Install cleaned or new side door trim panel inserts to side door trim assemblies by inserting retaining tabs through holes in side door trim
assemblies.
IMPORTANT:
Refer to "Parts and Illustration Catalog" for correct part number of side door trim panel insert.
8.
While holding each side door trim panel insert in place, seal retaining tab locations with Kent Industries HIGH TECH LEAK CHEK CLEAR (P/N
10200) or 3M(R) ULTRA PRO Auto Body Sealant (Clear) (P/N 08302) or equivalent, starting at the center holes and working outward. After
sealing each hole, bend retaining tabs down 90 degrees to secure each side door trim panel insert.
IMPORTANT:
Make sure to completely seal the retaining tab holes.
9.
Install side door trim panel assemblies to vehicle. (Refer to "Door Trim Panel" installation procedure in "Doors" section of the appropriate
"Body/Collision Repair Service Manual.")
PARTS REQUIREMENTS:
Refer to Parts and Illustration Catalog for correct part number of side door trim panel insert.
CLAIM INFORMATION: