
SL L4-1.9L SOHC VIN 9 (1991)
40.
On models equipped with automatic transaxle, remove lockpin and disconnect two way instrument panel to body electrical connector.
41.
On all models, remove antenna hold down clips and electrical connectors.
42.
Loosen floor shifter assembly.
43.
Remove attaching nuts and bolts, then lift lower reinforcement bracket from stud, then slide bracket rearward.
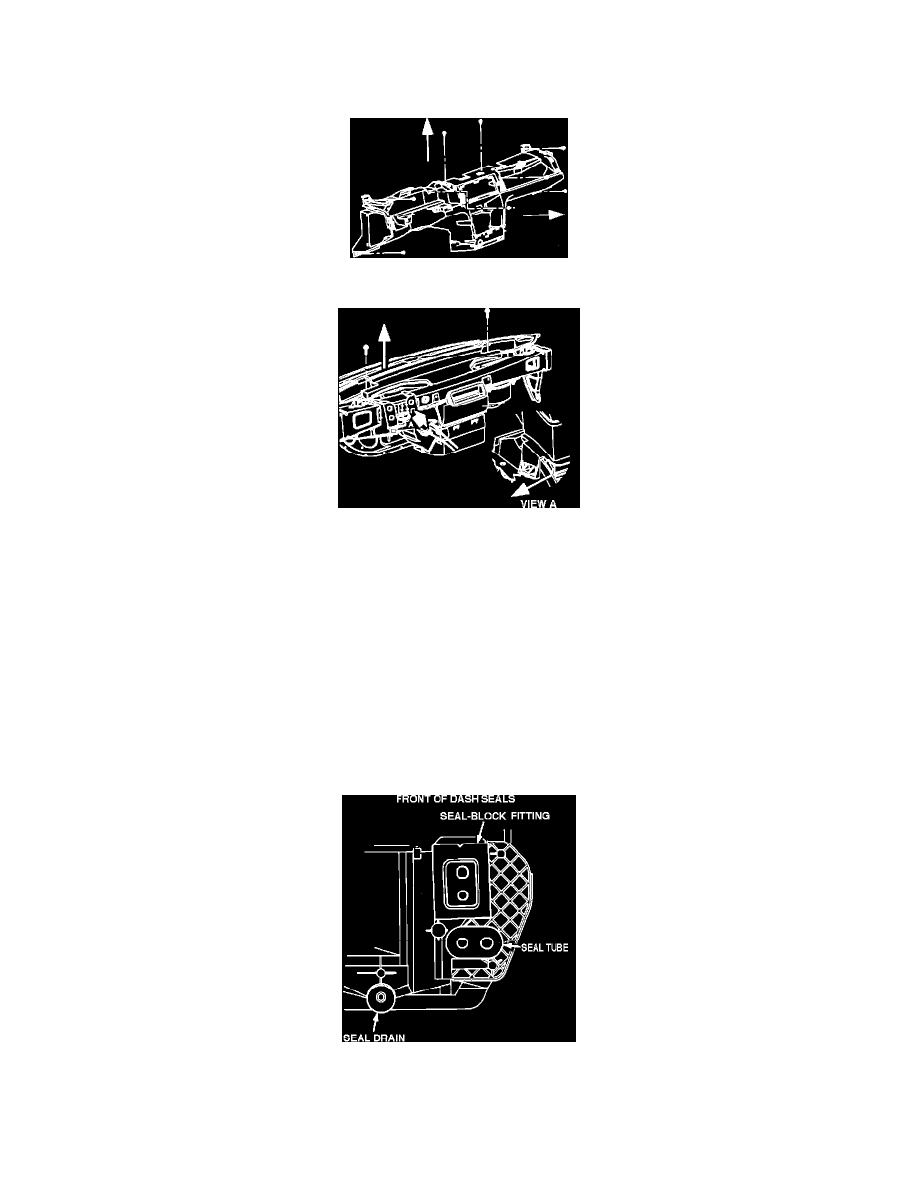
Fig. 9 Instrument Panel Removal
Fig. 10 Windshield Defroster Nozzle Removal
44.
Remove instrument panel retainer and reinforcement bracket attaching screws and nuts, Fig. 9.
45.
Remove steering column attaching screws, then lower steering column to seat, then cover steering column.
46.
Remove instrument panel assembly.
47.
Lift rear heater duct from mounting bolt, then remove. Do not remove rear foam seal.
48.
Remove center air outlet duct attaching screws, then remove.
49.
Remove windshield defroster nozzle from mode valve assembly, Fig. 10.
50.
Rotate front of defroster nozzle up and away from windshield, then remove.
51.
Remove connector position assurance (CPA) and disconnect blower motor resistor connector.
52.
Remove HVAC module hold down clips and disconnect electrical connector.
53.
Disconnect blower motor and RECIRC motor electrical connectors.
54.
Remove HVAC module attaching screws and nuts, then remove module.
Fig. 11 Front Dash Seal Removal