
SL L4-1.9L SOHC VIN 9 (1991)
Oxygen Sensor: Service and Repair
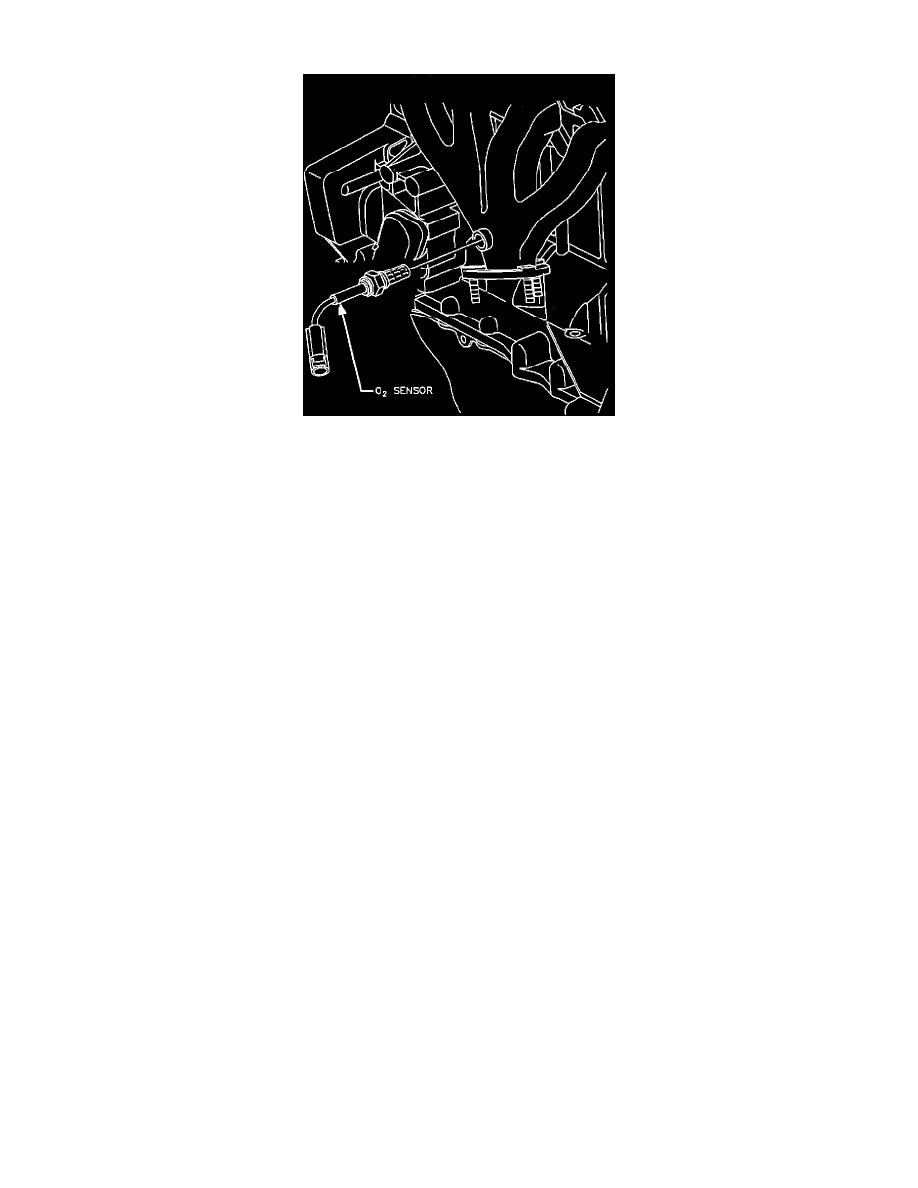
Oxygen Sensor Location.
CAUTION: On vehicles equipped with a SIR system, disable the SIR system. SEE SERVICE PRECAUTIONS/ VEHICLE DAMAGE
WARNINGS/ DISABLING-ENABLING THE SIR SYSTEM.
CAUTION: The oxygen sensor uses a permanently attached pigtail and connector. This pigtail should not be removed from the oxygen sensor. Damage
or removal of the pigtail or connector could affect proper operation of the oxygen sensor.
REMOVAL
1.
Disconnect negative battery cable.
2.
Disconnect electrical connector at the oxygen sensor.
NOTE: Use an 19 mm, 6 point crows foot to remove the oxygen sensor.
3.
Remove oxygen sensor.
CAUTION: Take care when handling the oxygen sensor, it should not be dropped or roughly handled. The attached pigtail and connector and the
louvered end must be kept free of dirt, grease or other contaminants. Avoid using cleaning solvents of any type.
INSTALLATION
1.
Apply nickel based anti seize compound SATURN P/N 21485279 (or equivalent) to the threads of the oxygen sensor.
NOTE: Use only nickel based anti seize compound that does not contain silicone.
2.
Install oxygen sensor in exhaust manifold.
^ Torque: 25 Nm (18 ft lbs)
3.
Connect the electrical connector at the oxygen sensor. Push until a click is heard.
4.
Install the connector position assurance device (CPA) in the electrical connector.
5.
Connect negative battery cable.
CAUTION: On vehicles equipped with a SIR system, enable the SIR system. SEE SERVICE PRECAUTIONS/ VEHICLE DAMAGE
WARNINGS/ DISABLING-ENABLING THE SIR SYSTEM.