
SL L4-1.9L SOHC VIN 9 (1991)
d.
With front door glass fully seated in the rear glass run channel and the top edge of front door glass parallel with the top of the window frame
, adjust the forward end of the inner panel cam (downward for Sedans and Wagons, upwards for Coupes) until a light pressure is applied to
the bottom of the front door glass.
e.
Snug, then tighten inner panel cam bolts.
Torque: 6 N-m (53 in.lbs.)
f.
Lower front door glass to 76 mm (3 in.) from the top position.
g.
With front door glass fully seated in the rear glass run channel, adjust the top of front door glass guide so that it is lightly seated against front
edge of front door glass using light rearward pressure.
h.
Snug top guide bolt.
i.
Lower front door glass to 51 mm (2 in) from the full-down position.
j.
Fully seat front door glass in the rear glass run channel. Adjust the bottom of front door glass guide so that it is lightly seated against front
edge of front door glass using light rearward pressure.
k.
Snug bolt.
l.
On Sedans and Wagons, snug middle guide bolt.
m.
Tighten front door glass guide bolts.
Torque: 6 N-m (53 in.lbs.)
n.
Cycle front door glass to verify proper alignment.
CAUTION:
TO PREVENT EYE AND SKIN DAMAGE, SAFETY GLASSES AND RUBBER GLOVES SHOULD BE WORN WHEN USING
PRESSURIZED SOLVENTS AND COMPRESSED AIR.
2.
Line bottom of front door cavity with cotton shop rags.
3.
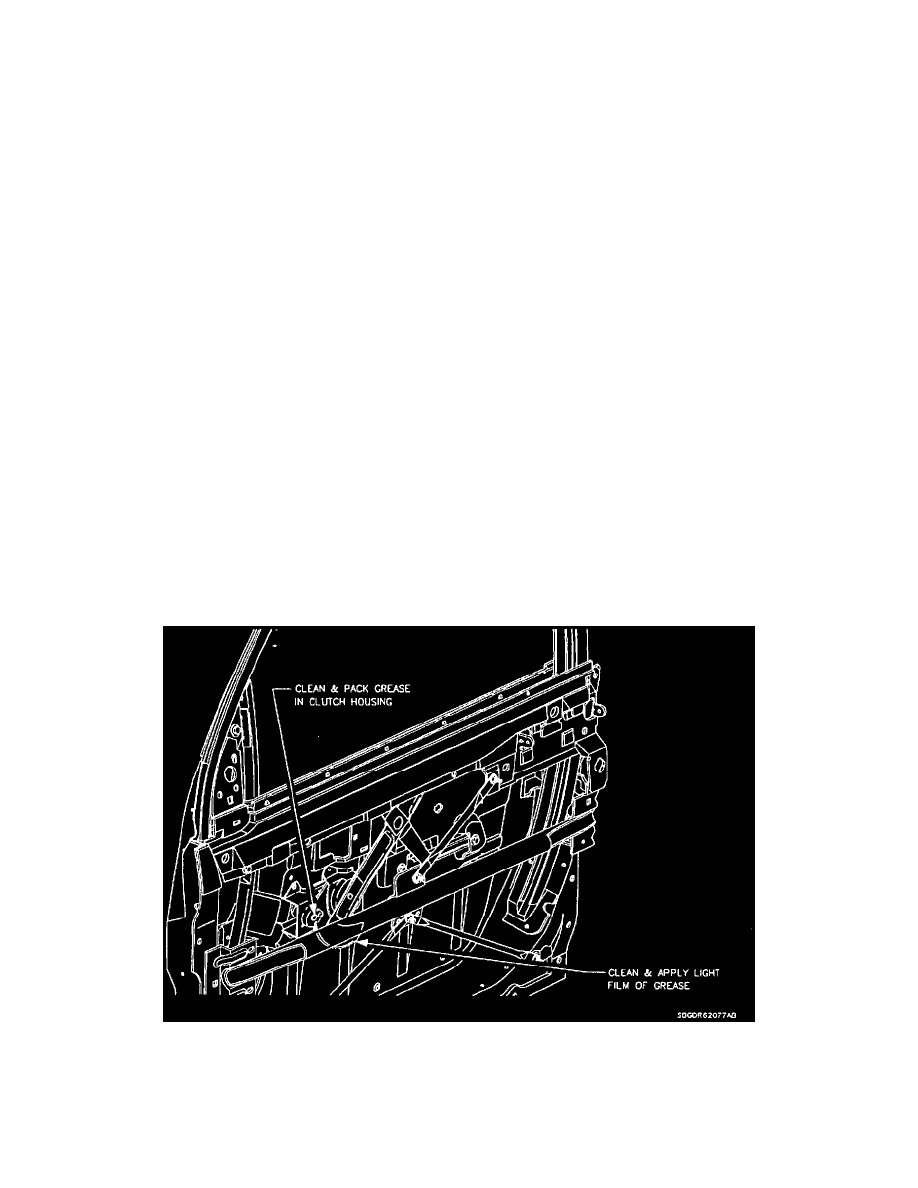
Clean dark graphite grease from regulator sector gear and clutch housing using brake cleaner with a straw nozzle and cotton shop rags.
IMPORTANT:
Rear edge of front door glass should always stay in rear glass run channel as window is rolled up and down.