
SW L4-1.9L DOHC VIN 7 (1993)
^ If there is no indication of chafing of any wires in the park neutral position switch assembly wiring harness, install a 64 mm (2.5 in.) length of
flexible conduit (P/N 21023494) over wiring harness to prevent possible chafing of the wiring harness wires. Place flexible conduit so that there is
an approximate 6.35 mm (1/4 in.) gap between the end of the flexible conduit and the park neutral position switch assembly wiring connector.
^ Tape flexible conduit with electrical tape at both ends to secure flexible conduit in place. Connect park neutral position switch assembly electrical
connector.
^ Once flexible conduit is installed, refer to the appropriate diagnostic trouble code in the 'Automatic Transaxle Service Manual" to diagnose the
diagnostic trouble codes.
3. If any wire is chafed or open, cut at the point of chafing or at point of break in wire.
4. Remove 9.5 mm (3/8 in.) of insulation from both ends of the cut wire(s).
5. Visually inspect wire strands for corrosion. If corrosion is present, cut wire back further and re-strip as necessary until clean, non-corroded wire
strands are obtained. Care must be used to prevent cutting of wire strands.
NOTICE:
If wire length is not long enough to prevent straining the wiring harness, install a 0.5 sq. mm (20 gage) length of wire with additional salmon colored
crimp and seal sleeve to lengthen wire, as necessary.
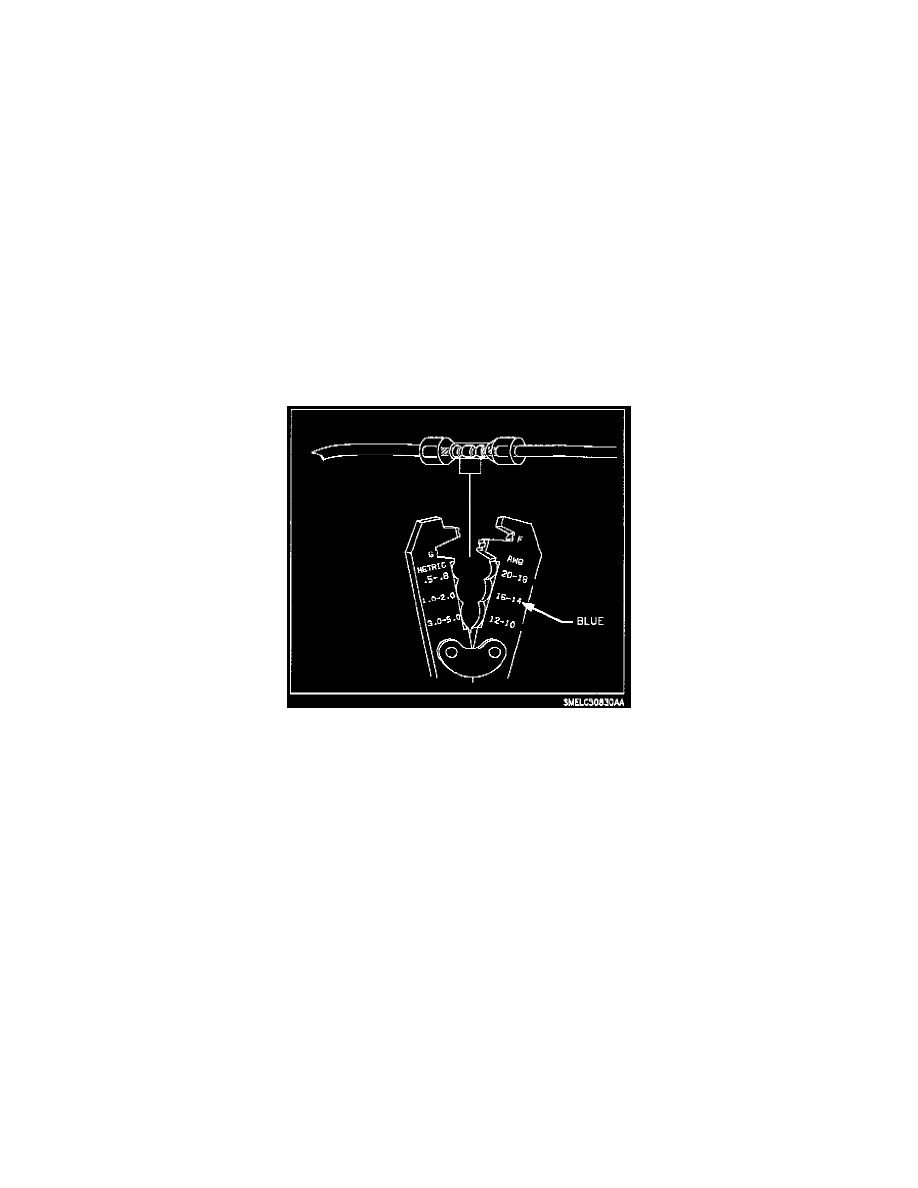
6. Position stripped ends of wire from wiring harness into salmon colored crimp and seal sleeve (P/N 12029189).
IMPORTANT:
If repairing more than one wire, make sure crimp and seal sleeves are staggered in the wiring harness.
7. Hand crimp using the approved crimping tool. Gently tug on wires to make sure they are secure before applying heat.