
SW L4-1.9L DOHC VIN 7 (1993)
Brake Pad: Service and Repair
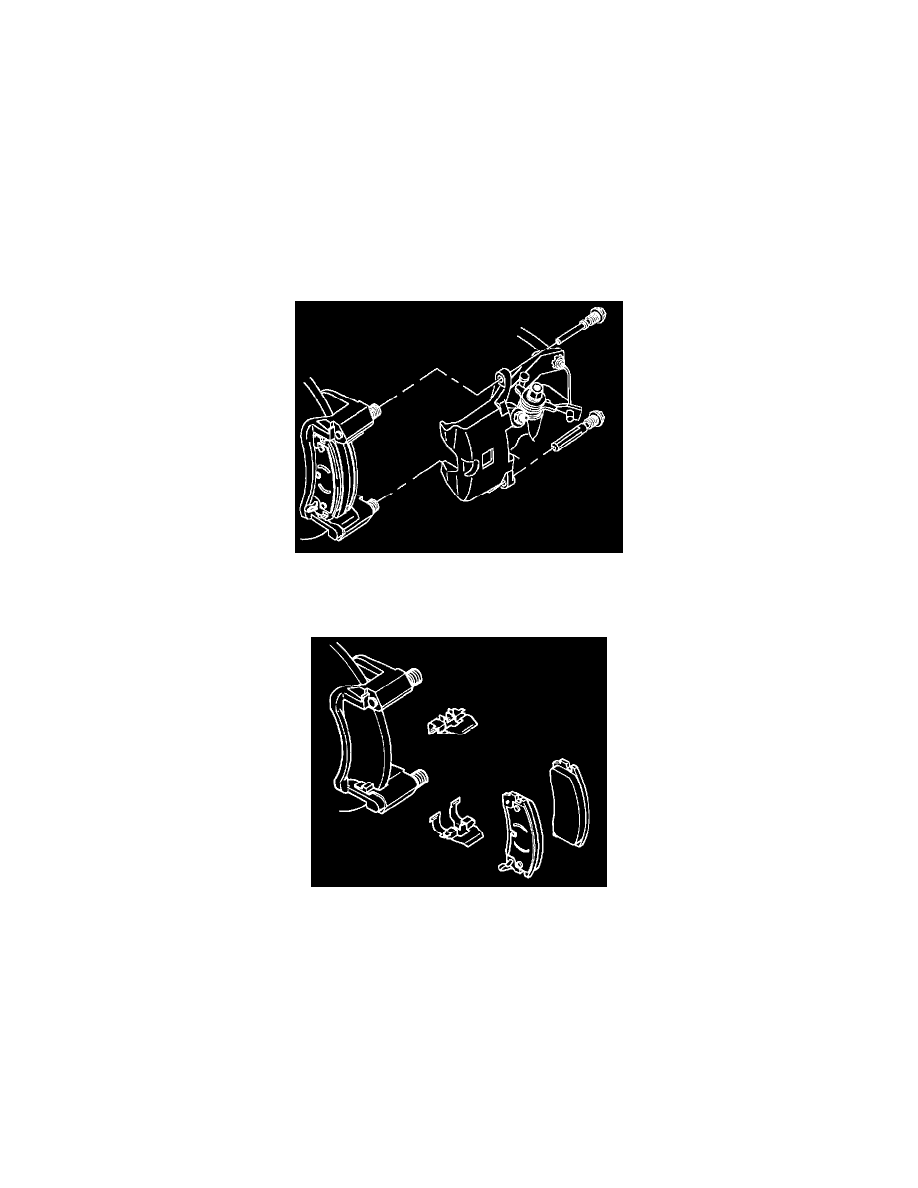
Rear
Rear Brake Disassembly and Assembly
REMOVAL
CAUTION: MAKE SURE VEHICLE IS PROPERLY SUPPORTED AND SQUARELY POSITIONED ON HOIST OR STANDS. TO HELP
AVOID PERSONAL INJURY PROVIDE ADDITIONAL SUPPORT TO THE OPPOSITE END OF THE VEHICLE THAT COMPONENTS
WILL BE REMOVED FROM.
1. Raise vehicle.
2. Remove wheel corresponding to caliper being removed.
3. Remove lock pin and guide pin.
4. Remove caliper from caliper support, being careful not to damage pin boots.
5. Suspend caliper with safety wire.
6. Remove inboard and outboard brake pads from caliper support.
7. Remove two pad clips from caliper support.
8. Inspect:
a. Lock pin and guide pin boots for deterioration. If damaged, replace.
b. Piston boot for deterioration. If damaged, overhaul the caliper.
c. Lock pin for damage or corrosion. Replace if damaged or corroded (do not attempt to remove corrosion).
INSTALLATION
IMPORTANT: Never replace brake pads on one side of axle only. Left and right side brake pads must be replaced as axle sets.
1. Bottom piston in caliper bore using a brake piston driver type tool (SA 9111ONE or equivalent) in the piston slots. Rotate the piston clockwise,
thereby threading the piston into its bore.