
SW L4-1.9L DOHC VIN 7 (1993)
pad kit. The lubricant should be applied to the caliper brackets behind the spring clips only. Make sure the brake pads move freely in the
caliper brackets when the brakes are assembled.
15.
Install new brake pad spring clips to brackets.
16.
Install new disc brake pads if they are extensively worn or severely corroded.
17.
Position caliper(s) to bracket(s) and install guide and lock pins.
18.
Manually check caliper movement; make sure calipers are not restricted. Calipers should move freely on the caliper pins.
19.
Install road wheels. Make sure to torque wheel nuts, in a crisscross tightening sequence, with a hand - held torque wrench.
Tighten
Tighten wheel nuts to 140 N.m (103 ft-lbs).
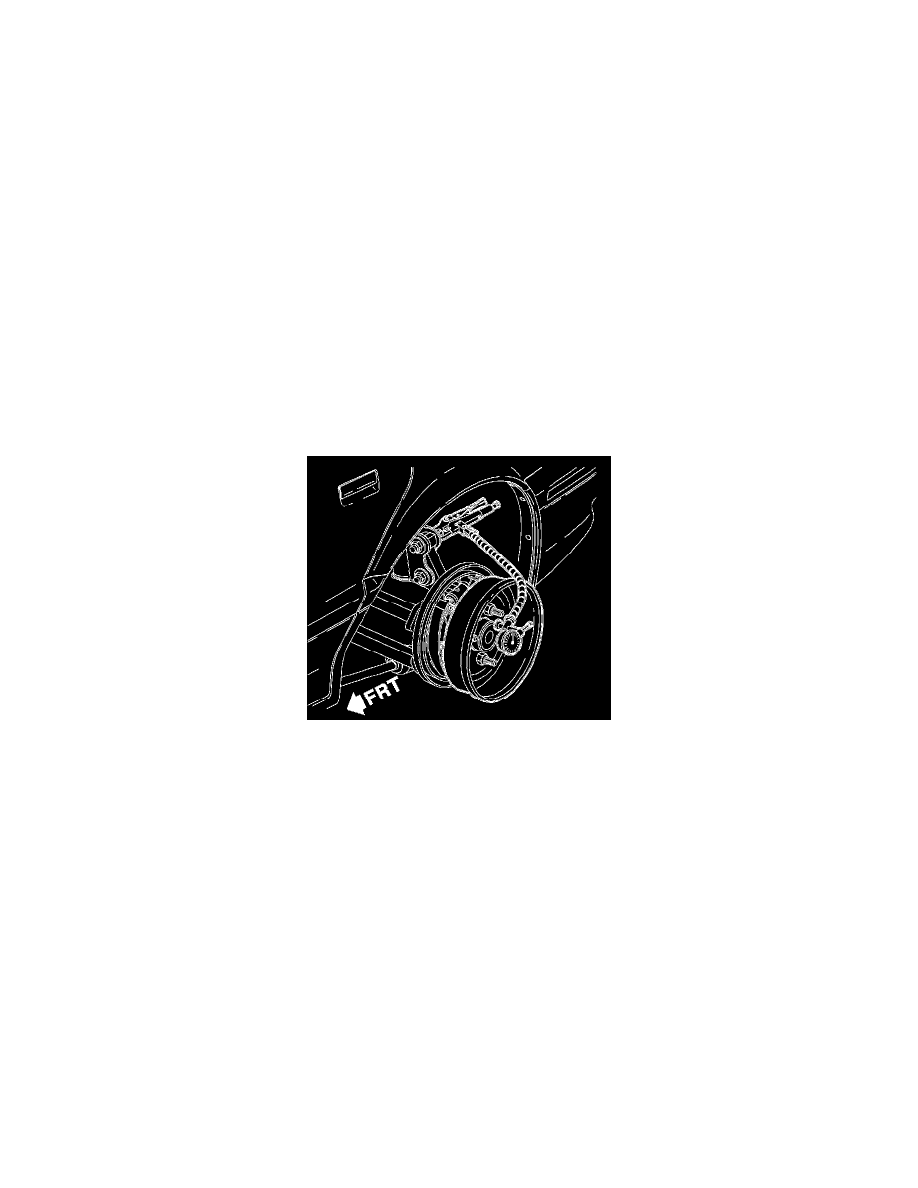
REAR BRAKE DRUM AND HUB
Brake Drum and Hub Radial Runout Check - On-Car
1.
Remove road wheel.
2.
Remove brake drum and install on hub backward; secure brake drum with two wheel nuts also installed backwards (flat side toward brake drum).
3.
Fasten a dial indicator to the knuckle or strut-to-knuckle fastener.
4.
Position dial indicator tip against brake drum shoe surface.
5.
Rotate the brake drum to the lowest reading.
6.
Zero the dial indicator.
7.
Rotate the brake drum one complete revolution and observe total indicated runout (TIR). Maximum TIR (combined brake drum and hub): 0.28
mm (0.011 in.)
^
If the combined brake drum and hub radial runout does not exceed 0.28 mm (0.011 in.), proceed to step 8.
^
If the combined drum and hub radial runout exceeds 0.28 mm (0.011 in.), proceed to step 14.
8.
Move dial indicator neck to allow removal of the brake drum. It is not necessary to remove dial indicator from the knuckle or strut-to-knuckle
fastener.
9.
Remove brake drum from hub and turn 180° and again, install on hub backward. Secure brake drum with two wheel nuts also installed backwards
(flat side toward brake drum).
10.
Position dial indicator tip against brake drum shoe surface.
11.
Rotate the brake drum to the lowest reading.