
SW L4-1.9L DOHC VIN 7 (1993)
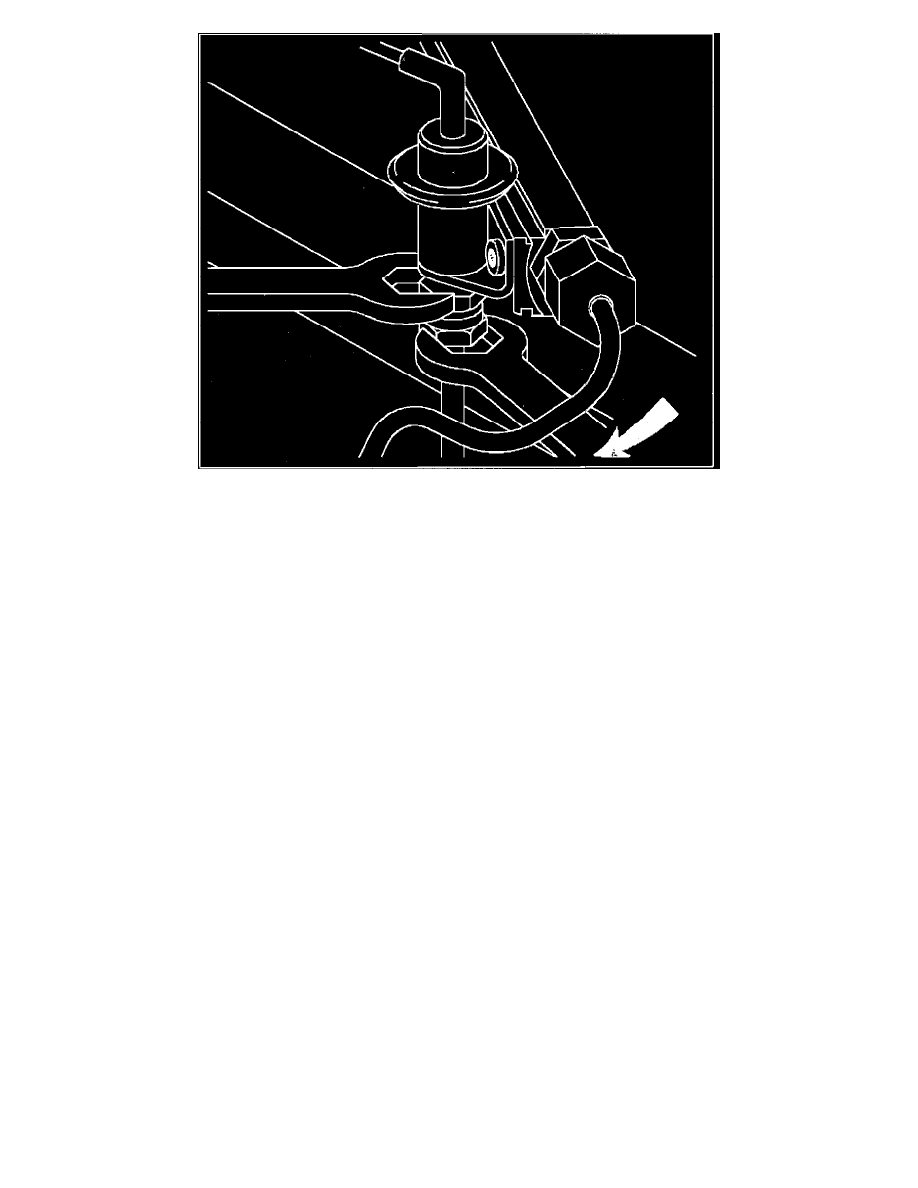
Removal Of Fuel Rail Connection.
FUEL RAIL ASSEMBLY REMOVAL
1.
Disconnect negative battery terminal.
2.
Remove air intake tube with resonator and fresh air tube.
3.
Connect fuel gage bar kit SA9127E (or equivalent) to fuel pressure test port.
4.
Install bleed hose into an approved container and open valve to bleed system pressure. Once pressure is bled, remove gauge from fuel pressure test
port and recap it.
5.
Remove the fuel line bracket bolt.
CAUTION: A backup wrench (24 mm or 15/16 in.) must be used to prevent damaging the pressure regulator inlet port and bracket.
6.
Disconnect fuel supply and return lines at rail.
NOTE: It may be necessary to remove the fuel rail attachment bolts and rotate the fuel rail slightly for wrench access.
7.
Disconnect vacuum line at pressure regulator.
8.
Remove throttle control cable bracket bolts, disconnect cable from throttle lever and lay over intake manifold.
9.
Disconnect injector electrical connectors.
10.
Remove fuel rail assembly attachment bolts.
11.
Remove fuel rail assembly:
a. Carefully pull rail back and upward to remove injectors from the intake manifold ports.
b. Rotate rail so injectors point downward.
c. Lift rail, opposite end of fuel connections to remove rail from between cam cover and intake manifold. Enough space exists between the
throttle body assembly and pressure regulator for removal.
NOTE: Some DOHC (LLO) engines built prior to January 1, 1991 used the first design clip. Whenever the fuel rail is removed all four clips
(P/N 21007022) must be replaced to prevent a possible injector ticking noise