
SW2 L4-1.9L DOHC VIN 7 (1997)
Cross-Member: Service and Repair
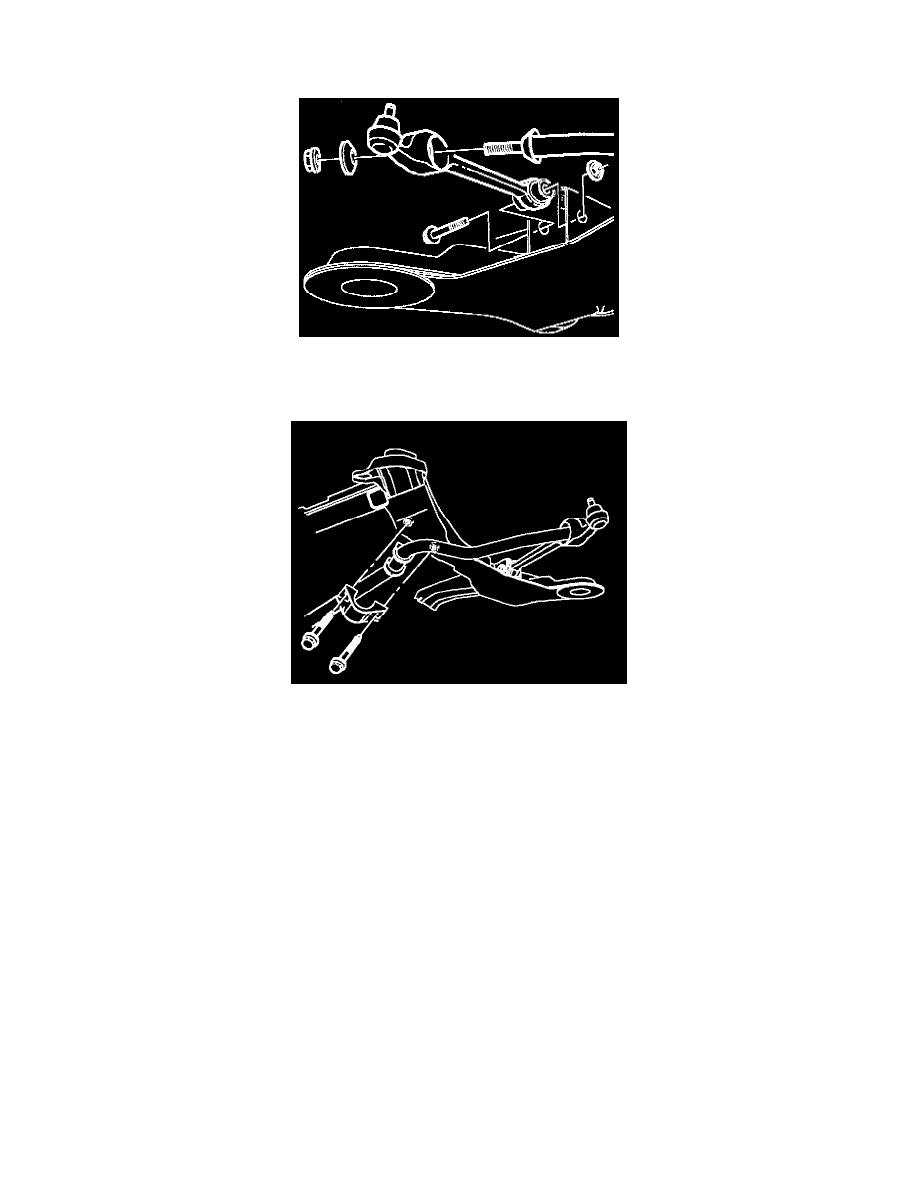
Disassembly
1. Remove the lower control arm-to-cradle fasteners.
2. Remove tension strut nuts at lower control arms.
3. Remove lower control arms from cradle.
4. Remove tension strut-to-cradle mounting bracket fasteners.
5. Remove tension strut from cradle.
If the tension strut-to-cradle STRUX(R) nut becomes damaged due to corrosion, cross-threading, etc., or is broken loose from the cradle, it can be
replaced using the following procedure:
If the nut is broken loose from the cradle and the bolt is locked in the nut, proceed to step c.
If the nut is not broken loose from the cradle but is damaged and the bolt is removed:
a. Distort the threads of the bolt sufficiently to cause the bolt to lock into the nut.
b. Install bolt and using an air impact wrench continue turning bolt until nut is broken loose from the cradle.
c. Cut off the bolt head.
d. Retrieve the bolt shank and nut from the cradle cavity.
e. Install new bolt (P/N 21010823) and repair nut (P/N 421006321).
-
Torque: 140 Nm (103 ft. lbs.)
6. Remove cooling module support grommets from cradle.