
SW2 L4-1.9L DOHC VIN 7 (1997)
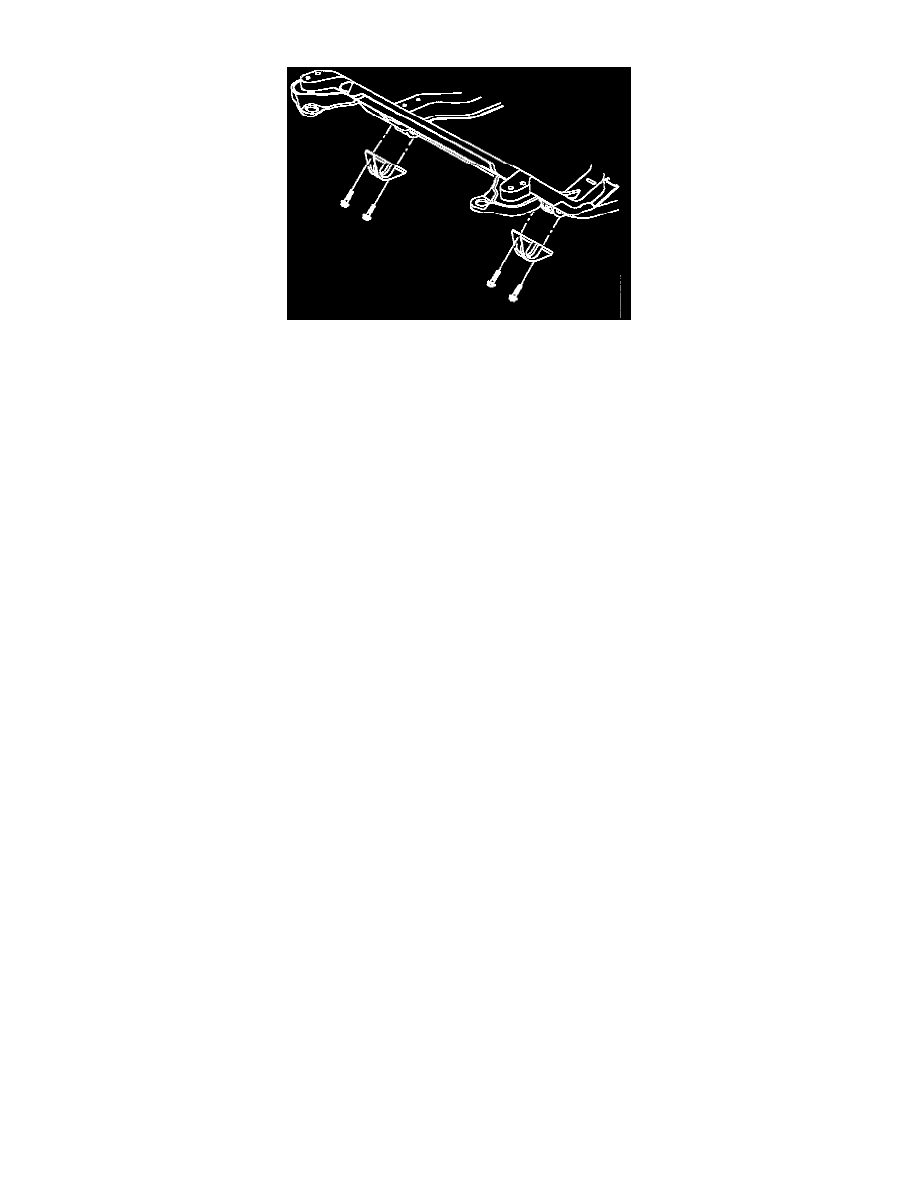
mark end is installed into the right control arm. If paint mark is not visible, make sure tension strut turns upward between attachment brackets.
4. Attach tension strut attachment brackets to the cradle with new fasteners.
-
Torque: 140 Nm (103 ft. lbs.)
5. Tighten tension strut-to-cradle fasteners a second time.
-
Torque: 140 Nm (103 ft. lbs.)
If the tension strut-to-cradle STRUX(R) nut becomes damaged due to corrosion, cross-threading, etc., or is broken loose from the cradle, it can be
replaced using the following procedure:
If the nut is broken loose from the cradle and the bolt is locked in the nut, proceed to step c.
If the nut is not broken loose from the cradle but is damaged and the bolt is removed:
a. Distort the threads of the service bolt sufficiently to cause the bolt to lock into the nut.
b. Install bolt and using an air impact wrench continue turning bolt until nut is broken loose from the cradle.
c. Cut off the bolt head.
d. Retrieve the bolt shank and nut from the cradle cavity.
e. Install new bolt (P/N 21010823) and repair nut (P/N 21006321).
6. Install control arm-to-cradle fasteners and torque to specification.
Bolt:
-
Torque: 125 Nm (92 ft. lbs.)
Nut:
-
Torque: 100 Nm (74 ft. lbs.)
7. Install control arm-to-tension strut fasteners and torque to specification.
-
Torque: 144 Nm (186 ft. lbs.)