SW2 L4-1.9L DOHC VIN 7 (1997)

c.
Repair paint on fascia as necessary.
3.
Check front nose of fender for paint drip.
^
if paint drip is present at front nose of fender, remove paint drip using a fine file or emery board. After removing paint drip, proceed to next
step.
If paint drip is not present at front nose of fender, proceed to next step.
IMPORTANT:
Installation of the spacer blocks on the Sedan/Wagon is different than described in bulletin 97-T-35 for the coupe. Urethane spacer blocks are color
coded. Right side urethane spacer block is "brown" (P/N 21110251), left side urethane spacer block is "black" (P/N 21110250). This is opposite of
how it has been described for the coupe. The stepped side of the urethane block is the side that contacts the fascia.
4.
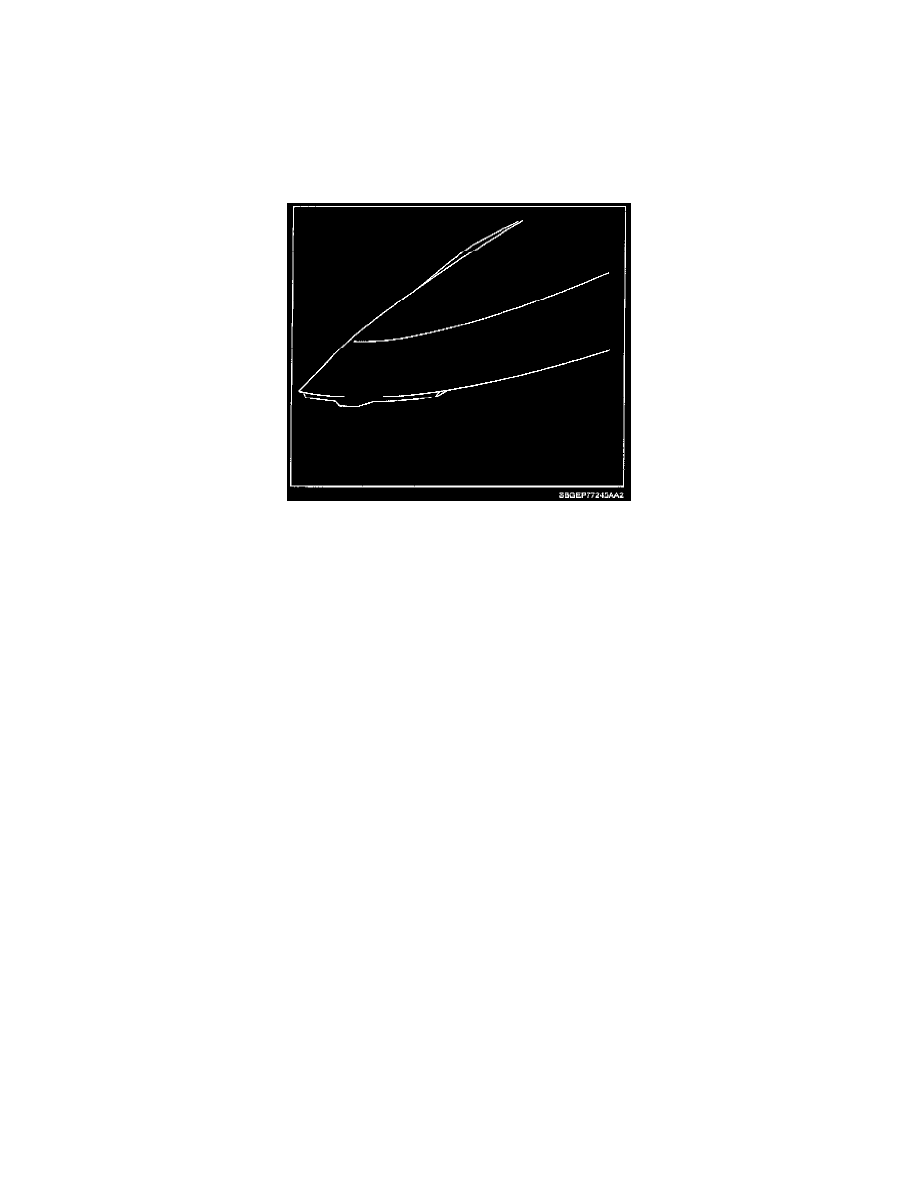
Install urethane spacer blocks to the underside of the front nose of fender.
a.
Urethane spacers must be glued in place.
b.
Position urethane spacer block in the front nose of the fender and mark the position where the forward step/portion of the block is 1.5 mm
(1/16 in.) below the lower outboard edge of the fender.
c.
Remove the urethane spacer block and apply Loctite(R) Quick Tite Super Glue Gel (P/N 21602, 2 gram tube), or equivalent instant adhesive
designed for porous surfaces.
d.
Install the urethane spacer block into front nose of fender, aligning the mark made in step 4b with edge of fender.
5.
If necessary, trim urethane spacer block using a fine file to adjust fender to fascia gap.
6.
Install front fascia. (Refer to "Front Fascia" installation procedure in the "Front End" section of the "Body/Repair Service Manual.")
PARTS REQUIREMENTS
21110250 Block - Urethane Spacer (black-left side)
21110251 Block - Urethane Spacer (brown-right side)
CLAIM INFORMATION:
