SW2 L4-1.9L DOHC VIN 7 (1997)

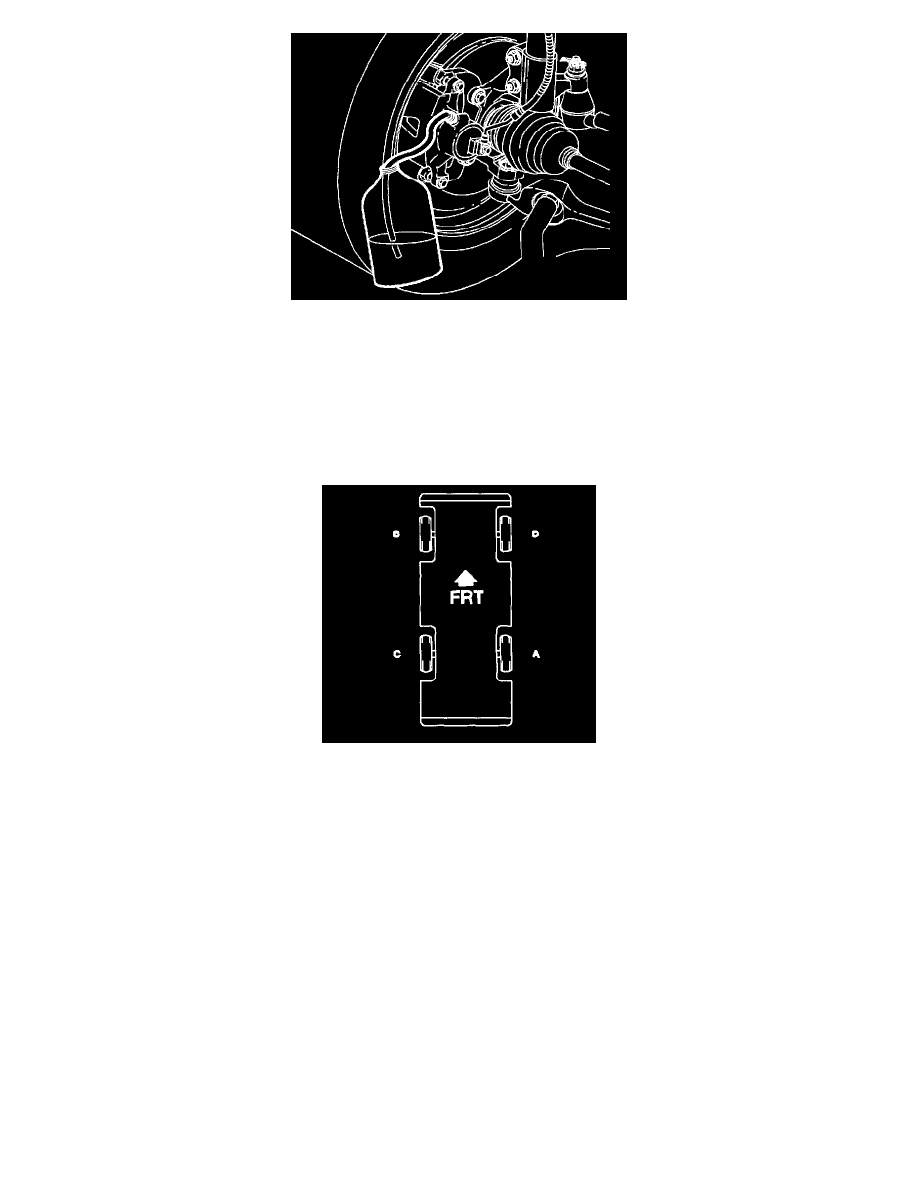
a. Place wrench over bleeder valve.
b. Attach transparent hose over bleeder valve nipple. Submerge other end of hose in a transparent container of brake fluid.
c. Loosen bleeder screw.
d. Apply brake pedal slowly and hold.
e. Tighten bleeder valve.
^
Torque to 11 Nm (97 inch lbs.) front
^
Torque to 7.5 Nm (66 inch lbs.) rear
f.
Release brake pedal.
g. Repeat sequence until all air is removed from brake lines.
4. If more than one brake line is being bled, bleed in the following sequence:
a. Right rear
b. Left front
c. Left rear
d. Right front
5. Check brake pedal feel for sponginess. If brake pedal exhibits this feel, repeat bleeding procedure until condition disappears.
6. When bleeding procedure is completed on each wheel, check the reservoir fluid level. Fill as necessary.
Flushing
It is recommended that the entire hydraulic system be thoroughly flushed with clean brake fluid whenever new parts are installed in the hydraulic system.
Approximately 0.95 liters (one quart) of fluid is required to flush the hydraulic system.
The system must be flushed if there is any doubt as to the grade of fluid in the system or if fluid has been used which contains the slightest trace of
mineral oil. All rubber parts that have been subjected to a contaminated fluid must be replaced.
