SW2 L4-1.9L DOHC VIN 7 (1997)

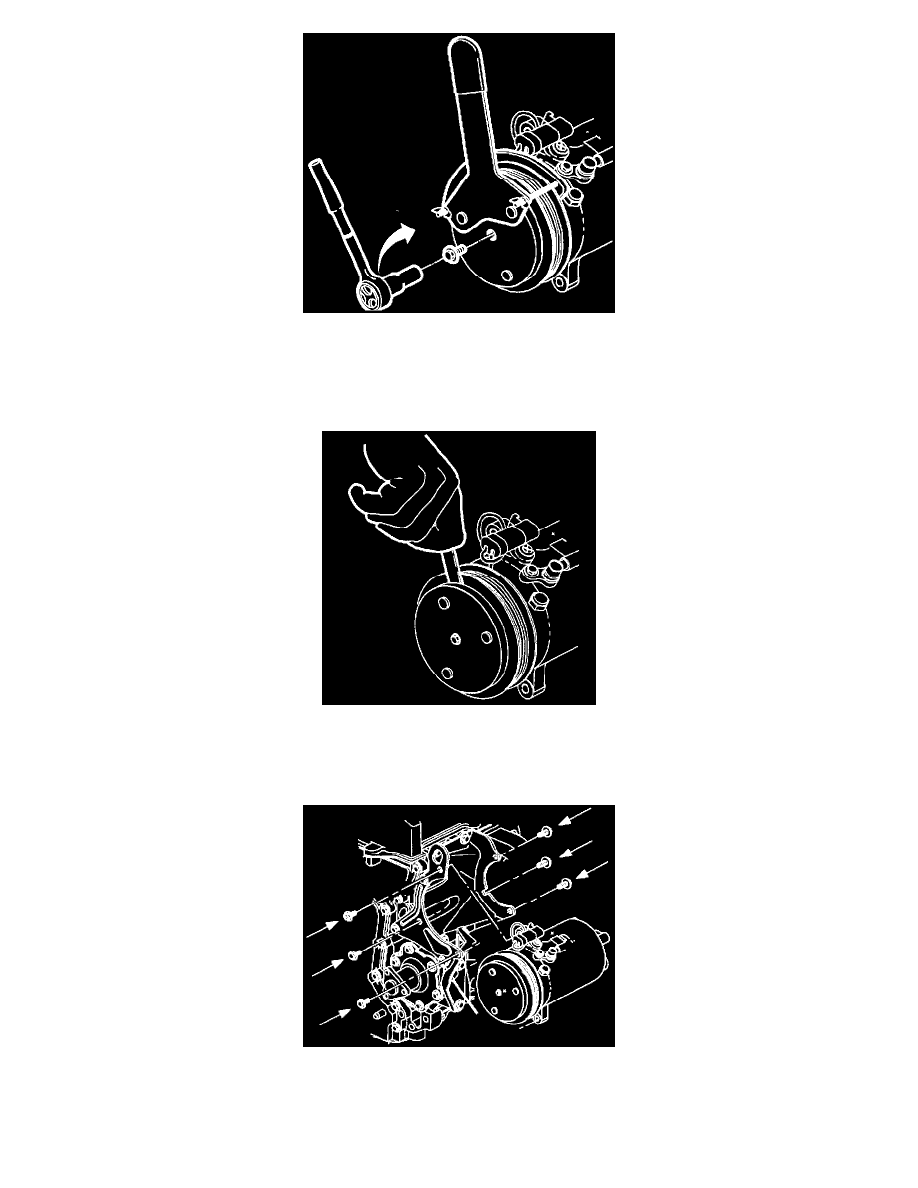
13. Install clutch drive plate holder tool SA9510AC.
14. Install center bolt and tighten.
Torque: 13 N.m (115 in-Lbs)
IMPORTANT: After tightening the center bolt, check to make sure that the pulley rotates smoothly by spinning it.
15. Check to make sure clutch clearance is 0.5 mm-O.7 mm (0.018 in-0.030 in.)
16. If necessary, adjust clearance by adding shim(s) provided. Refer to steps 6 through 8 of Removal procedure to remove drive plate, then after
installing shim(s), refer to steps 8 through 15 to install drive plate.
17. Remove front bracket-to-compressor bolt and position A/C compressor between brackets.
18. Install A/C compressor to front bracket with three bolts. Finger tighten bolts.
19. Install A/C compressor to rear bracket with three bolts. Tighten front and rear bolts.
Front bolts:
