
SW2 L4-1.9L DOHC VIN 7 (1997)
c.
Follow the HVAC branch to the main branch of the I/P harness.
d.
Then following the main branch, continue to spot tape the in-line fuse wires to the I/P harness until the top cover area is reached.
e.
In the top cover area, tape the in-line fuse to the harness to prevent rattles.
f.
Tape the splice joints and the delayed blower motor control module wires to the harness to prevent rattles and interference with the
temperature/mode lever movement.
g.
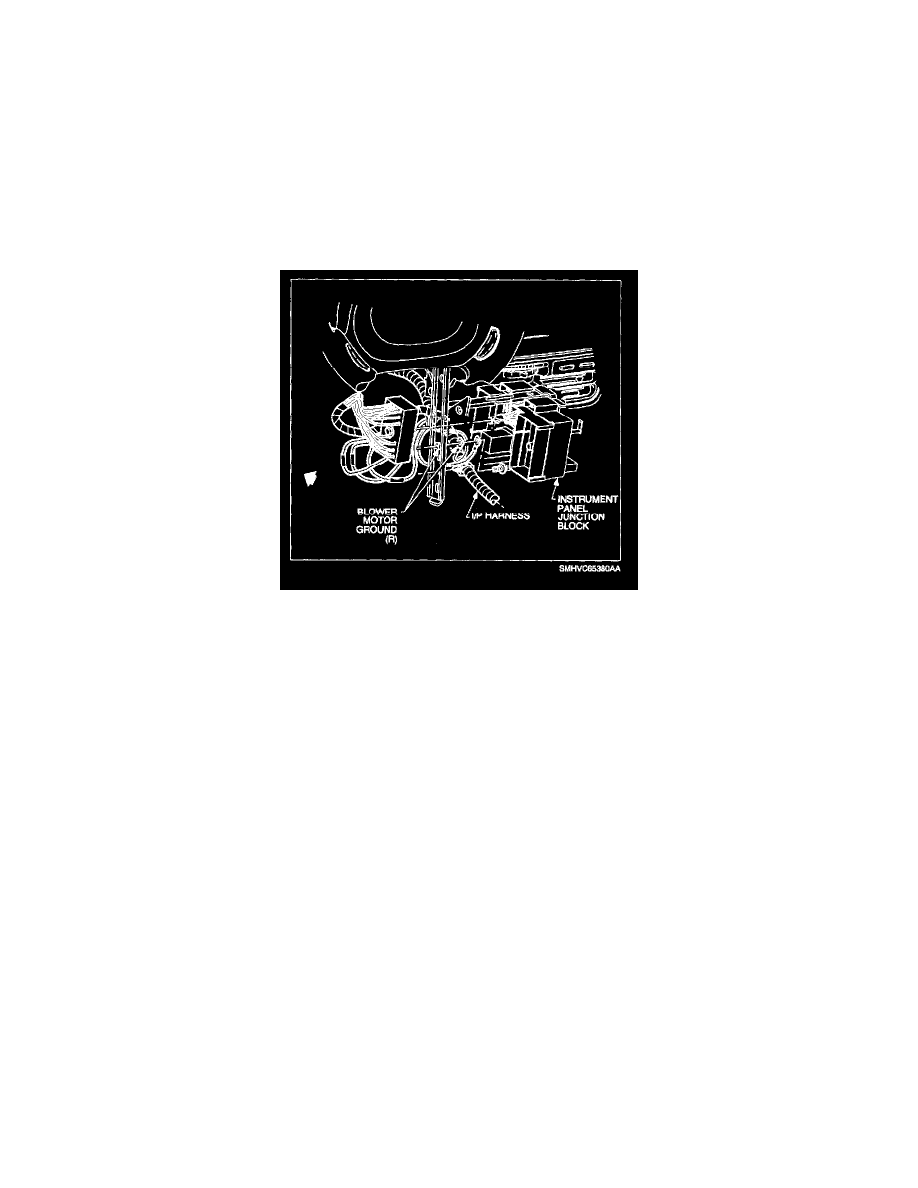
Attach the harness clip (detached in step 19.2) to the IIVAC module.
h.
Connect the HVAC fan switch electrical connector (disconnected in step 191) to the HVAC control head.
20.
Attach ring terminal lead kit (P/N 12112245) to the BLK/WHT wire from the delayed blower motor control module.
21.
Attach the ring terminal to ground location at H-brace. Make sure that new ring terminal is on top of existing ring terminal.
Torque:
Ring Terminal-to-Ground: 2.2 N.m (20 in-lbs)
22.
Disconnect PCM Lt. Blue 32-way connector.
23.
Using a 1.5 m (5 ft.) length of 0.50 sq.mm (20 gage) wire:
23.1 At terminal J1D01 of PCM Lt. Blue 32-way connector, splice one end of 0.50 sq.mm (20 gage) wire to GRA 0.35 sq.mm (22 gage) (circuit
729-A/C relay control), using a salmon (pink) splice sleeve.