
SW2 L4-1.9L DOHC VIN 7 (1997)
5. Remove the brake fluid reservoir cap and fill the master cylinder reservoir with clean brake fluid if necessary.
6. Install the fluid reservoir cap.
7. Bleed the wheel circuits in the following order:
1st - Right rear, 2nd - Left rear, 3rd - Right front, 4th - Left front
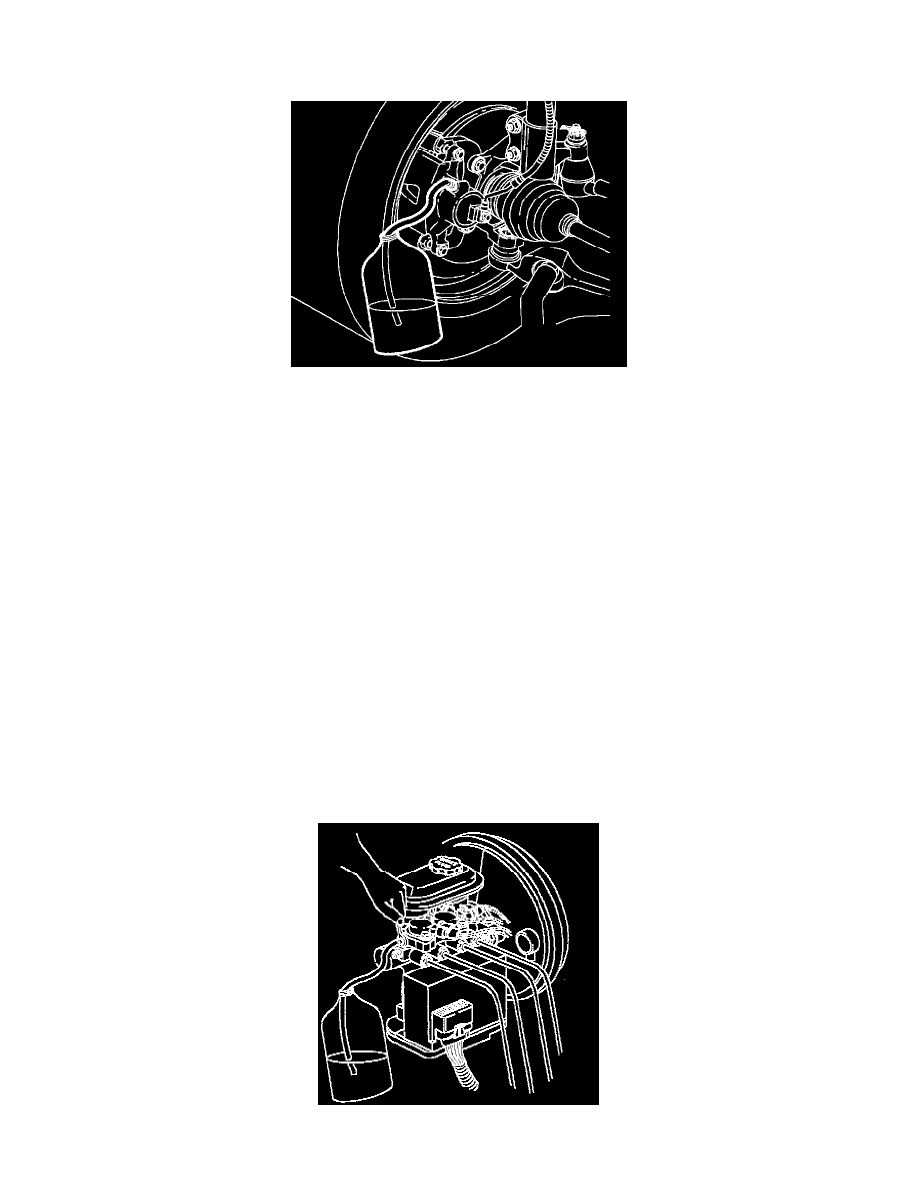
a. Attach a transparent tube over the caliper assembly bleeder valve and allow the tube to hang submerged in a clean container partially filled
with brake fluid.
b. Open bleeder valve 1/2 to 3/4 turn.
NOTE: If brake fluid does not come out of the bleeder valve or hose when performing this procedure to a rear caliper, it may mean that
the rear displacement pistons are not at the home or top most position.
c. Slowly depress brake pedal. Watch for air bubbles as the brake fluid leaves the bleeder hose.
d. Close bleeder valve.
^ Torque to 11 Nm (97 inch lbs.) - calipers
^ Torque to 7.5 Nm (66 inch lbs.) - wheel cylinders
e. Release brake pedal.
f.
Wait five seconds.
g. Repeat steps b through f including five second wait until brake pedal feels firm at half travel and no air is present in brake line.
NOTE: To assist in freeing entrapped air, tap lightly on caliper casting with a rubber mallet.
8. Repeat step 7 for each wheel in the order specified above.
9. Remove the brake fluid reservoir cap and fill the master cylinder reservoir with clean brake fluid if necessary.
10. Install fluid reservoir cap.
11. Bleed the brake master cylinder and modulator assembly:
a. Attach a transparent tube over the rear modulator assembly bleeder valve and allow the tube to hang submerged in a clean container partially