
SW2 L4-1.9L DOHC VIN 7 (1997)
NOTE: Use care in removing fuel rail assembly to prevent damage to the electrical connector terminals and spray tips. The fuel injector is
serviced as a complete assembly only. Since it is electrical, it should not be immersed in any cleaner.
12. Remove fuel rail assembly:
NOTE: Enough space exists between the intake manifold and cam cover to remove the fuel rail as an assembly.
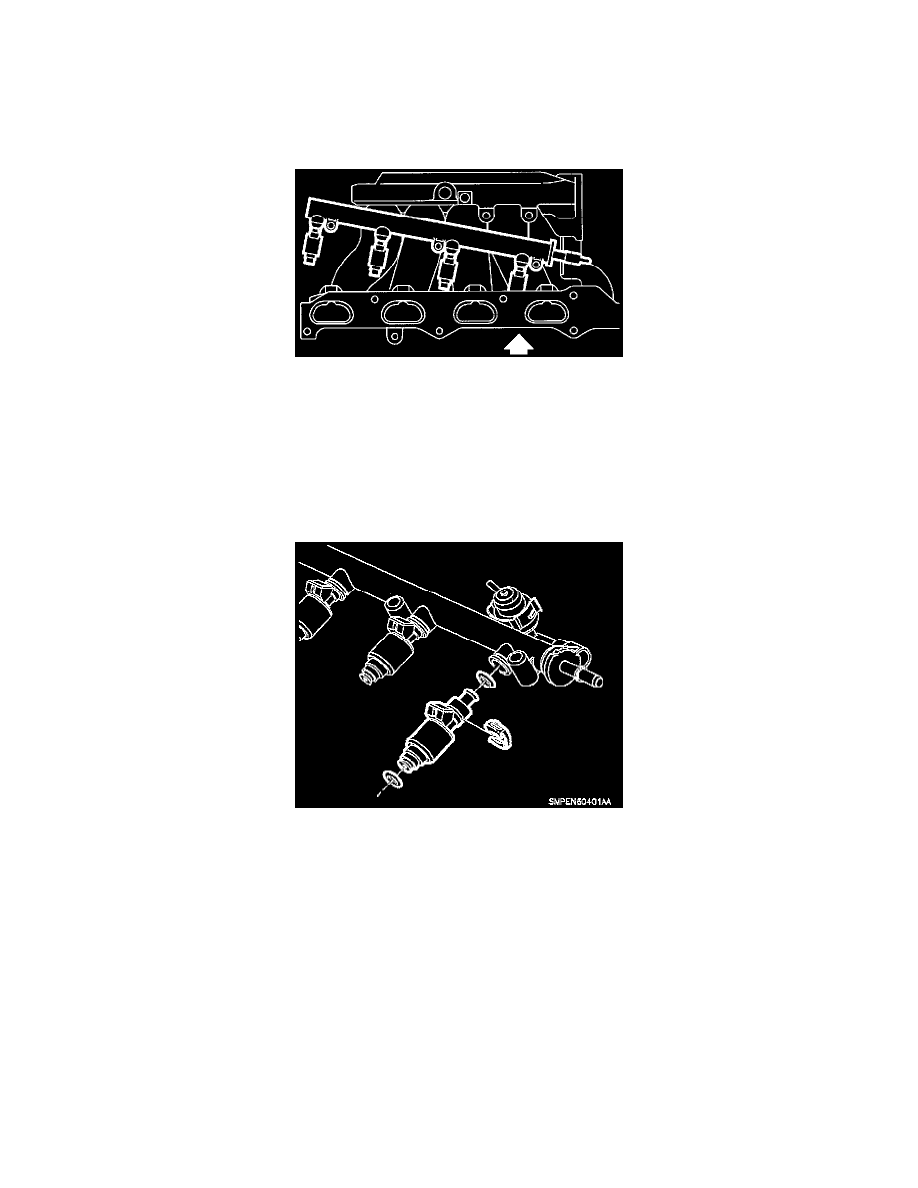
Description
a. Carefully pull rail back and upward to remove injectors from the intake manifold ports.
b. Move rail towards the power steering pump.
c. Rotate rail so injectors point downward. Lower the #4 injector into space between the #3 and #4 intake runners. At the same time lift the #1
injector.
d. Lift the #1 injector and remove rail from between the cam cover and intake manifold.
NOTE: whenever the fuel rail is removed for service, the injectors must be removed and upper and lower injector 0-rings must be replaced.
Fuel Injector Retainer And O-ring
13. Remove clips retaining the fuel injectors and pull injectors out of the rail.
14. Disassembly the injector 0-ring seals using a special seal removal tool or brass seal pick from each injector and discard.
NOTE: When cleaning or servicing the fuel rail, care must be taken to assure that the plastic fuel rail surfaces that mate to the injector 0-rings
are not scratched.
15. Lubricate the new 0-ring seals with clean engine oil and install injectors into fuel rail.
INSTALLATION
NOTE: Lubricate 0-rings at injector tips prior to installing injectors into intake manifold.