
SW2 L4-1.9L DOHC VIN 7 (1997)
I/P Upper Trim Panel Installation
4. Install I/P upper trim pad sound insulator.
NOTE: Make sure to tuck in all flaps.
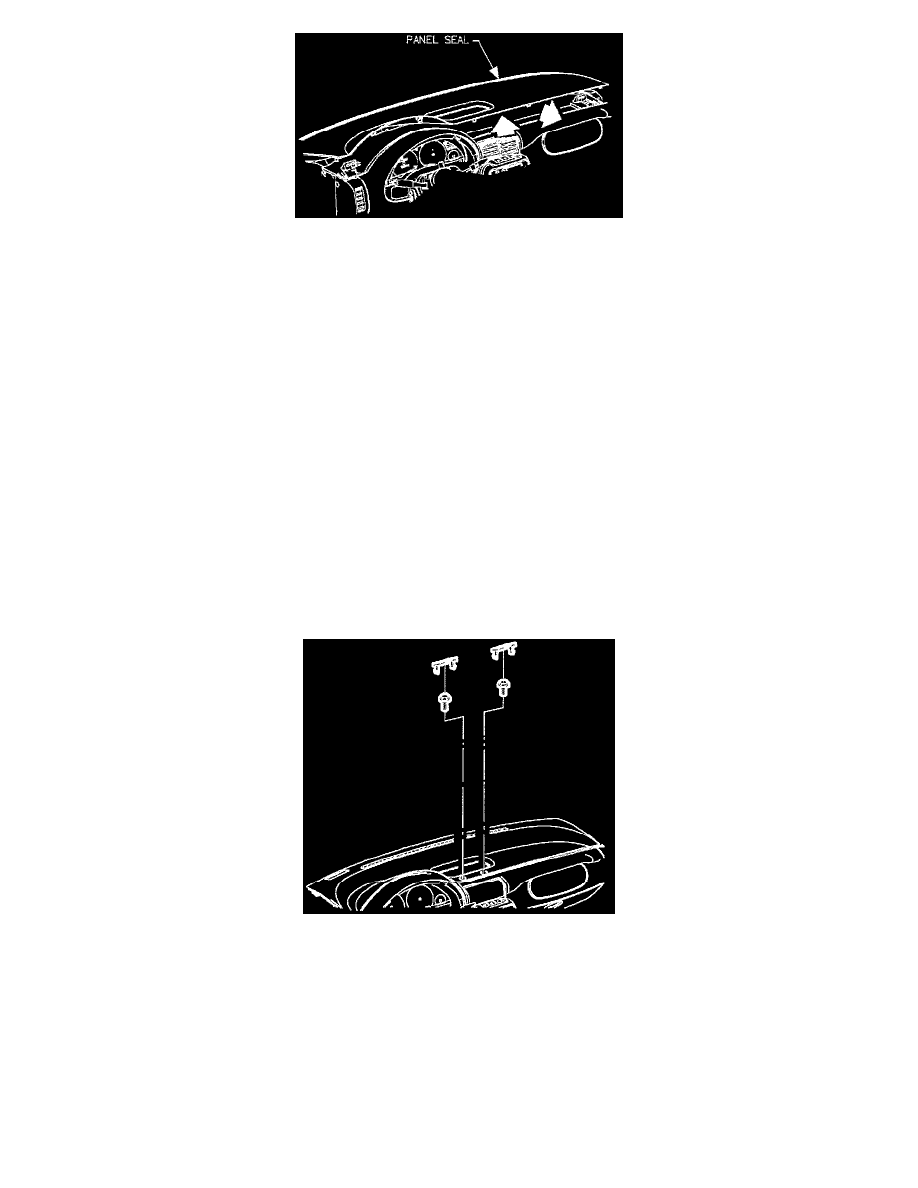
NOTE: Be sure I/P upper trim panel seal is correctly seated on forward edge before installing upper trim panel.
5. Install I/P upper trim panel into clips at base of windshield.
NOTE: Be careful when removing or replacing upper trim panel, not to damage VIN plate.
6. Lower I/P upper trim panel, making sure I/P upper trim panel alignment tabs interlock with windshield garnish slots.
7. Push down at clip locations to secure.
8. Install I/P upper trim panel screws.
9. Install I/P bolt cap.
WARNING: The PCM may be damaged if the reprogramming process is interrupted during download procedures. Verify the PDT
(Scan Tool) cable connections are secure and power to the PCM is not interupted. Make sure the vehicle battery has sufficient charge and
the original PCM in the vehicle has the correct VIN and options prior to reprogramming the replacement PCM. Make sure both the PDT
and service stall system are of equal levels of software prior to reprogramming. Refer to equipment operation manual.
I/P Retaining Bolt Caps
10. Reprogram PCM.
11. Verify operation. If diagnostic trouble codes (DTCs) are present, refer to the specific code chart.
IMPORTANT: Following PCM replacement, the SERVICE telltale will flash. This is a normal function of the PCM. When a service
replacement PCM is installed and properly programmed, the PCM will learn the crankshaft notches for misfire diagnosis. This procedure flashes
the SERVICE telltale. See: Description and Operation