
SW2 L4-1.9L DOHC VIN 7 (1997)
11. Bend the stripped portion in half to double the thickness.
12. Twist the stripped, doubled wire and insert into the splice sleeve.
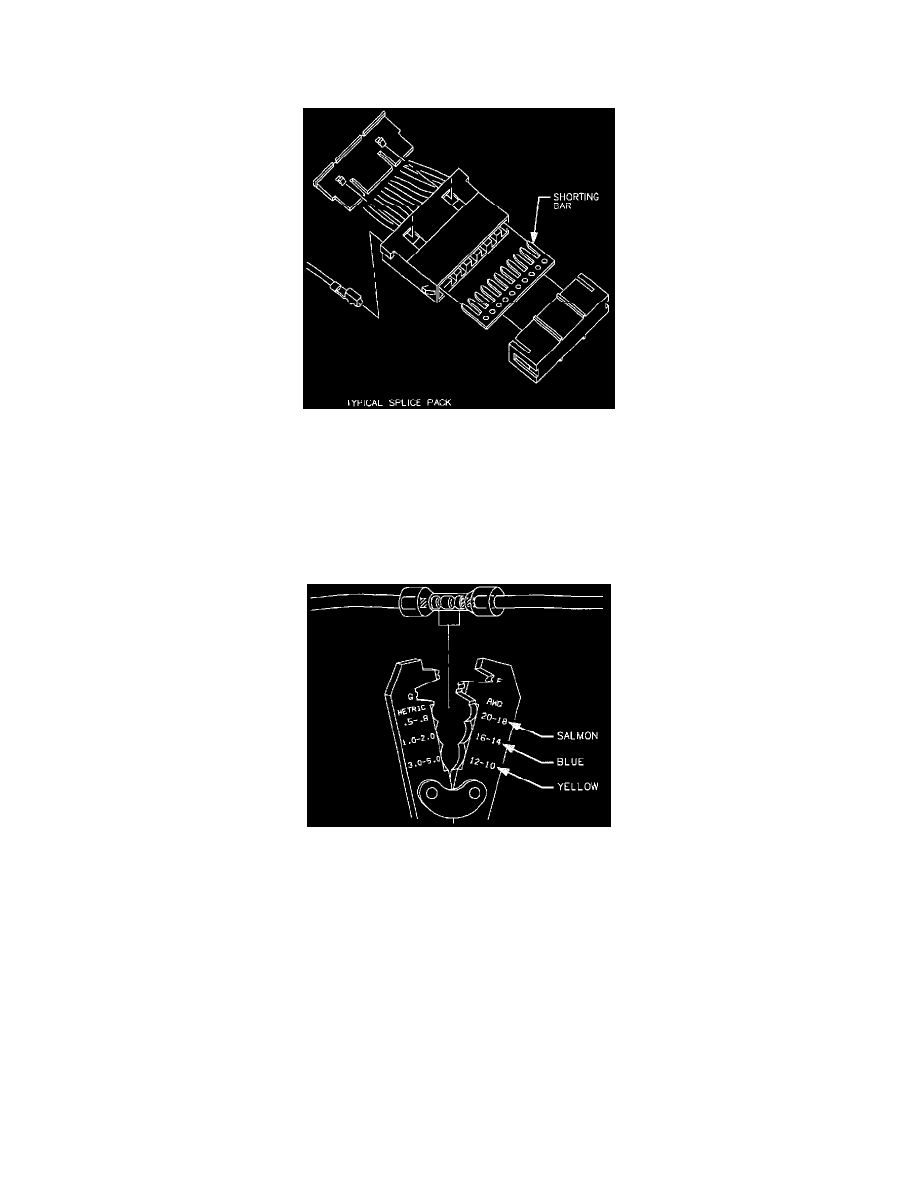
Splice Pack Repair
Splice Pack Repair
Grounding splice pack repair kits are available through Saturn Service Parts. The repair kits include the splice pack with terminals attached to a short
length of wire and crimp and seal splices. Use these kits if grounding splice pack need replacement.
An Insulation Displacement Connector (IDC) splice pack repair kit is also available through Saturn Service Parts. The IDC repair kit includes a splice
clip and a heat shrink tube. Use this kit to repair IDC splice packs.
Wire Repair
Wire Repair: Splicing
SPLICING
With the low current and voltage wires in the Saturn vehicle, it is best to use approved Packard Electric Crimp and Seal Splice Sleeves (or
equivalent)
1. Remove insulation from both ends, recommended strip length is 9.5 mm (3/8 in.). Caution must be used to prevent cutting the wire strands.
Locate new splice a minimum of 40 mm (1.5 in.) from an outlet or other splice.
2. Determine proper sleeve for gage of wire. Position stripped ends in sleeve until wires hit stop.
3. Hand crimp using the approved crimping tool. Gently tug on wires to make sure they are secure before applying heat to them.
CAUTION: Do not use match or open flame to apply heat to seal.