SW2 L4-1.9L DOHC VIN 7 (1997)

Control Arm: Service and Repair
REMOVAL
CAUTION: MAKE SURE VEHICLE IS PROPERLY SUPPORTED AND SQUARELY POSITIONED ON HOIST. TO HELP AVOID
PERSONAL INJURY, PROVIDE ADDITIONAL SUPPORT TO THE OPPOSITE END OF THE VEHICLE THAT COMPONENTS WILL
BE REMOVED FROM.
1. Raise vehicle on hoist.
2. Remove road wheel.
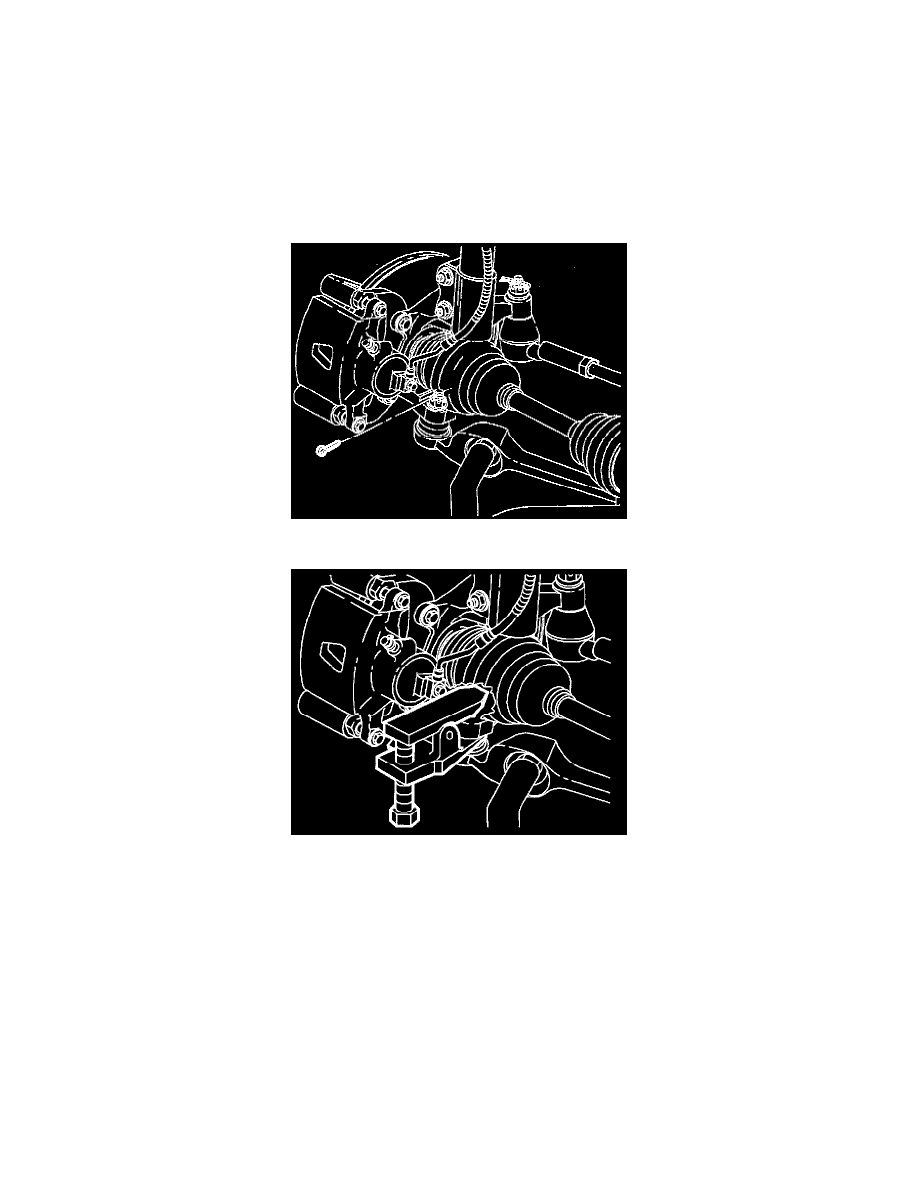
3. Remove and discard lower control arm ball stud cotter pin.
4. Loosen lower control arm ball stud castle nut, until top of castle nut is level with top of ball stud.
NOTICE: Care must be taken to prevent damage to the speed sensor ring on ABS vehicles. Minor surface damage to the speed sensor ring can
result in ABS system malfunctions.
NOTICE: Do not attempt to separate the joint using a wedge-type tool because the seal may be damaged.
5. Using SA9132S (or equivalent), separate lower control arm from knuckle.
6. Remove lower control arm ball stud castle nut.
