
SW2 L4-1.9L DOHC VIN 7 (1997)
5. Release spring compressor and tilt strut assembly outward.
6. Remove upper spring support. Inspect rubber for cracks or deterioration.
7. Remove spring from strut. Inspect spring for damage.
8. Remove dust shield assembly. Inspect for cracks or deterioration.
9. Remove strut from compressor. Extend and retract strut shaft and check for smooth, even resistance.
Assembly
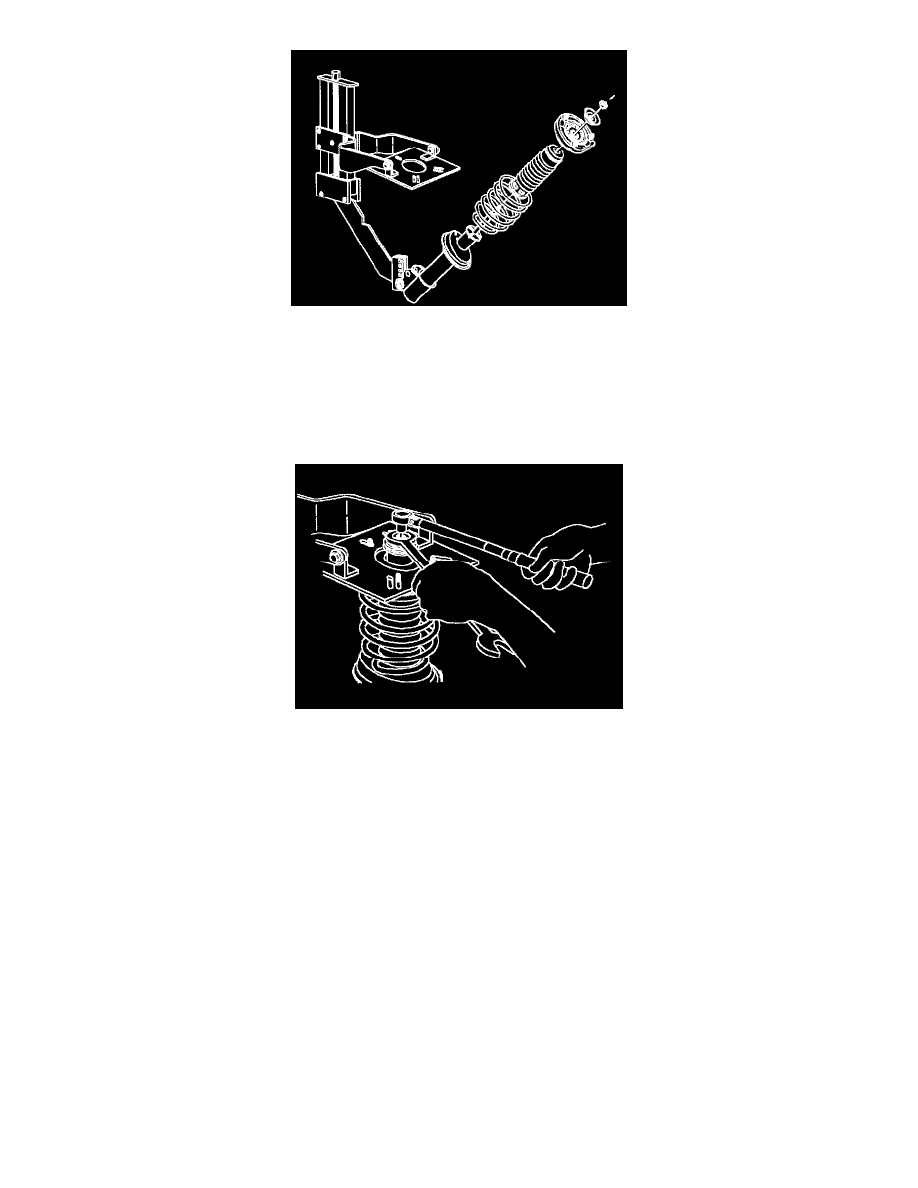
1. Place strut into spring compressor. Fasten strut with a strut-to-knuckle bolt and nut through the lower strut mounting hole.
2. Extend strut shaft to the limit of its travel.
3. Place dust shield assembly onto strut assembly.
4. Install spring onto strut.
5. Install upper strut mount onto strut and spring.
IMPORTANT: Make sure that the springs are correctly positioned in their spring support seats.
6. Compress the spring, guiding the strut shaft through the upper mount until the upper washer and shaft nut can be installed. Do not over compress
the spring.
7. Tighten the strut shaft using a TORX(R) socket, while holding the shaft nut with a wrench.
-
Torque: 50 Nm (37 ft. lbs.)
8. Release the spring compressor tool.
9. Remove strut from compressor.
Installation