
SW2 L4-1.9L DOHC VIN 7 (1997)
Band Apply Servo: Service and Repair
REMOVAL
1. Remove end cover. (Refer to "End Cover" removal procedures in the "On-Vehicle Service.")
2. Remove the 1st clutch, 1st drive gear, and 1st driven gear. (Refer to "1st Clutch, 1st Drive Gear, and 1st Driven Gear" removal procedures in the
"On-Vehicle Service.")
3. Remove valve body. (Refer to "Control Valve body Assembly" removal procedures in the "On-Vehicle Service.")
4. Remove the forward/reverse servo piston cover bolts, remove cover, servo piston spring, servo piston bolt, and shift fork.
INSTALLATION
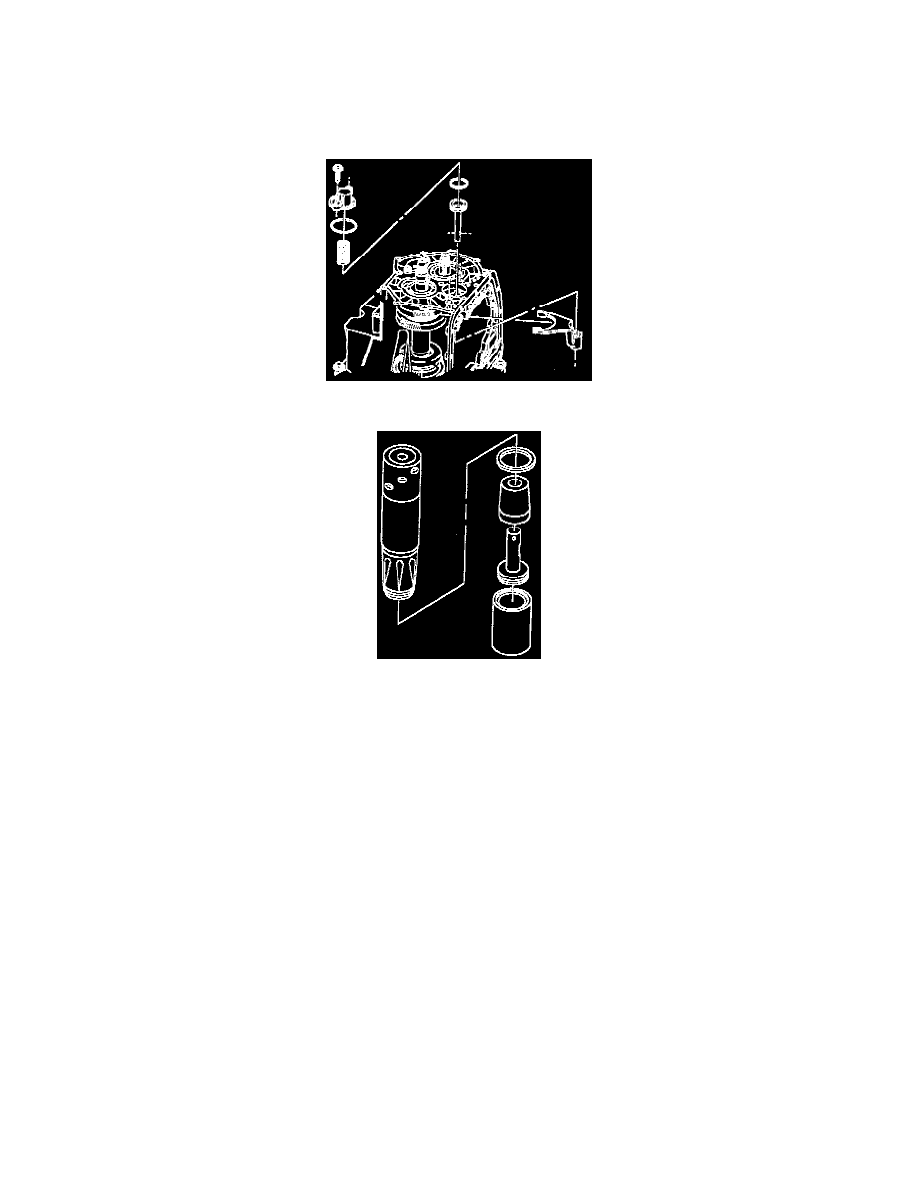
1. Install forward/reverse servo piston seal ring if necessary.
IMPORTANT: Prior to using servo piston seal installer SA9143T inspect the tool for any nicks or burrs that could damage the servo piston seal.
a. Place servo piston on seal installer support base SA9137T-2.
b. Install expander cone SA9137T-1 to servo piston.
c. Lube seal ring and position on expander cone.
NOTICE: Lube seal ring with Transaxle Fluid before installation.
d. Use seal pusher SA9143T to install seal ring.