
SW2 L4-1.9L DOHC VIN 7 (1997)
Case: Service and Repair
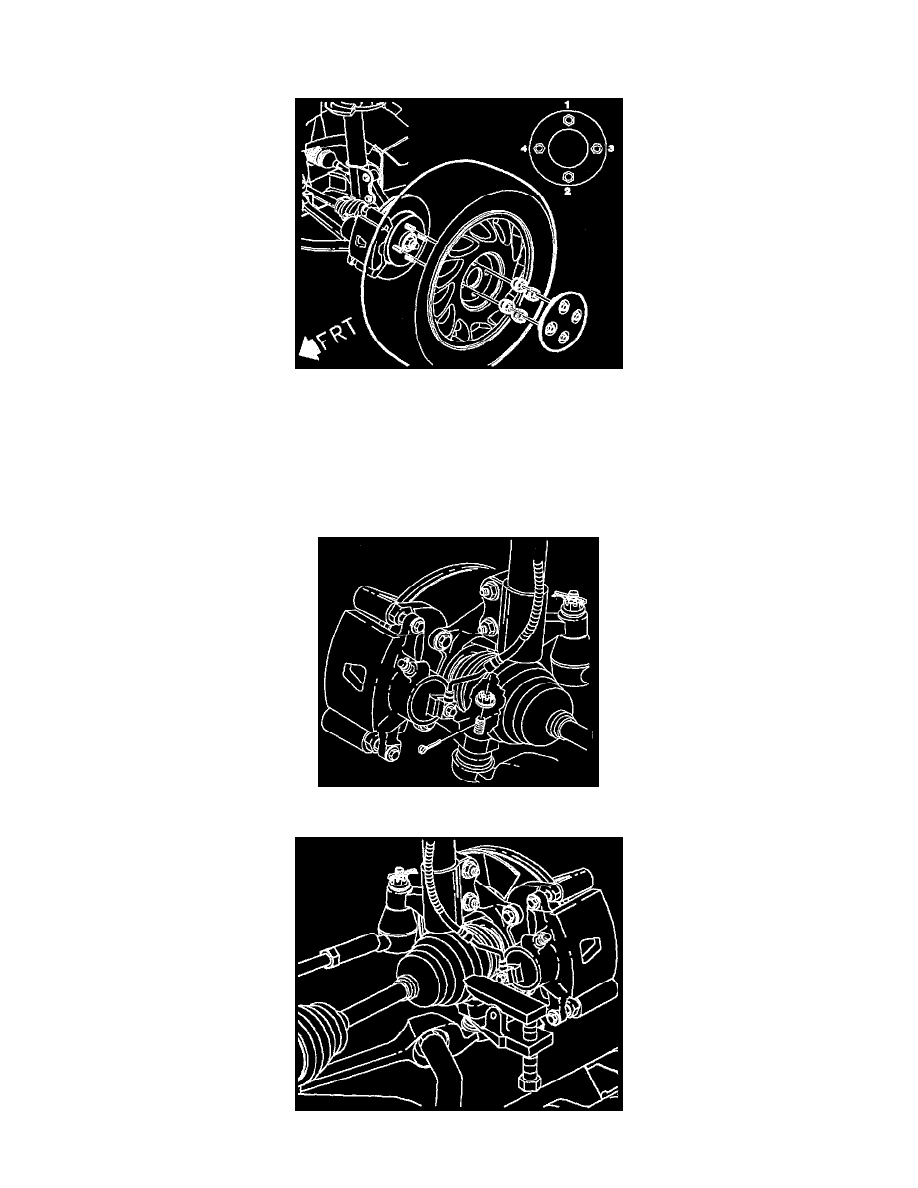
Removal
CAUTION: MAKE SURE VEHICLE IS PROPERLY SUPPORTED AND SQUARELY POSITIONED ON HOIST. TO HELP AVOID
PERSONAL INJURY, PROVIDE ADDITIONAL SUPPORT TO THE OPPOSITE END OF THE VEHICLE THAT COMPONENTS WILL
BE REMOVED.
1. Raise vehicle on hoist.
2. Remove left front road wheel.
3. Remove left wheelhouse splash shield.
4. Drain transaxle fluid.
5. Remove cotter pin from lower ball joint and discard. Loosen nut and back off until top of nut is even with top of threads.
NOTICE: On ABS equipped vehicles, the outer CV joint has a speed sensor ring. Using the incorrect tool or procedure to separate the control