SW2 L4-1.9L DOHC VIN 7 (1997)

6. Install two lower mount-to-transaxle fasteners.
-
Torque: 32 N.m (24 ft. lbs.).
7. Tighten two cradle-to-body bolts.
-
Torque: 210 N.m (155 ft. lbs.).
8. Lower powertrain completely.
IMPORTANT: Make sure that the lower mount stud inserts in cradle accurately, without damaging stud threads.
9. Install transaxle lower mount-to-cradle fastener.
-
Torque: 48 N.m (35 ft. lbs.).
10. Install splash shield.
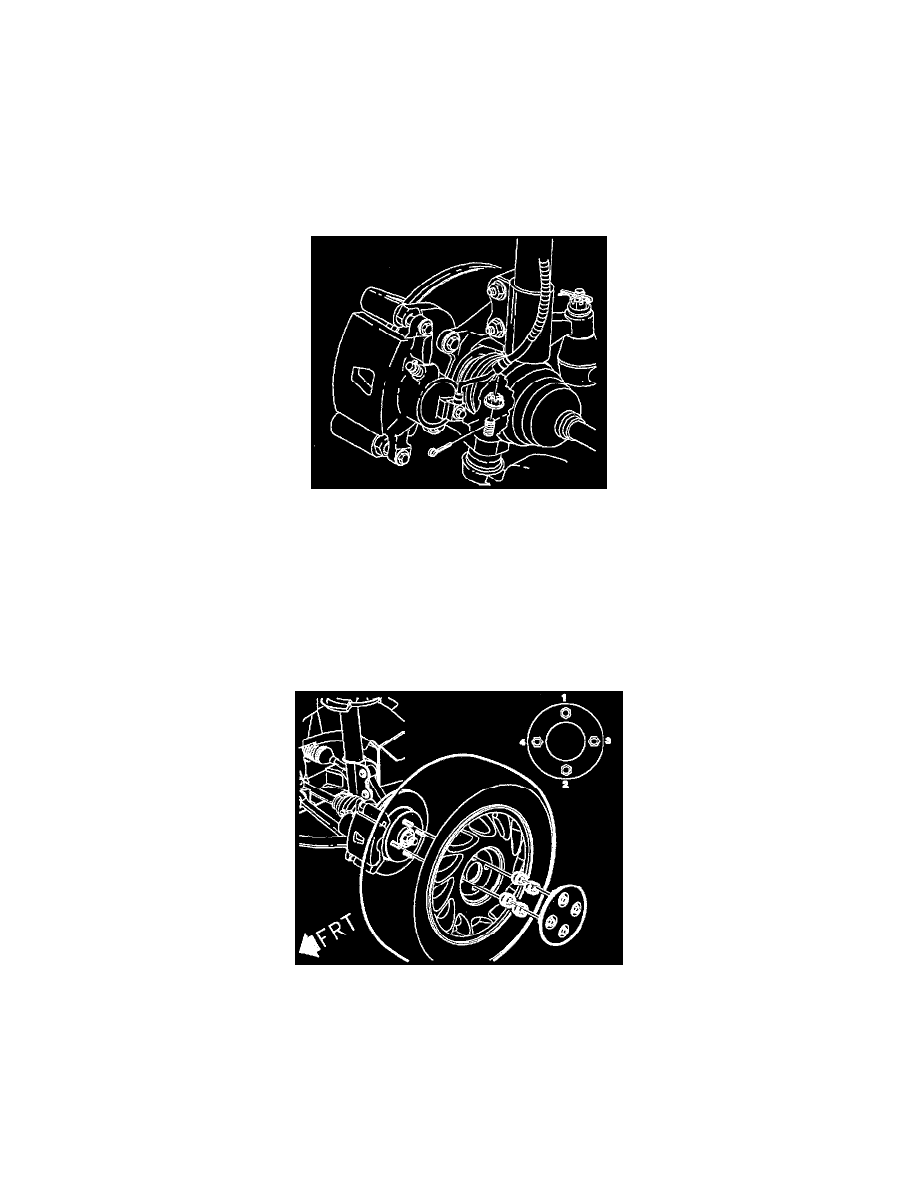
11. Clean and lubricate ball joint threads.
NOTICE: Take care not to tear rubber boot when installing ball joint to knuckle.
12. Position ball joint into steering knuckle.
13. Install nut to lower ball joint and torque.
-
Torque: 75 N.m (55 ft. lbs.).
If necessary, after torquing, tighten nut additionally to align slot in nut with cotterpin hole in ball joint, and install cotterpin and bend ends.
NOTICE: Before installing wheels remove rust or corrosion from wheel mounting surfaces and brake rotors/drums. Failure to do so can cause
wheel lug nuts to loosen in service.
14. Position wheel onto hub.
15. Install wheel nuts and tighten in a crisscross pattern.
-
Torque: 140 N.m (103 ft. lbs.).
Repeat tightening pattern to be sure torque is correct.
16. Lower vehicle from hoist.
17. Fill transaxle with fluid.
