
SW2 L4-1.9L DOHC VIN 7 (1997)
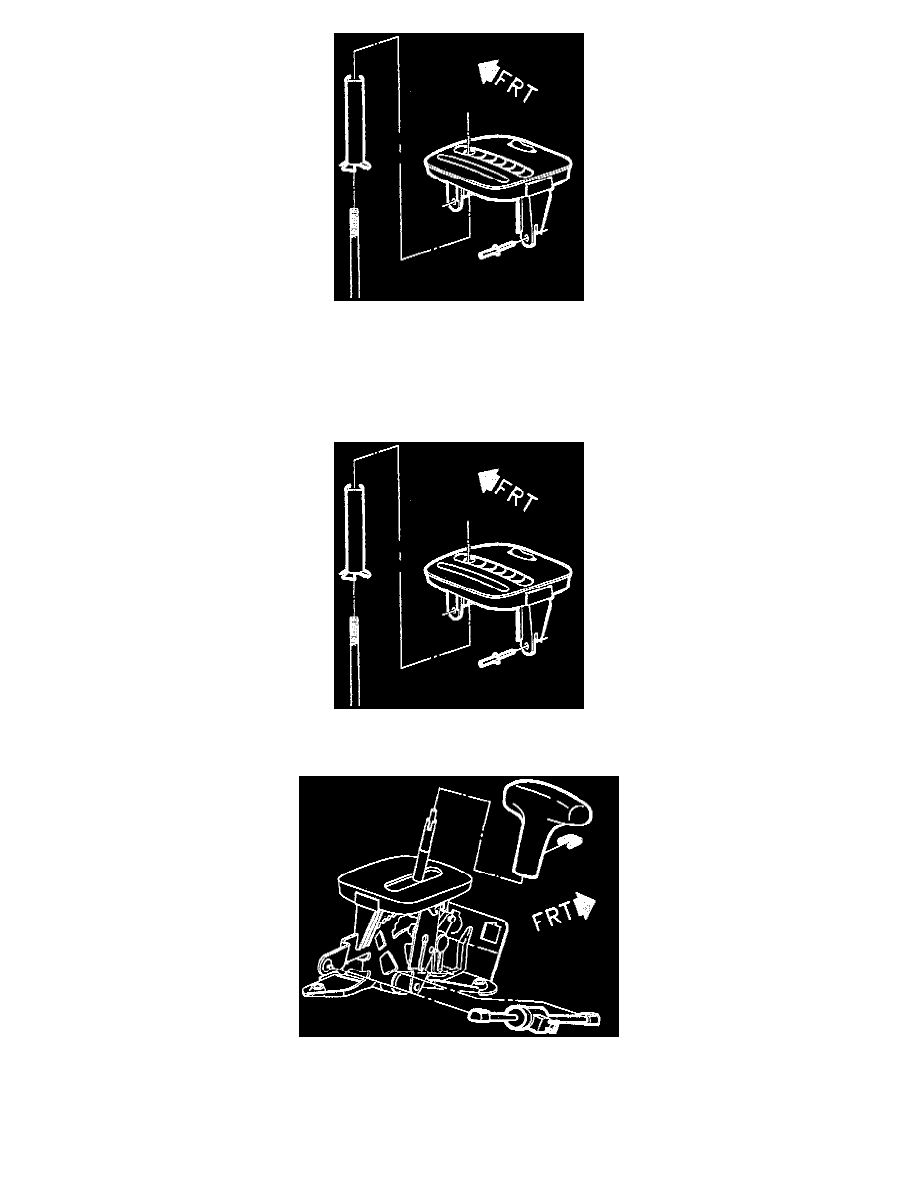
16. Using a 4.75 mm (3/16 in.) drill bit, drill out two control indicator assembly (PRND32) rivets attaching control indicator assembly to control shin
assembly.
17. Remove control indicator assembly (PRND32) from control base assembly and remove old rivets.
18. Remove control tube.
Installation
1. Install control tube on new control base assembly.
2. Position control indicator assembly (PRND32) on control base assembly and install two shift indicator pop rivets with a rivet gun.
3. Install BTSI solenoid into control base assembly. Connect two plastic retainers to control base assembly.
4. Install control lever knob assembly and retainer.