
SW2 L4-1.9L DOHC VIN 7 (1997)
be replaced.)
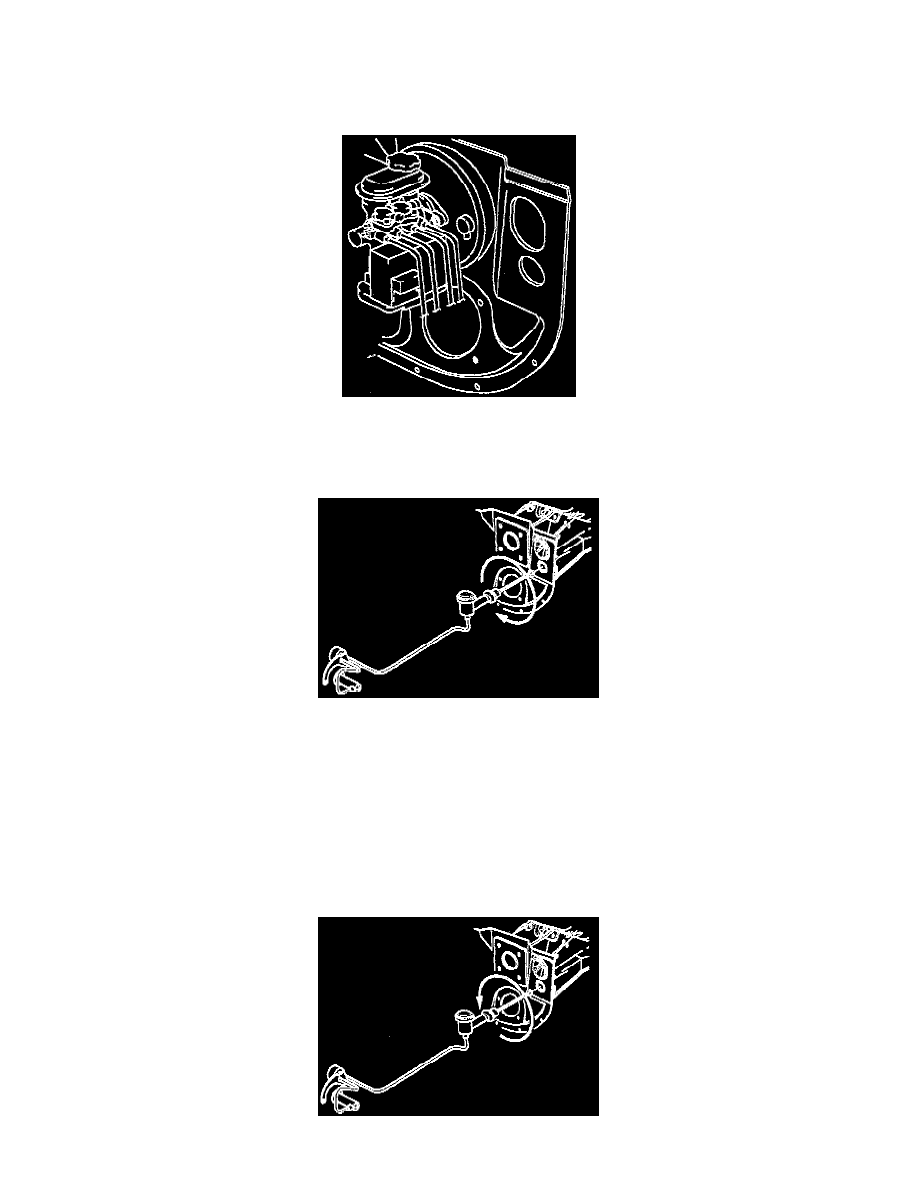
8. Rotate actuator 1/4 turn counterclockwise while pushing toward housing in order to disengage the bayonet connector and remove from clutch
housing.
9. Remove two hydraulic damper to clutch housing nuts and slide damper and bracket assembly off studs.
10. ABS equipped vehicles, remove brake master cylinder-to-booster nuts.
NOTICE: ABS equipped vehicles require the brake master cylinder to be moved off booster studs and moved slightly towards the engine to
allow removal of the clutch hydraulic master cylinder. Use care not to bend or kink brake lines.
11. Remove clutch master cylinder pushrod retainer clip from clutch pedal pin and disconnect pushrod from pedal.
12. Turn clutch master cylinder approximately 1/8 turn clockwise and remove from dash.
13. Remove hydraulic system from vehicle.
INSTALLATION
IMPORTANT: When installing a new unit, the plastic retainer straps on the actuator remain in place when installing the unit. This will ensure the
actuator rod is seated in the clutch release fork pocket as the actuator is installed.
IMPORTANT: When installing an existing unit, a new plastic retainer strap should be installed on the end of the pushrod and the straps should
be attached to the actuator.
1. Install clutch master cylinder into dash with reservoir leaning outboard. Turn approximately 1/8 turn counterclockwise to lock in position.