
SW2 L4-1.9L DOHC VIN 7 (1997)
Case: Service and Repair
CAUTION: MAKE SURE VEHICLE IS PROPERLY SUPPORTED AND SQUARELY POSITIONED. TO HELP AVOID PERSONAL
INJURY WHEN A VEHICLE IS ON A HOIST, PROVIDE ADDITIONAL SUPPORT FOR THE VEHICLE ON THE OPPOSITE END
FROM WHICH COMPONENTS ARE BEING REMOVED.
REMOVAL
1. Position vehicle on hoist.
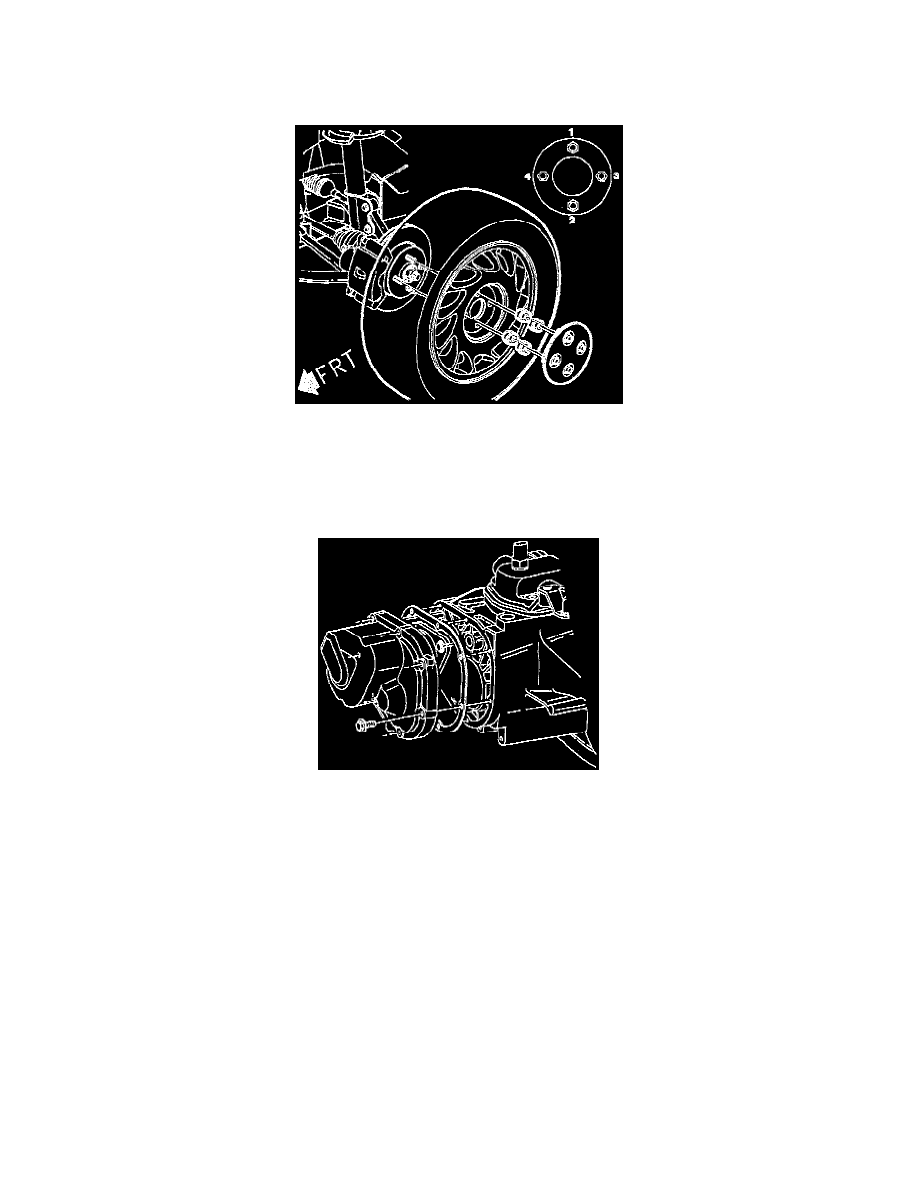
2. Remove left front wheel.
3. Raise vehicle.
4. Drain transaxle fluid.
5. Remove left inner splash shield.
6. Remove rear cover bolts and remove rear cover. Discard gasket.
INSTALLATION
1. Clean gasket surfaces. Mating surfaces must be clean and dry.
2. Install rear cover gasket.
3. Turn the reverse cone so that the slots align the cone to the rear cover.
IMPORTANT: Clean and lubricate fasteners with Transaxle Fluid wipe off excess fluid and install.
4. Install rear cover and install bolts and torque using a crisscross pattern.
-
Torque: 12 N.m (106 inch lbs.).