
SW2 L4-1.9L DOHC VIN 7 (1997)
9. Separate axle from transaxle using a large screwdriver or appropriate pry bar.
10. Remove the snap ring retaining the axle seal.
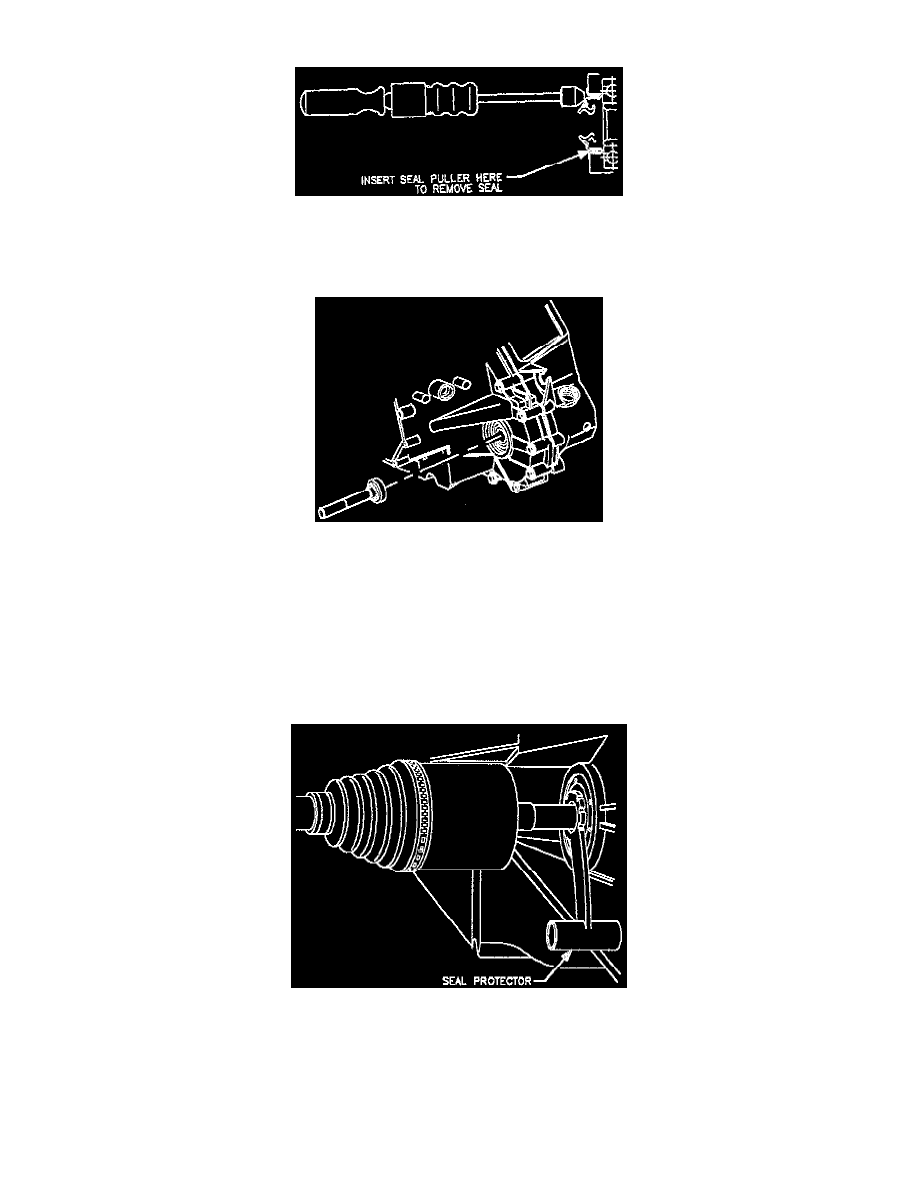
11. Remove axle seal using SA91331:
a. Remove dust cover by prying out with a screwdriver.
b. Remove seal by threading puller through steel seal body as close to outside diameter as possible.
INSTALLATION
1. Clean seal bore in housing.
2. Apply a light bead of Loctite(R) 515 Gasket Eliminator Sealant (P/N 21005993) or equivalent on the diameter of the seal that presses into the case
bore.
NOTICE: Prior to using seal installer SA9113T inspect the tool for any nicks or burrs that may damage the seal lip.
3. Install axle seal using SA9113T. Place seal on tool and insert into transaxle. Make sure to keep seal lined up with bore during installation.
(Automatic shown, manual transaxle similar.)
4. Install the snap ring retaining the axle seal so that the snap ring opening is easily accessible.
NOTICE: Use caution not to damage seal while installing axle into transaxle.
5. Install ape seal protector tool SA91112T inside seal.
6. Install axle into transaxle.
7. After shaft splines clear the seal but before snapping axle into place, remove seal protector tool.
8. Push axle all the way into the transaxle.