
VUE 2WD L4-2.2L VIN D (2005)
26. Install the set up for SUV application.
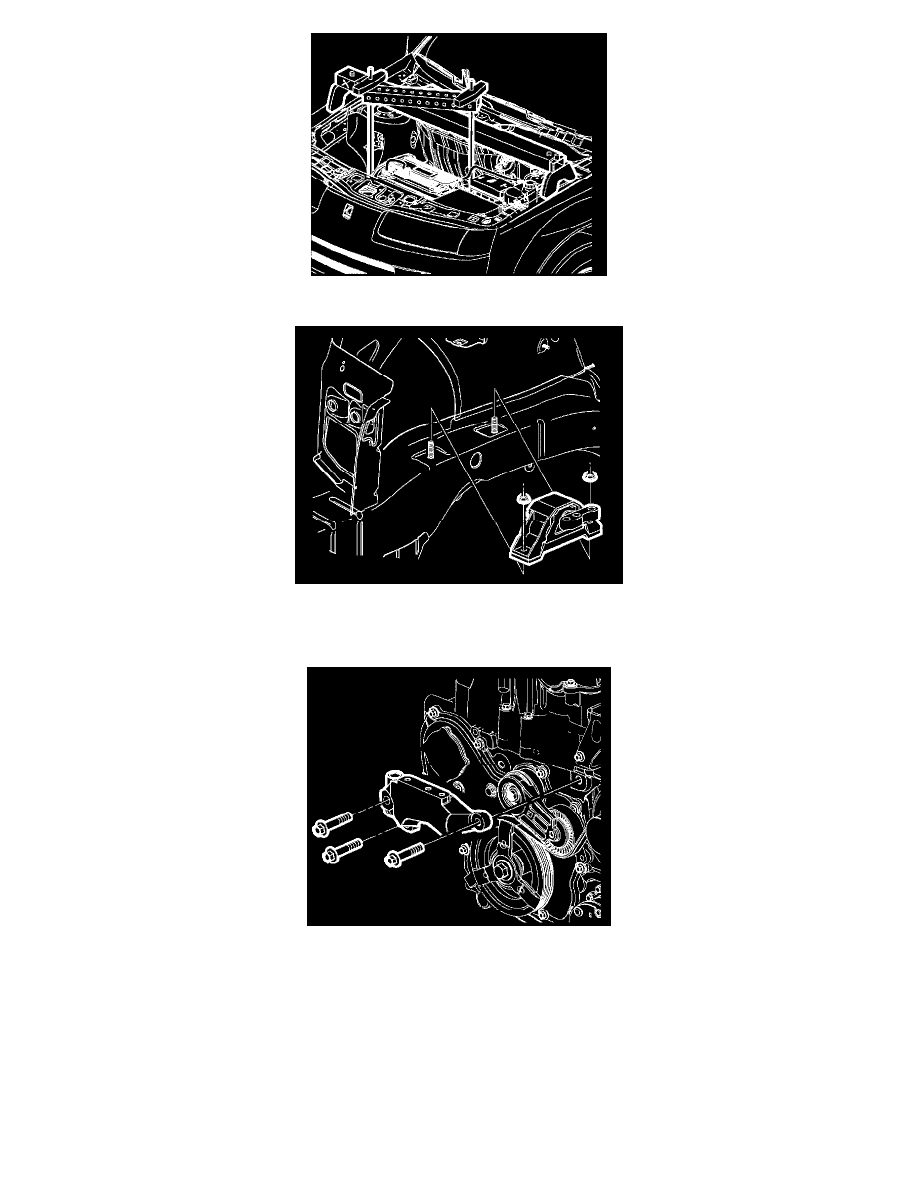
27. Remove the right-hand engine mount-to-bracket bolts.
28. Remove the right-hand mount assembly nuts.
29. Remove the right-hand engine mount assembly.
30. Remove the right-hand mount bracket.
31. Remove the right-hand engine mount bracket.
32. Raise the vehicle on a hoist.
33. Remove the right wheel and splash shield.
Important: Do not rest the engine assembly on the oil pan plug outside of the oil pan near the crankshaft or an oil leak may result.
34. Install the block of wood (1x2x4) between the oil pan and the cradle.
35. Install the J 44811.
36. Remove the accessory drive belt.
37. Remove the tensioner bolt. To remove the bolt, an access hole has been provided through the inner and outer engine rail.