
VUE 2WD L4-2.2L VIN D (2005)
5. Connect the temperature cable to the HVAC control module.
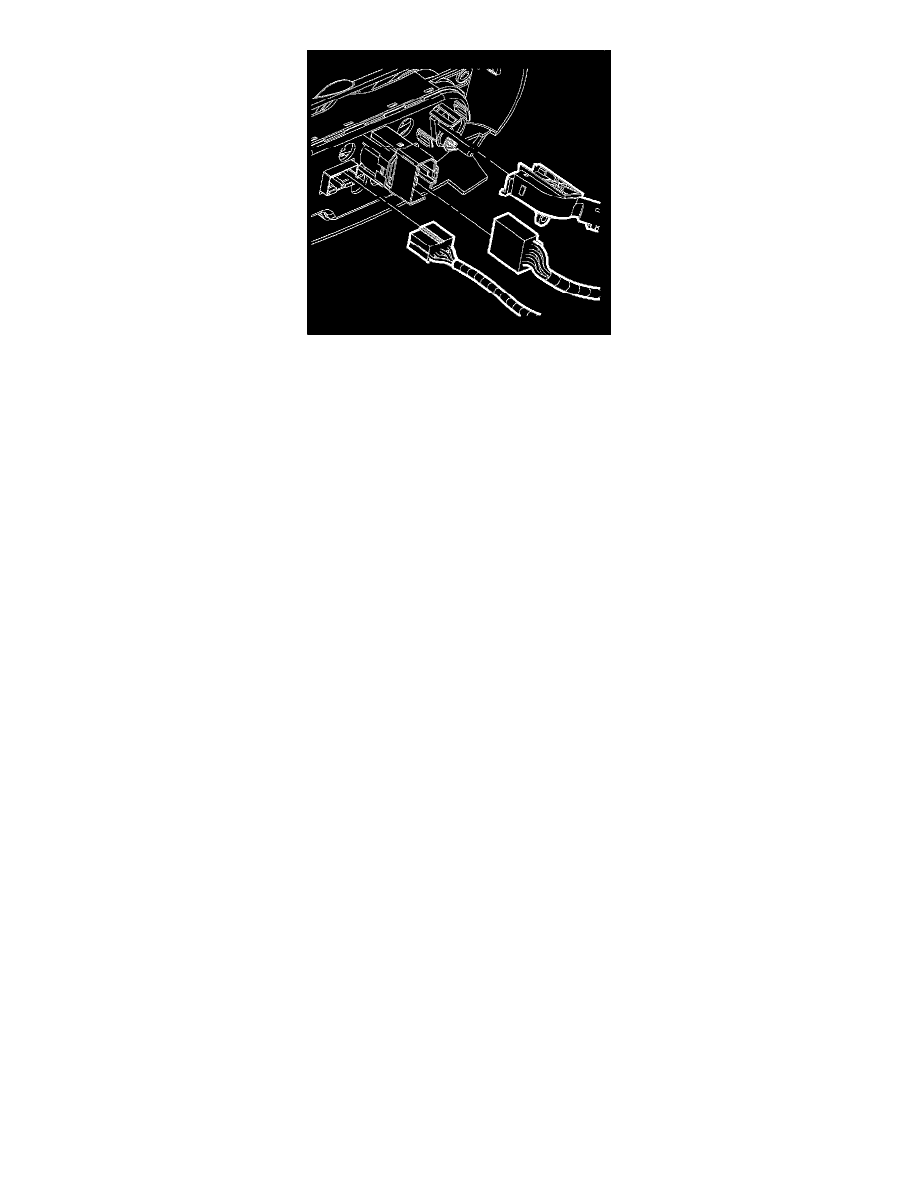
6. Connect the blower switch to the HVAC control module.
7. Connect the electrical connector to the HVAC control module.
8. Connect the remaining electrical connectors to the center trim bezel.
9. Install the center trim bezel to the I/P.
10. Install the I/P storage compartment.
11. Install the console shift lever bezel.
12. Calibrate the mode door by simultaneously pushing the A/C and RECIRC buttons on the HVAC control module three times each, within 2 seconds
of initial push.
-
The A/C and RECIRC button LED's will flash while this calibration is taking place.
-
The calibration will take anywhere between 10-30 seconds depending on battery voltage.
-
The LED's will quit flashing when the calibration is complete.
IMPORTANT: Any time an HVAC module mode actuator or the HVAC control module is replaced, the HVAC control module must be calibrated
to ensure proper air distribution.
13. Cycle the ignition and verify proper operation.