VUE AWD L4-2.2L VIN D (2005)

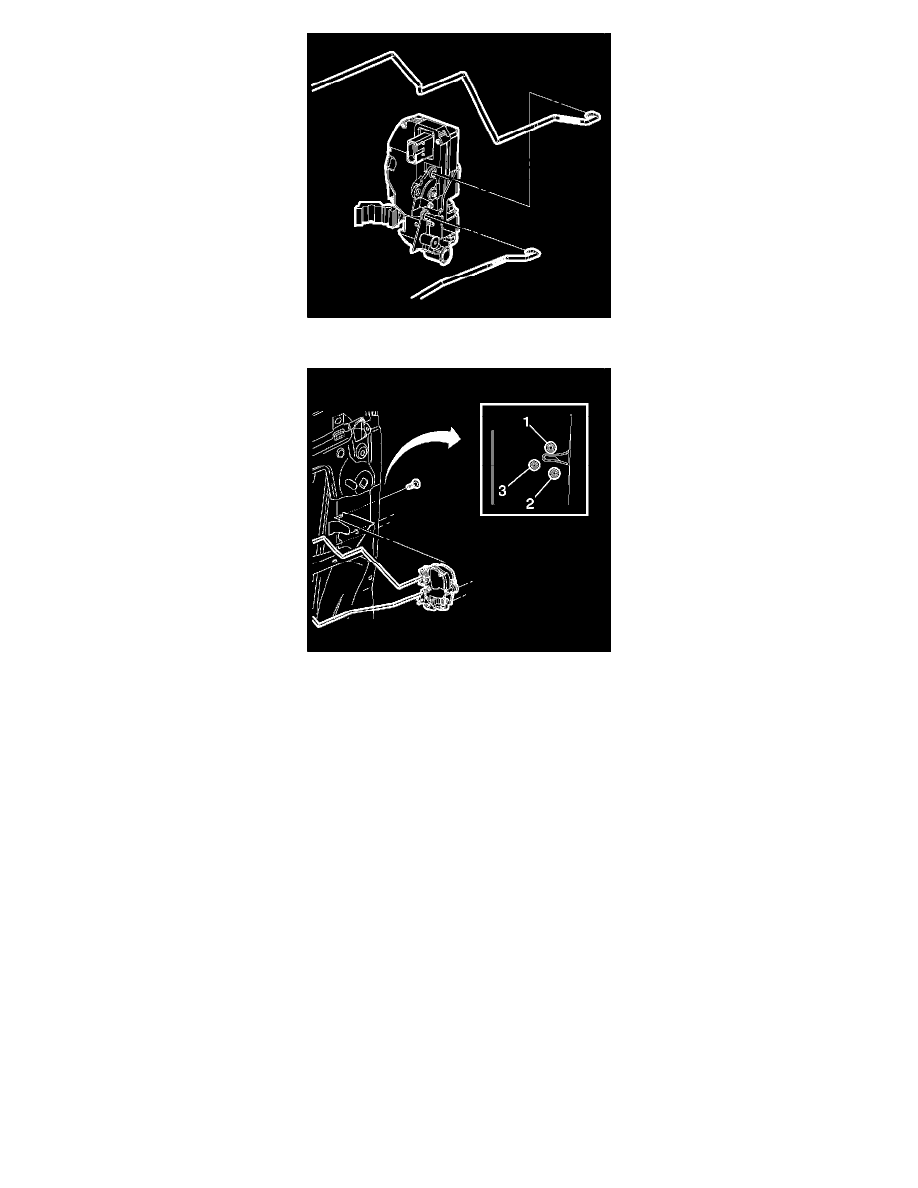
1. Connect the inside handle rod and lock button rod to the latch.
2. Position the door latch with the inside handle rod and the lock rod attached through the lock rod pass-through hole into the door structure.
3. Connect the lock cylinder rod into the latch by rotating the latch to engage the rod.
4. Install the door latch screws in the order shown.
Notice: Refer to Fastener Notice in Cautions and Notices.
5. Tighten the top screw first, the bottom screw second, and the middle screw last.
Tighten the screws to 12 N.m (9 lb ft).
6. Adjust the outside handle rod to freely enter the clamshell-style retainer clip in the door latch and secure into place.
7. Connect the inside handle rod and lock rod into the guide clips in the door structure.
8. Connect the door latch electrical connector, if equipped.
9. Install the front door water deflector. Refer to Water Deflector Replacement - Front Door See: Front Door Panel/Service and Repair
10. Install the front door trim panel. Refer to Trim Panel Replacement - Side Front Door (Early Production) (See: Front Door Panel/Service and
Repair/Panel Replacement/Trim Panel Replacement - Side Front Door (Early Production))Trim Panel Replacement - Side Front Door (Late
Production) (See: Front Door Panel/Service and Repair/Panel Replacement/Trim Panel Replacement - Side Front Door (Late Production)) .
11. Inspect the door for proper operation.
