
VUE AWD L4-2.2L VIN D (2005)
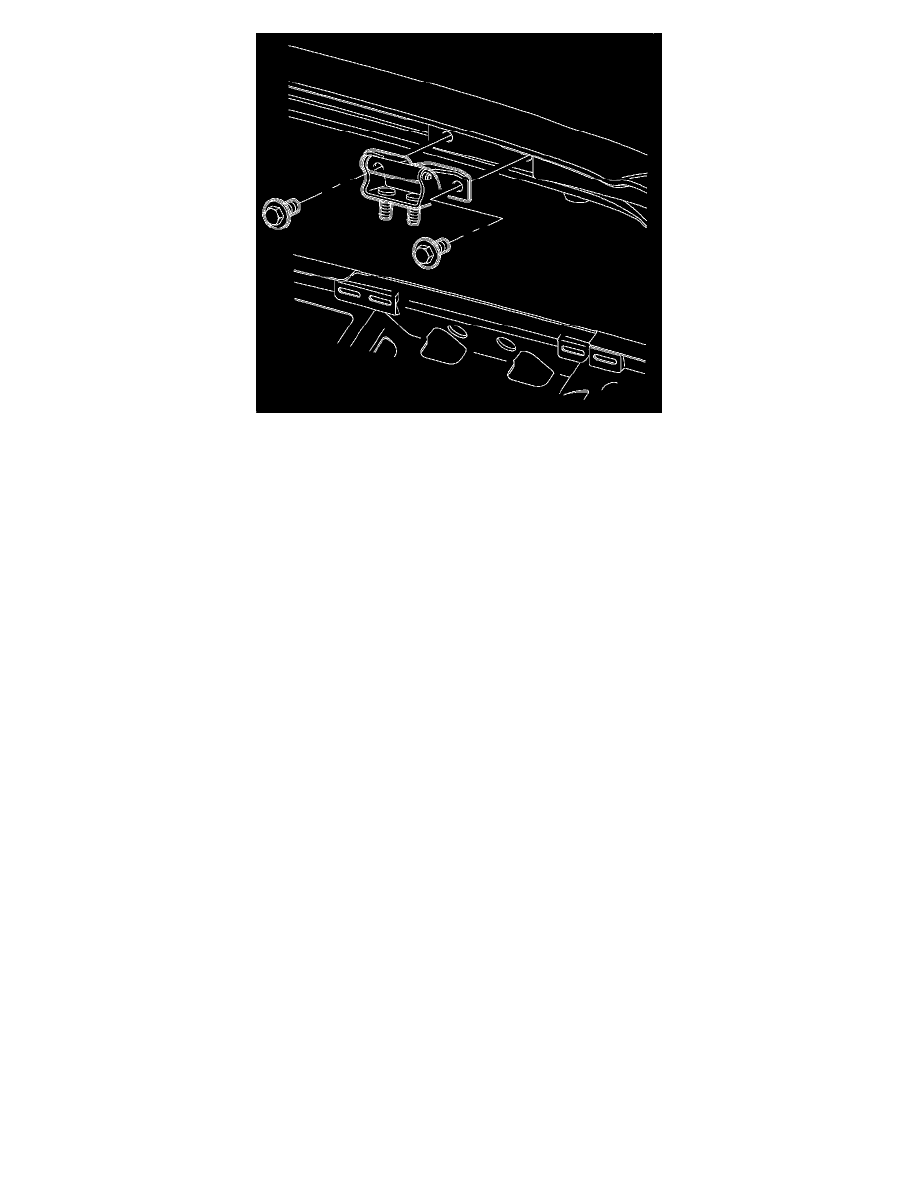
Important: New hinge to body nuts must be used to ensure a proper seal.
1. Align the hinge to body alignments marks made in the removal process and install the nuts.
2. Align the hinge to lift gate alignment marks made in the removal process and install the bolts.
3. Install the lift gate struts. Refer to Strut Replacement - Liftgate (See: Trunk / Liftgate Shock / Support/Service and Repair/Strut Replacement -
Liftgate)
4. Lower the lift gate slowly and check for alignment. Align as needed.
Notice: Refer toFastener Notice in Cautions and Notices.
5. Tighten the nuts to the lift gate hinges.
Tighten the hinge to body nuts to 25 N.m (18 lb ft).
6. Tighten the hinge to lift gate bolts.
Tighten the hinge to lift gate bolts to 25 N.m (18 lb ft).
7. Install the upper rear garnish molding. Refer to Garnish Molding Replacement - Rear Upper (See: Interior Moulding / Trim/Trim Panel/Service
and Repair/Garnish Molding Replacement - Rear Upper) .