
VUE AWD L4-2.2L VIN D (2005)
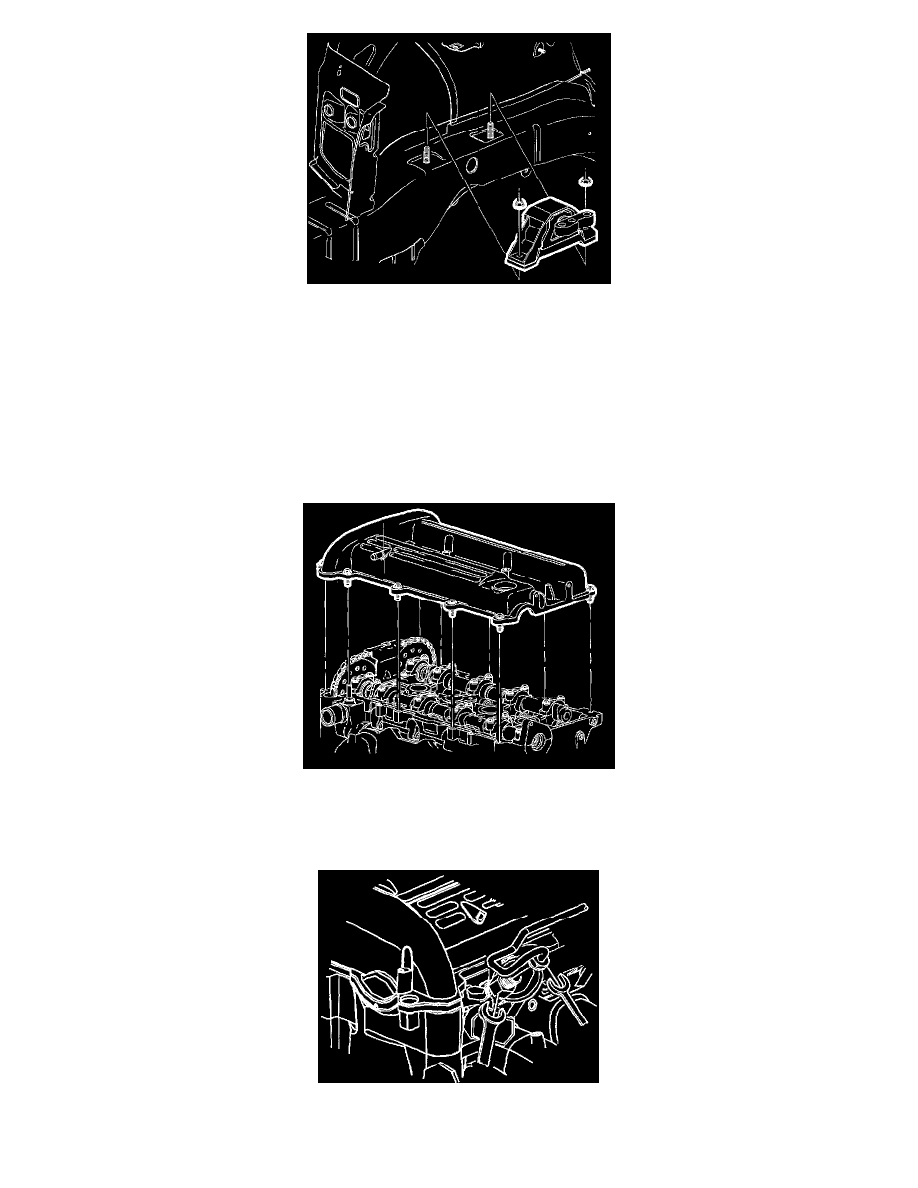
48. Install the right hand engine mount shims.
49. Install the right hand engine mount onto the body side rail studs.
50. Install the right hand engine mount-to-body nuts.
^
Tighten the engine mount-to-body nuts to 110 Nm (81 ft. lbs.).
51. Install the right-hand engine mount-to-engine mount bracket bolts.
^
Tighten the engine mount-to-engine mount bracket bolts to 50 Nm (37 ft. lbs.).
52. Remove the SA9105E.
53. Install the right engine inner splash shield.
54. Install the right wheel and hand-tighten the wheel nuts.
55. Tighten the wheel nuts.
^
Tighten the wheel nuts to 125 Nm (92 ft. lbs.).
56. Visually inspect the camshaft cover gasket for signs of leakage. The camshaft cover gasket is reusable if not damaged.
57. Assemble the camshaft cover and gasket using care to make sure that gasket is located in retaining groove on camshaft cover.
58. Install the cover on cylinder head and hand-tighten the bolts.
^
Tighten the camshaft cover bolts to 10 Nm (89 inch lbs.).
59. Reposition fuel line assembly.
Notice: An open-end wrench must be used to support the fuel line to rail connection during loosening/tightening to avoid damaging the fuel rail