
VUE AWD L4-2.2L VIN D (2005)
A/B Clutch Pressure Control Solenoid Assembly Replacement
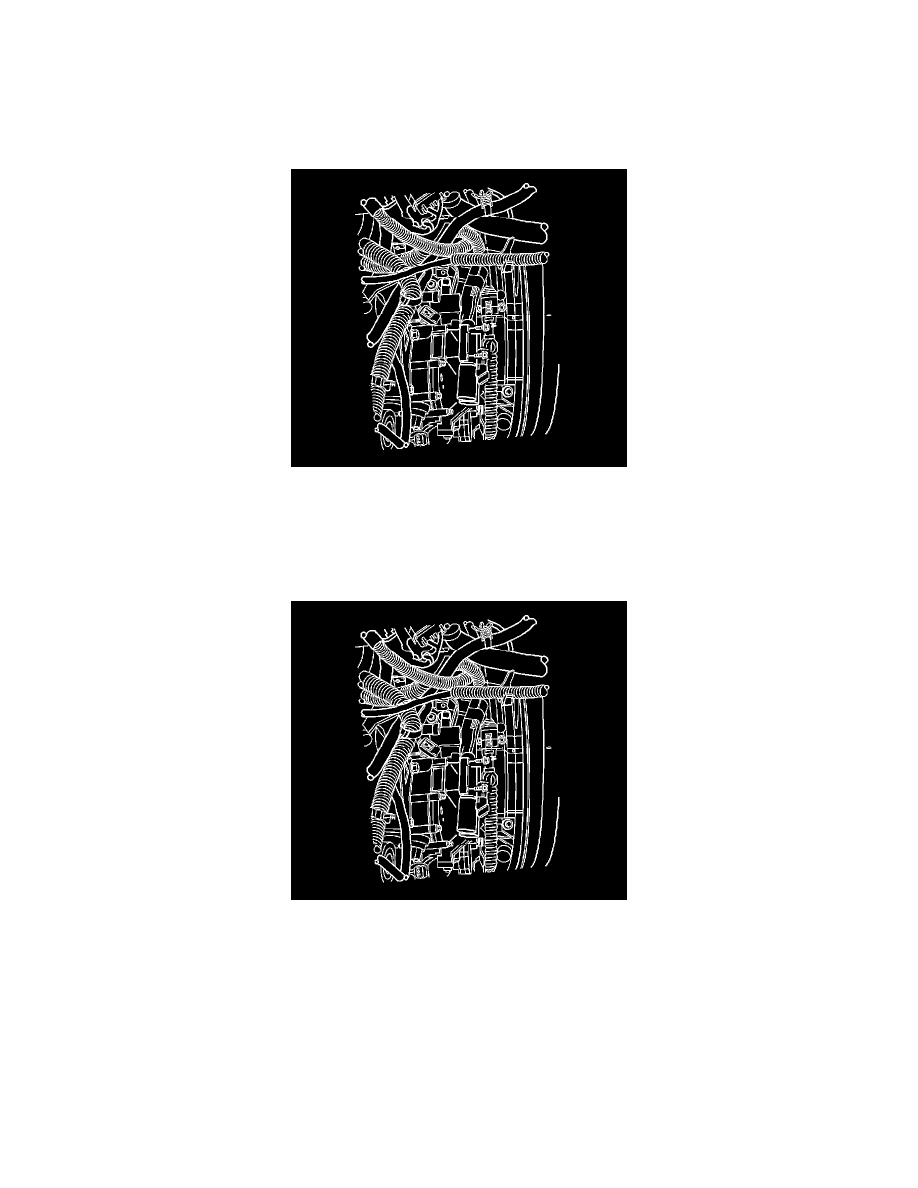
Removal Procedure
1. Remove the battery tray.
2. Disconnect the transmission shift cable from the select lever and cable bracket.
3. Remove the wiring harness bolt and nut from the transmission.
4. Disconnect the solenoid assembly electrical connectors.
5. Remove the solenoid assembly bolts.
6. Remove the solenoid assembly and gasket.
7. Discard the gasket.
Installation Procedure
1. Install a new solenoid assembly gasket.
2. Install the solenoid assembly.
3. Notice: Refer to Fastener Notice in Service Precautions.
Install the solenoid assembly bolts.
^
Tighten the solenoid assembly bolts to 12 Nm (106 inch lbs.).
4. Connect the solenoid assembly electrical connectors.
5. Install the feed pipes to the original locations and orientation.
6. Install the wiring harness fasteners to the transmission.
7. Connect the transmission shift cable to the select lever and cable bracket.
8. Install the battery tray.