
VUE AWD L4-2.2L VIN D (2005)
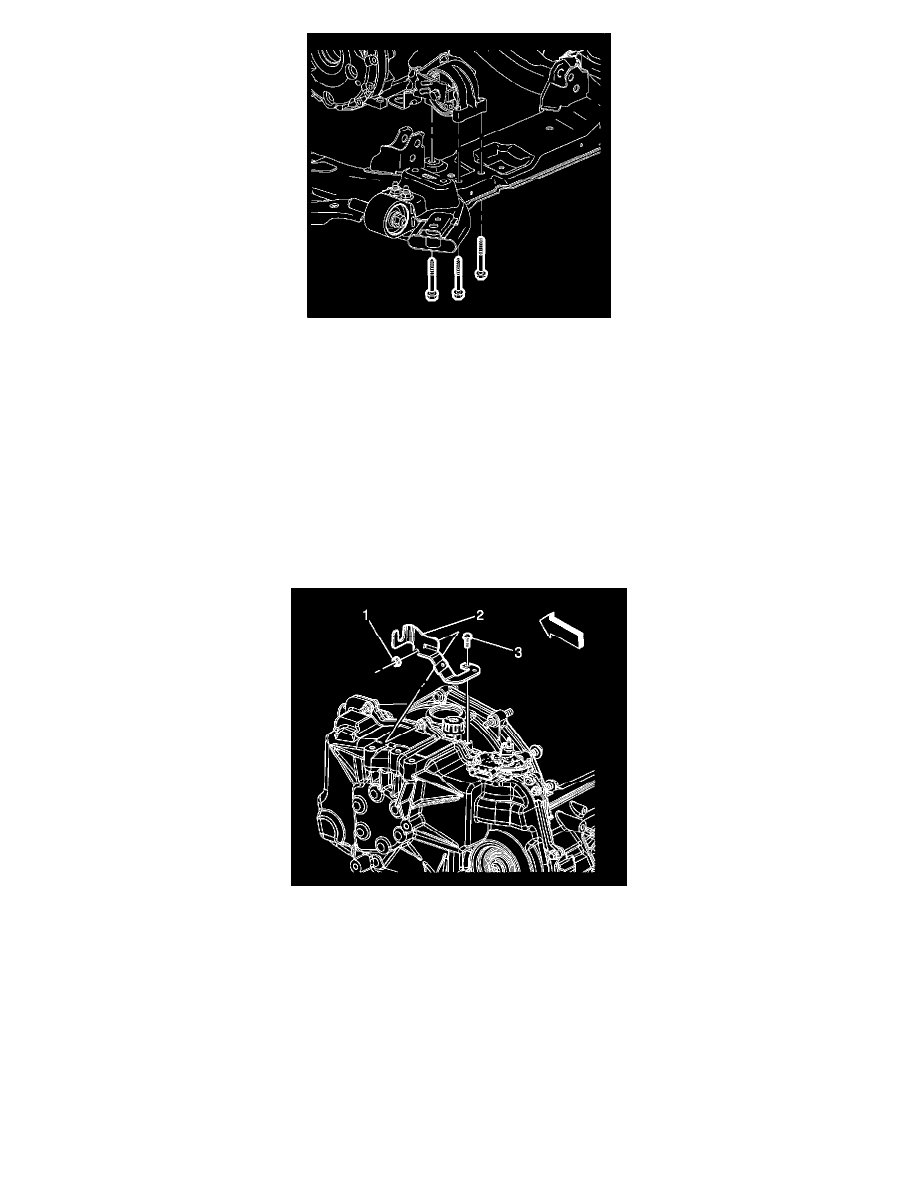
17. Install the rear transmission mount to frame bolts.
^
Tighten the bolts to 50 Nm (37 ft. lbs.).
18. Install the front transmission mount.
19. Install the power steering gear intermediate shaft pinch bolt.
20. Install the left wheel drive shaft to the transmission.
21. Connect the left ball joint to the steering knuckle.
22. Connect the left tie rod to the steering knuckle.
23. Connect the left stabilizer shaft link to the stabilizer shaft.
24. Install the left front splash shield.
25. Install the left front tire and wheel.
26. Lower the vehicle.
27. Untie the radiator, air conditioning condenser, and fan module assembly.
28. Remove the engine support fixture.
29. Install the PNP switch.
30. Install the shift cable bracket (2), bolt (3), and nut (1).
^
Tighten the bolt (3) and nut (1) to 22 Nm (16 ft. lbs.).