
VUE AWD L4-2.2L VIN D (2005)
Caution: When using power tools that may create smoke when cutting urethane sealant, work should be done in a well ventilated area and/or with
a NIOSH/MSHA Approved air supplied respirator to prevent possible harmful exposure.
When the urethane adhesive is heated enough to give off smoke, high levels of methylene diisocyanate (MDI) may be present.
Unprotected exposure to methylene diisocyanate (MDI) may result in severe, chronic, debilitating respiratory problems.
7. From the inside of the lift gate, cut the urethane around the glass using a J 39032 .
8. With the aid of an assistant, remove the lift gate window from the opening.
Installation Procedure
1. Install the rear window into the opening. Refer to Urethane Adhesive Installation of Stationary Windows (See: Service and Repair/Urethane
Adhesive Installation of Stationary Windows) .
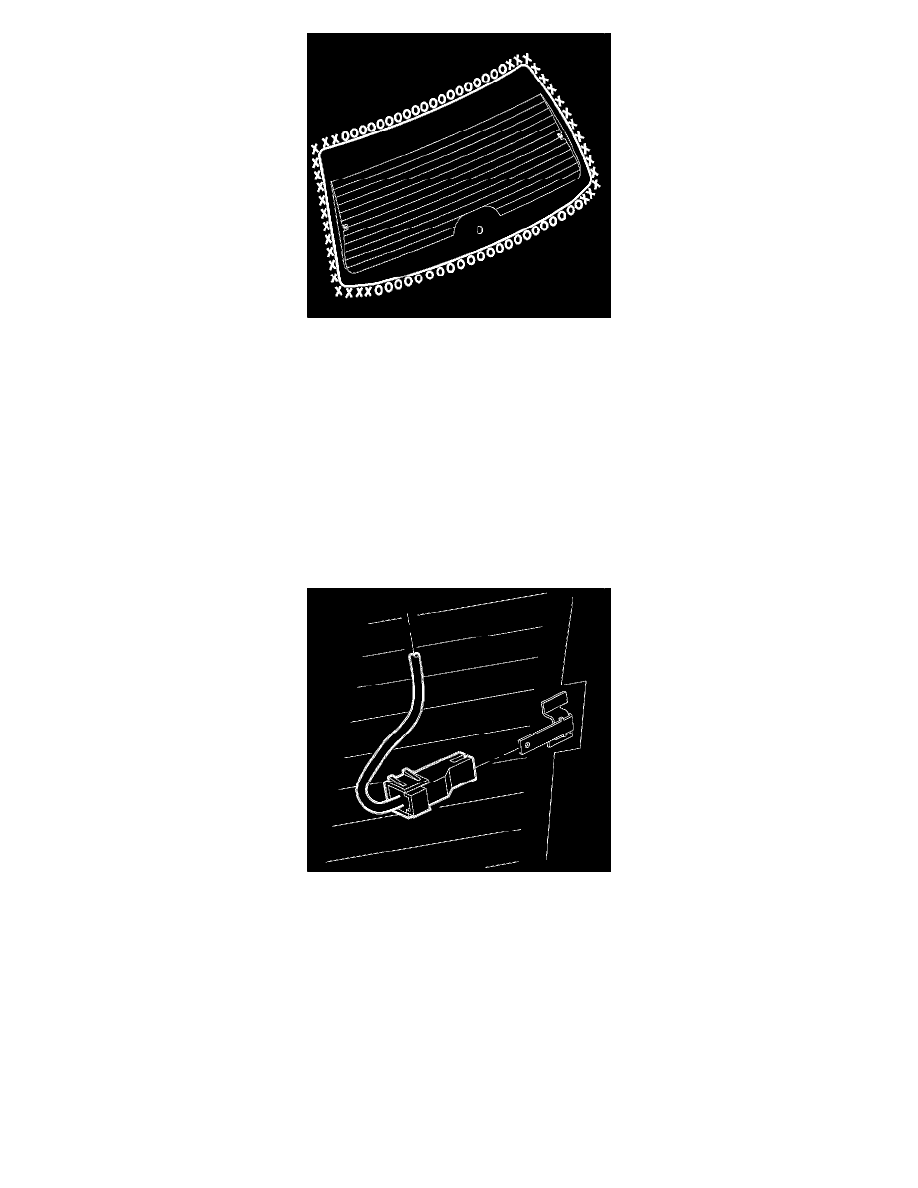
2. Connect the rear window defogger electrical connectors to the bus bars.
3. Install the rear wiper module. Refer to Wiper Motor Replacement - Liftgate See: Wiper and Washer Systems/Wiper Motor/Service and Repair in
Wiper/Washer Systems.
4. Install the lift gate trim panel. Refer to Trim Panel Replacement - Liftgate (See: Body and Frame/Doors, Hood and Trunk/Trunk / Liftgate/Trunk /
Liftgate Interior Trim Panel/Service and Repair) in Body Rear End.
5. Install the rear wiper arm. Refer to Wiper Arm Replacement - Rear (See: Wiper and Washer Systems/Wiper Arm/Service and Repair) in
Wiper/Washer Systems.
6. Install the lift gate applique. Refer to Liftgate Applique Replacement () in Body Rear End.