
VUE AWD V6-3.5L (2007)
Important: If the location of the original plug weld holes can not be determined, space the plug weld holes every 40 mm (1 1/2 in) apart.
Some panels may have structural weld-thru adhesive. It is necessary to replace the weld-thru adhesive with an additional spot weld
between each factory spot weld.
1. Drill 8 mm (5/16 in) plug weld holes in the service part as necessary in the locations noted from the original panel.
2. Prepare all mating surfaces as necessary.
3. Apply 3M Weld-Thru Coating P/N 05916 or equivalent to all mating surfaces.
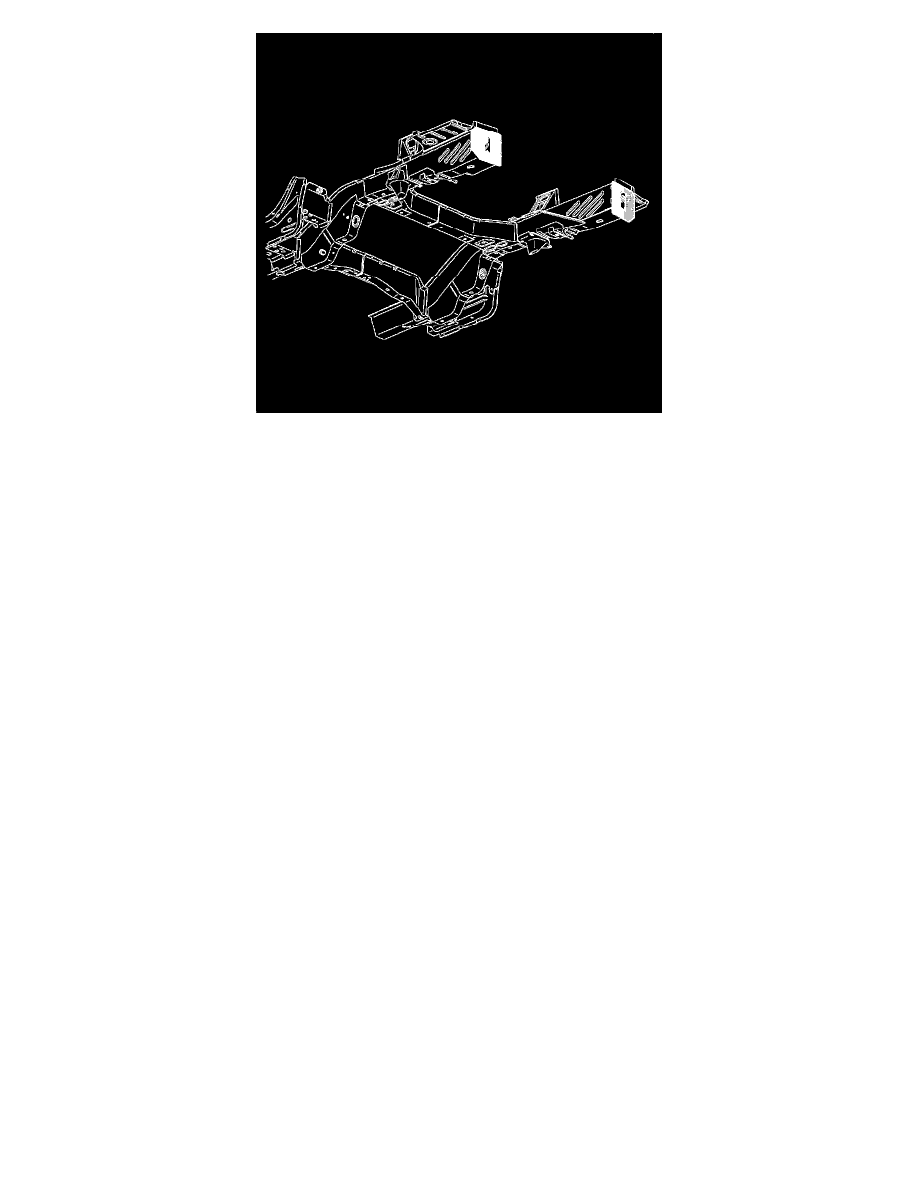
4. Position the rear impact bar mounting plates to the vehicle using 3-dimensional measuring equipment. Clamp the rear impact bar mounting plates
into place.
5. Plug weld accordingly.
6. Clean and prepare all welded surfaces.
7. Apply the sealers and anti-corrosion materials to the repair area, as necessary. Refer to Anti-Corrosion Treatment and Repair .
8. Paint the repair area. Refer to Basecoat/Clearcoat Paint Systems .
9. Install all related panels and components.
10. Connect the negative battery cable. Refer to Battery Negative Cable Disconnection and Connection (2.2L (L61) and 3.5L (L66)) Battery Negative
Cable Disconnection and Connection (2.4L (LAT)) .
11. Enable the SIR system. Refer to SIR Disabling and Enabling .