
VUE AWD V6-3.5L (2007)
7. Remove the garnish molding by sliding the molding up and disengaging the inside clips from the lower garnish molding.
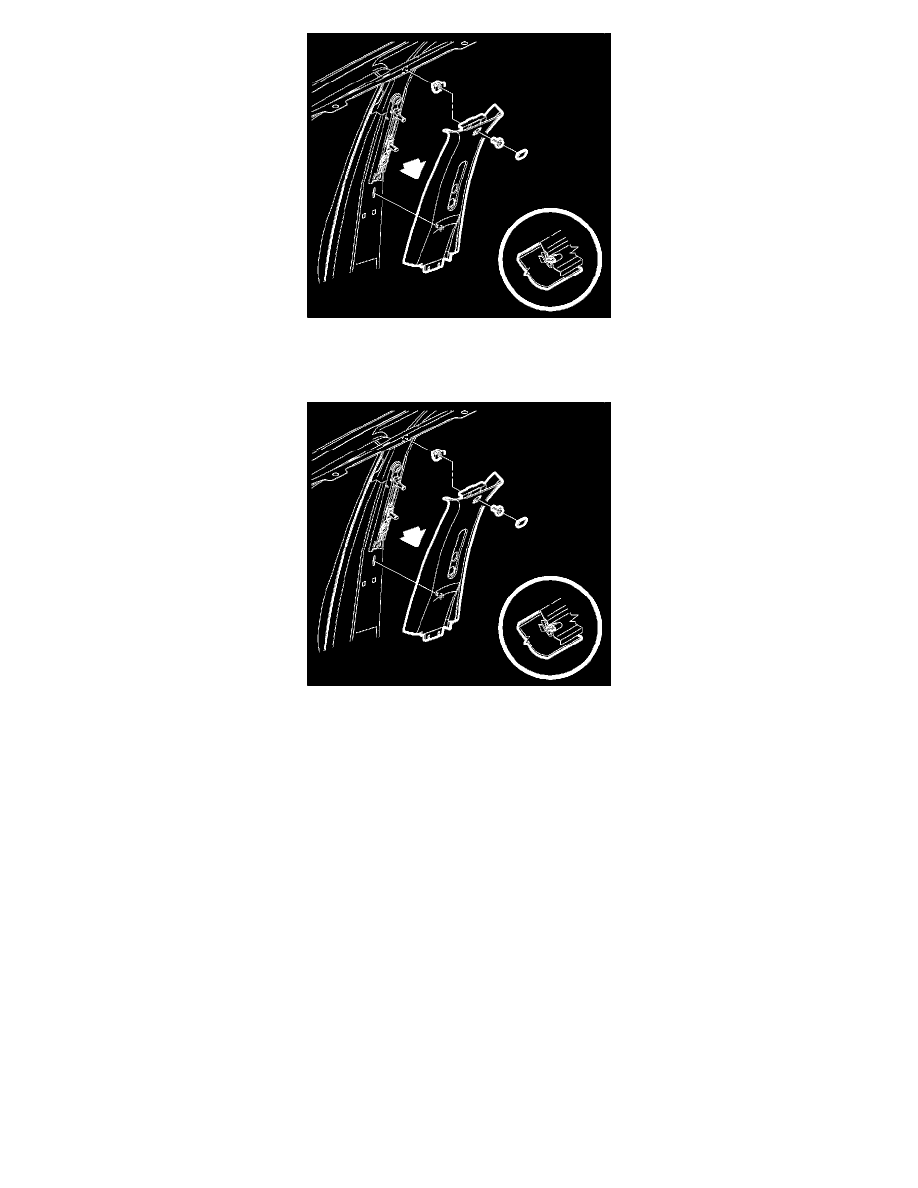
Installation Procedure
1. Position the center pillar garnish molding over the lower garnish molding with the bottom tabs behind the lower molding.
2. Gently push at the clip locations to install the garnish molding.
3. Insert the weatherstripping over the trim edge.
4. Install the center pin of the garnish molding fastener.
5. Install the fastener cover to the garnish molding.
Notice: Refer to Fastener Notice .
6. Install the shoulder belt assembly and fasteners.
Tighten the fasteners to 50 N.m (37 lb ft).
7. Press on the shoulder belt height adjuster cover until the cover snaps closed.
8. Ensure proper operation of the seat belt.