
VUE AWD V6-3.5L (2007)
Instrument Panel Bulb: Service and Repair
Instrument Cluster Bulb Replacement
Removal Procedure
Notice: Failure to use the anti-static mat SA9502Z properly may result in damage to the cluster electronics.
Important: If the lens/mask gets dirty, clean the lens by following the procedure in the Owner's Handbook.
1. Remove the I/P cluster.
Important: Rubber gloves should be worn during these procedures to prevent grease, smudges, scratches, and fingerprints. If rubber
gloves are not available, clean your hands thoroughly with soap and water.
2. Place an anti-static mat on the work area. In order to ground the mat, connect the alligator clip to a large metal object. Verify that the attaching
point is a bare metal surface and not painted or coated. Secure the wrist strap around one of your wrists.
3. Place a clean, dry, soft material such as a cloth baby diaper on top of the anti-static mat.
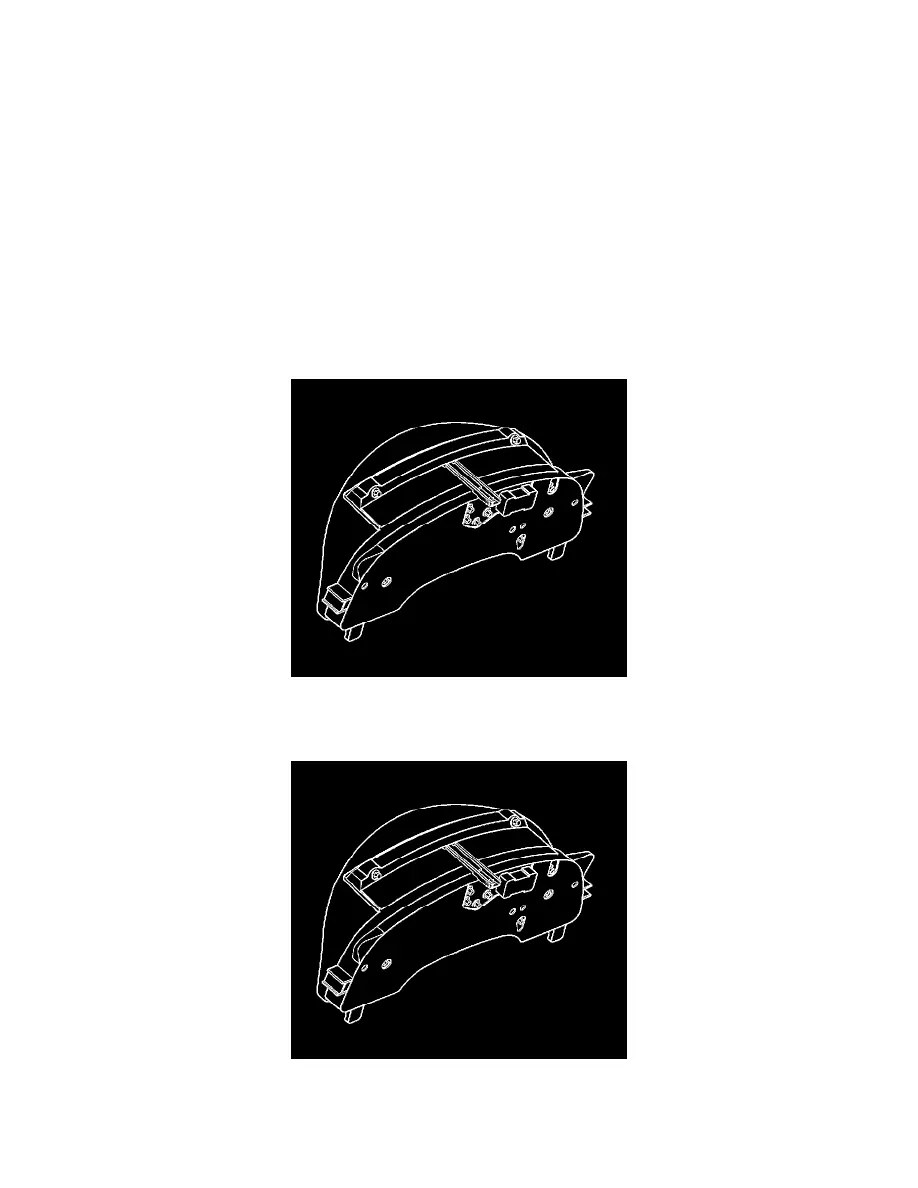
4. Place the I/P cluster assembly face down on the cloth and the anti-static mat.
5. Using a 1/4-inch socket or a small flat-bladed tool, rotate the bulb base 1/4 turn counter-clockwise. Remove the bulb.
Installation Procedure
1. Insert a new bulb. Using a 1/4-inch socket or a small flat-bladed tool, rotate the bulb base 1/4 turn clockwise.
2. Install the I/P cluster assembly.