
VUE AWD V6-3.5L (2007)
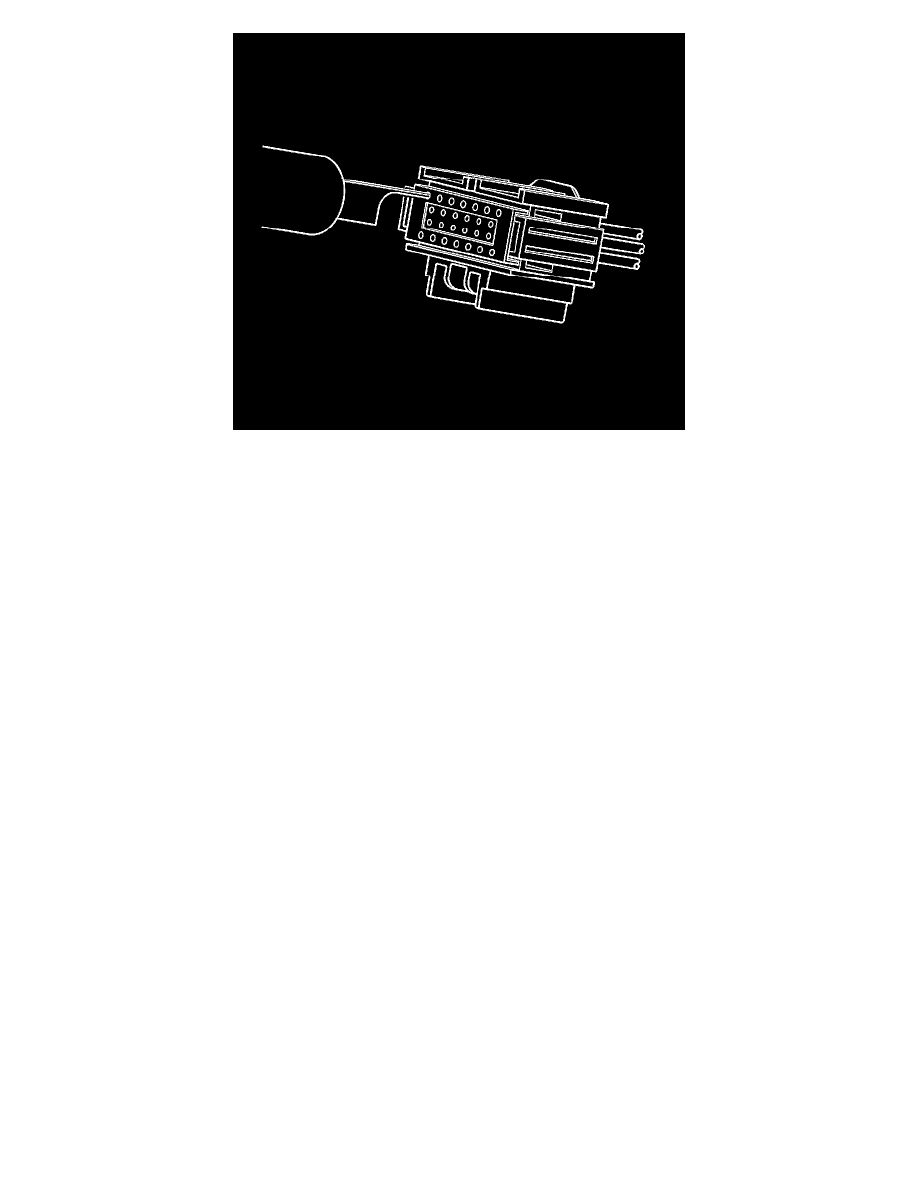
View of the male half of the connector with female terminals.
4. While holding the removal tool in place, gently pull the wire out of the back of the connector. Always remember never use force when pulling a
terminal out of a connector.
Repair Procedure
Use the appropriate terminal and follow the instructions in the J-38125.
Location of the terminal in the repair tray and the proper crimp tool can be found in the appropriate connector end view.
GMLAN Wiring Repairs
GMLAN Wiring Repairs
Tools Required
J 44020 Terminal Repair Kit
The GM Local Area Network (GMLAN) System requires special wiring repair procedures due to the sensitive nature of the circuitry. Follow the specific
procedures and instructions when working on GMLAN connectors and terminals.
The tool kit J 44020 contains the following items in order to repair the GMLAN wiring:
* DuraSeal splice sleeves
* A wire stripping tool
* A special crimping tool
* A heat torch
The DuraSeal sealed splices have the following 2 critical features:
* A special heat shrink sleeve environmentally seals the splice. The heat shrink sleeve contains a sealing adhesive inside.
* A cross hatched (knurled) core crimp provides necessary contact integrity for the sensitive, low energy circuits.
GMLAN Repairs
Important: When making a repair to any GMLAN network, the original wire length after the repair must be the same length as before the
repair. If the network is a twisted pair, the twist must be maintained after the repair is completed.
GMLAN has 2 types of networks, low speed and high speed. Low speed GMLAN has a single wire and works at slow speeds. High speed GMLAN has 2
wires in a twisted pair and works at higher speeds. For more information on GMLAN, refer to Data Link Communications Description and Operation.
GMLAN Connector Terminal Repair