
VUE AWD V6-3.5L (2007)
9. Remove the terminal position assurance (TPA) by inserting a small flat-bladed tool into the small slot in the end of the slider and pushing on the
TPA until it comes out of the connector. When the TPA exits the opposite side of the connector, gasp the TPA and pull it completely out of the
connector.
10. Push the wire side of the terminal that is being removed toward the connector and hold it in position.
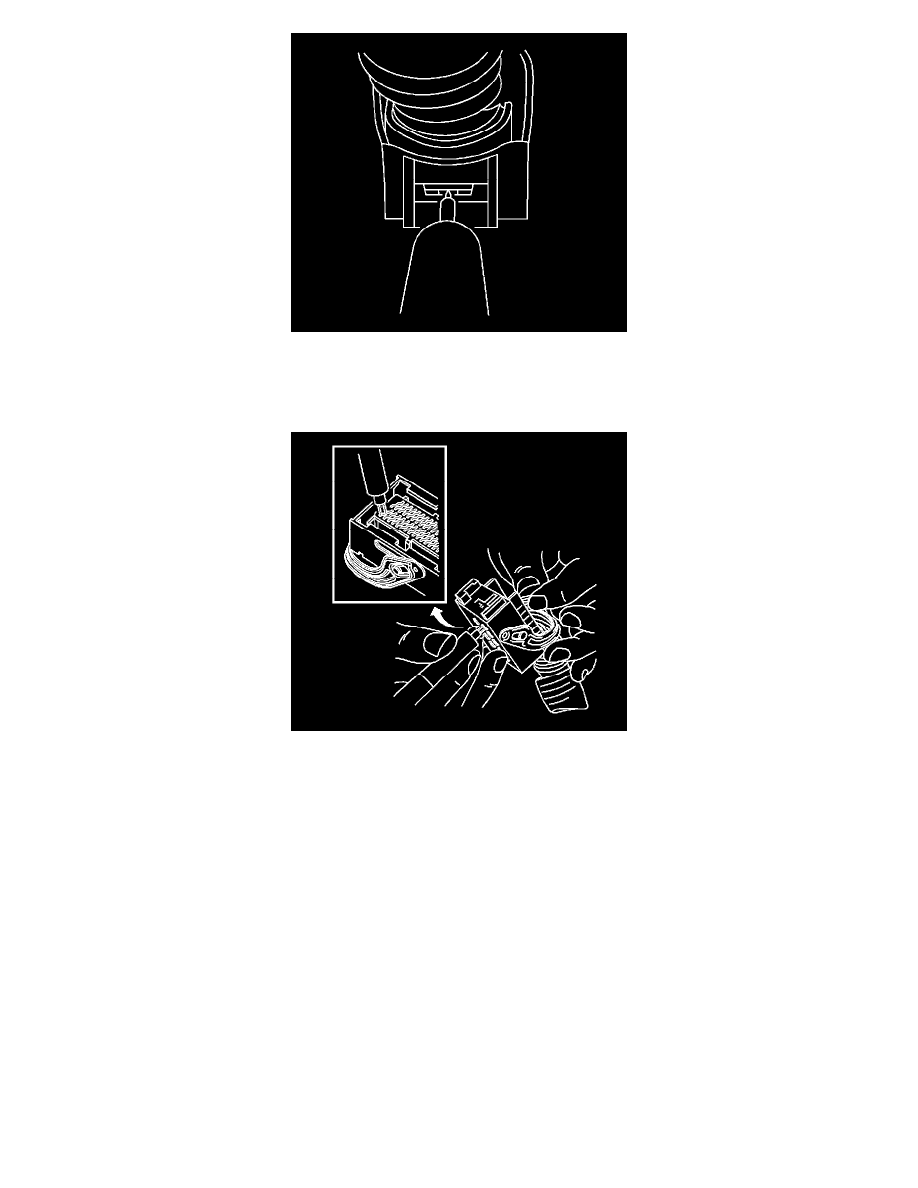
11. Insert the J 38125-560 (GM P/N 15314260) tool into the 2 triangular cavities on each side of the terminal at the front of the connector. See the
release tool cross reference in the Reference Guide of the J-38125 Terminal Repair Kit to ensure that the correct release tool is used.
12. Carefully pull the terminal out of the connector. Always remember never use force when pulling a terminal out of a connector. If the terminal is
difficult to remove, repeat the entire procedure.
Terminal Repair Procedure
Use the appropriate wire assembly repair kits available through Saturn Service Parts.
Terminal Replacement Procedure
1. Never insert the same terminal back into the connector once it is removed. Crimp on a new terminal.