
VUE AWD V6-3.5L (2007)
Pressure Plate: Service and Repair
Clutch Assembly Replacement
Clutch Assembly Replacement
Tools Required
J 43482 Clutch Alignment Arbor
Removal Procedure
1. Remove the transaxle.
2. Inspect the actuator release bearing minimal bearing drag.
3. Replace the actuator assembly if no or little drag is found.
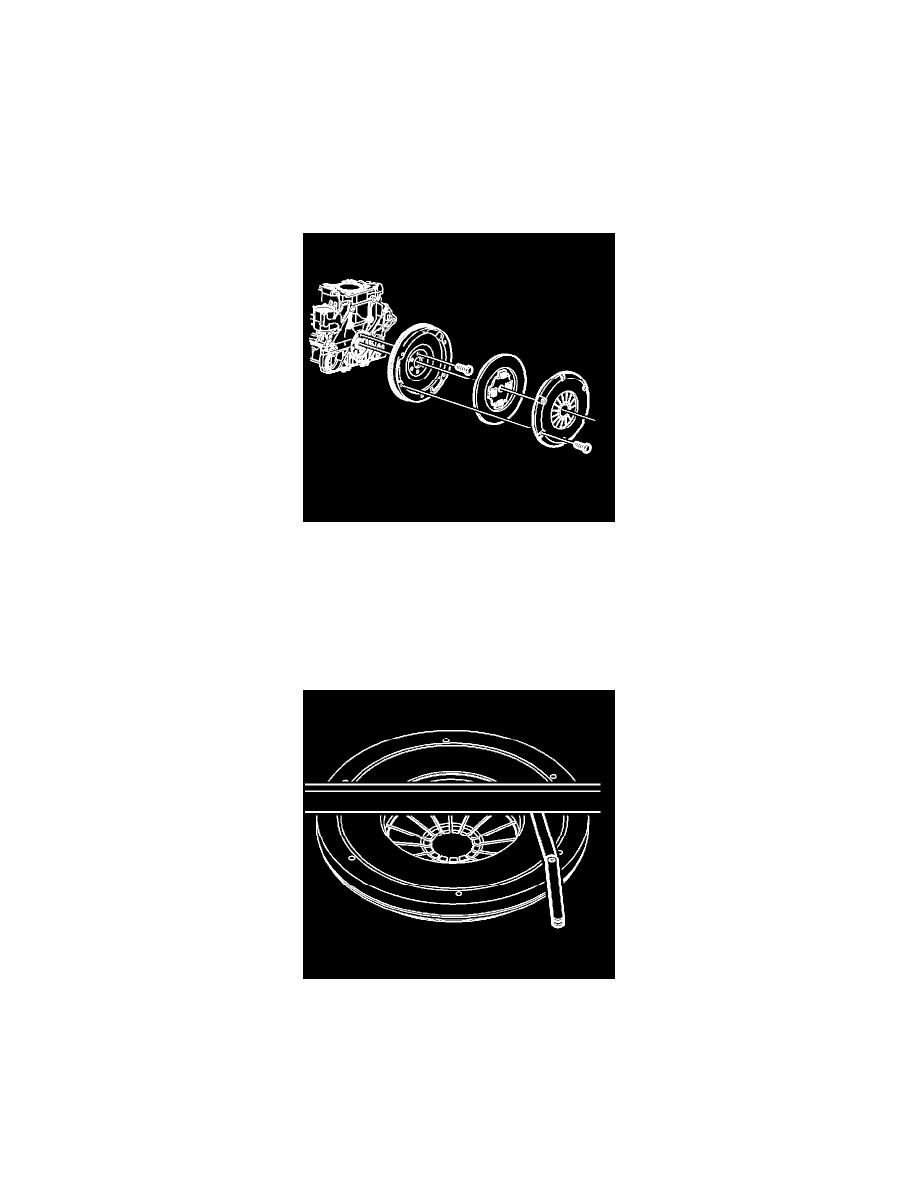
Important: Remove the bolts in a progressive crisscross pattern to prevent warping of the cover stamping.
4. Remove the pressure plate assembly to flywheel bolts.
5. Remove the pressure plate assembly and clutch disc.
Important: Random black spotting on the friction surface of the clutch pressure plate assembly is normal.
6. Inspect the clutch pressure plate assembly surface for the following conditions:
*
Excessive wear
*
Chatter marks
*
Cracks
*
Overheating - indicated by blue discoloration
7. Replace the clutch pressure plate assembly if damaged.
8. Using a straight edge and a feeler gage, inspect the clutch pressure plate assembly for warpage.