
VUE AWD V6-3.5L VIN 4 (2004)
Rear Door Weatherstrip: Service and Repair
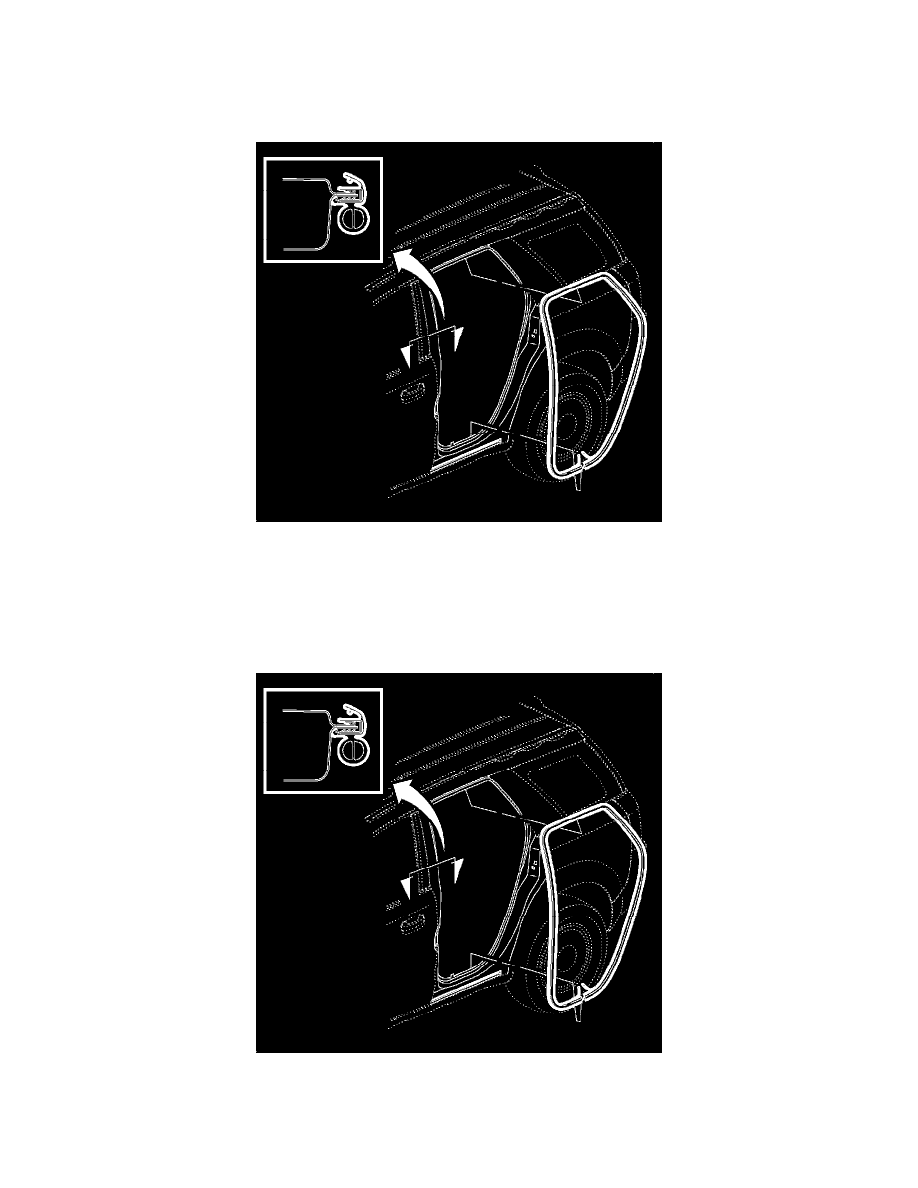
Weatherstrip Replacement - Rear Door Opening
Removal Procedure
1. Remove the rear door carpet retainer. Refer to Carpet Retainer Replacement - Rear (See: Interior Moulding / Trim/Carpet/Service and
Repair/Removal and Replacement/Carpet Retainer Replacement - Rear) .
2. Remove the rear door weatherstrip seal from the door flange by starting at the seal joint at the bottom of the door opening.
3. Separate the seal at the joint, note the position for installation.
4. Remove the seal from the door flange.
Installation Procedure
1. Position the seal over the flange area in the position noted in the removal procedure.
2. Press the seal over the flange firmly to fully secure.
3. Locate an exposed end of the ripcord at the seal joint and pull the ripcord around the door opening. If the seal lip is tucked under any door trim,
this process will bring the seal lip over the door trim and headliner.