
VUE AWD V6-3.5L VIN 4 (2004)
License Plate Bracket: Service and Repair
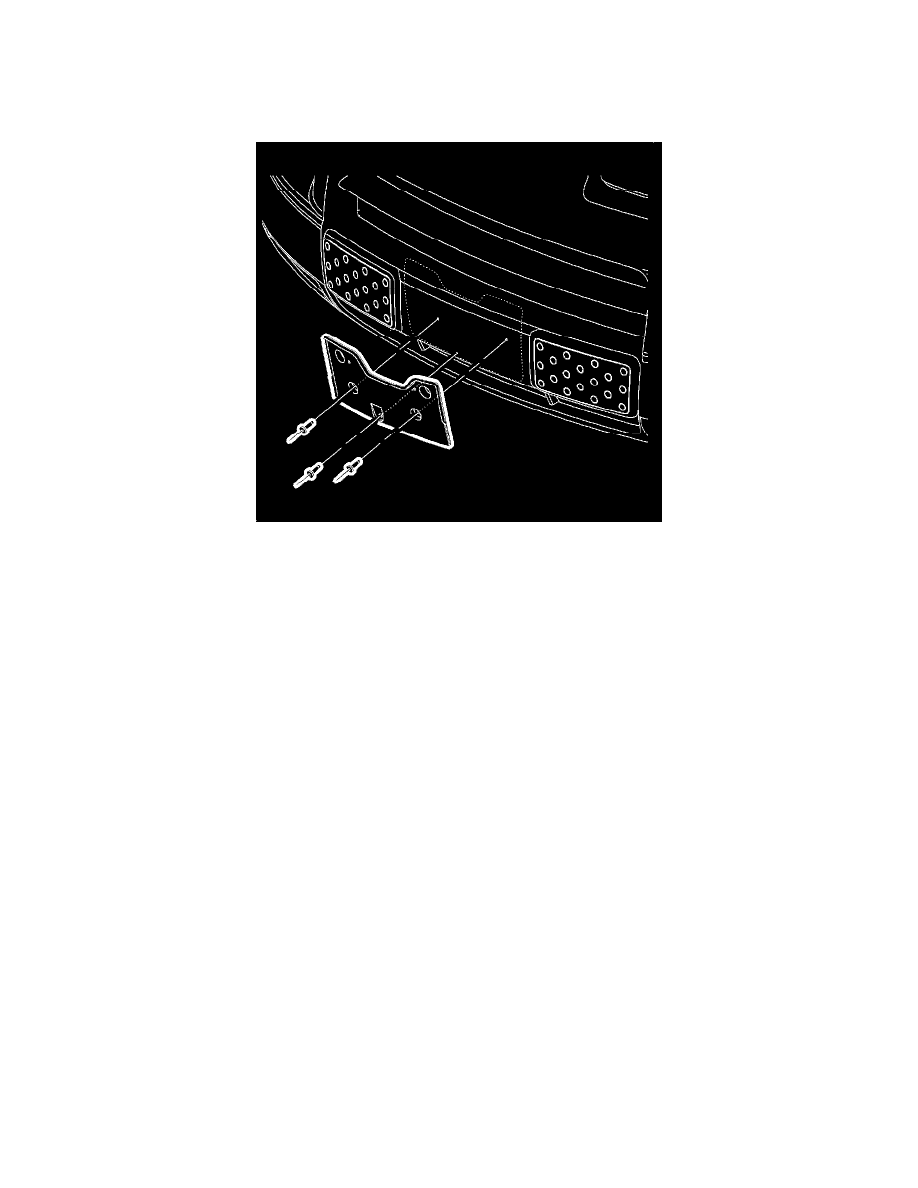
License Bracket Replacement - Front
Removal Procedure
1. Remove the license plate screws and the license plate.
2. Install a drill stop on drill bit in order to ensure that the bit does not penetrate the front fascia more than 13 mm (0.5 in).
3. Drill out the rivets attaching the license plate bracket to the front fascia.
4. Remove the license plate bracket.
Installation Procedure
1. If this is a first-time installation, complete the following steps:
1. Install a drill stop on a 5 mm (13/64 in) drill bit in order to ensure that the bit does not penetrate the front fascia more than 13 mm (0.5 in).
2. Align the two upper license plate bracket mounting holes, that are labeled Saturn VUE, with the dimples in the front fascia.
3. Using the license plate bracket as a template, drill two 5 mm (13/64 in) holes in the upper mounting holes through the front fascia.
4. Install the rivets in the upper mounting holes of the license plate bracket.
5. Using the license plate bracket as a template, drill one 5 mm (13/64 in) hole in the lower mounting hole through the front fascia.