VUE AWD V6-3.5L VIN 4 (2004)

If the conductive portion of the wire is not damaged, locate the problem and apply tape around the wire. If the damage is more extensive, replace the
faulty segment of the wire.
Sir/SRS Wiring Repairs
SIR/SRS WIRING REPAIRS
TOOLS REQUIRED
J 44020 Terminal Repair Kit
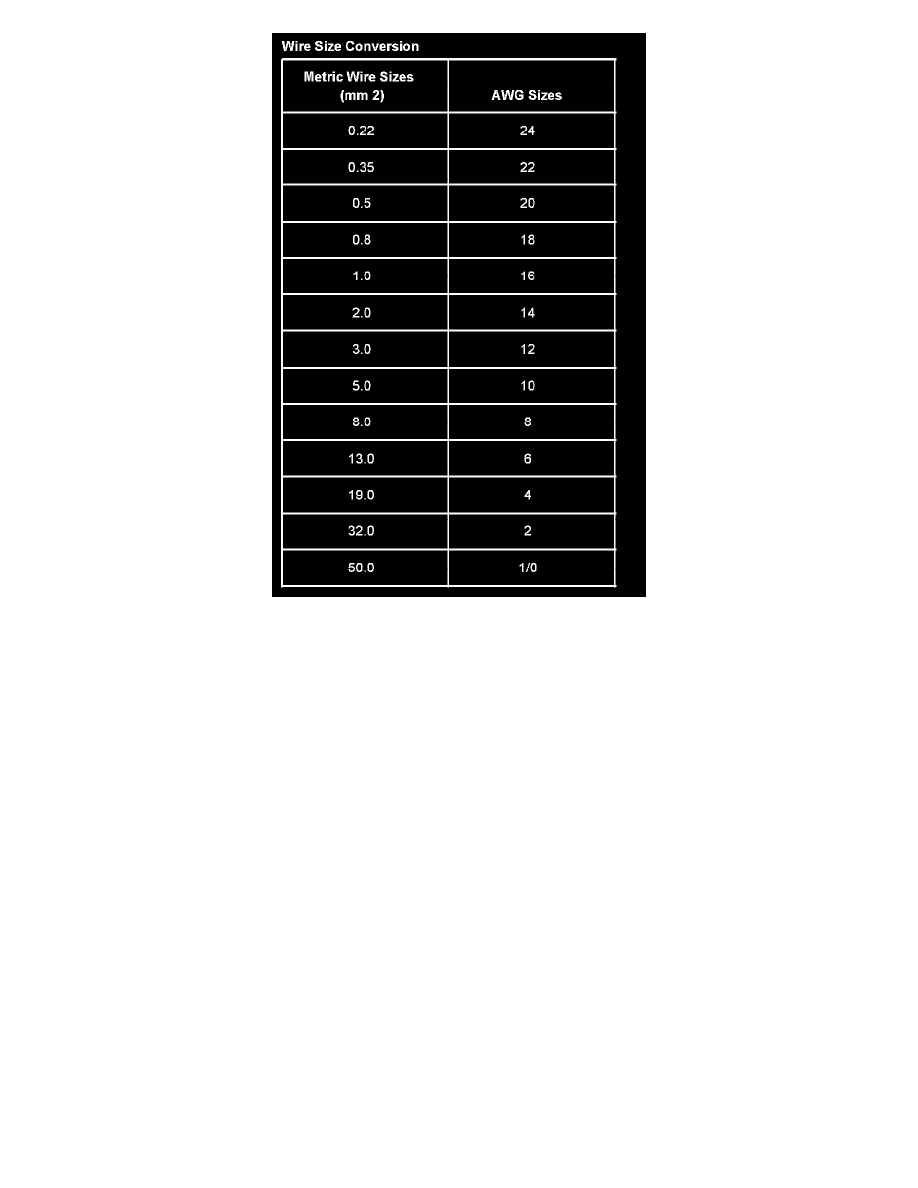
The supplemental inflatable restraint (SIR) system/supplemental restraint system (SRS) requires special wiring repair procedures due to the sensitive
nature of the circuitry. Follow the specific procedures and instructions when working with the SIR/SRS system wiring, and the wiring components,
such as connectors and terminals.
SIR/SRS CONNECTOR (PLASTIC BODY AND TERMINAL METAL PIN) REPAIR
Use the connector and wire repair assembly packs, available through Saturn Service Parts, to repair the damaged SIR/SRS wire harness connectors
and the terminals. These kits include an instruction sheet and the sealed splices. Use the sealed splices in order to splice the new wires, connectors, and
terminals to the harness. The splice crimping tool is color keyed in order to match the splices from J 44020. You must use the splice crimping tool in
order to apply these splices.
If the individual terminals are damaged on the sensing and diagnostic module (SDM) harness connector, use 1 of the following 2 components in order
to replace the SDM harness connector:
-
The SDM harness connector pigtail assembly
-
The SDM harness connector replacement kit
If the individual terminals are damaged on any other SIR/SRS connection, use the appropriate connector repair assembly pack in order to replace the
entire connection. Replace the entire SIR/SRS wiring harness, if needed, in order to maintain Restraint Systems/SRS circuit integrity.
SIR/SRS WIRE PIGTAIL REPAIR
IMPORTANT: Do not make wire, connector, or terminal repairs on components with wire pigtails.
