
VUE AWD V6-3.5L VIN 4 (2004)
Note:
Do NOT damage the gray retaining tabs. The gray retaining tabs must be released before removing the gray housing. Damaged tabs may not
secure to the connector body.
7.
Remove the green TPA from the rear of the connector first, then carefully pry up the four retaining tabs on the gray housing where the wires go
into the housing.
8.
Remove the gray housing (along with the wires) from the connector body.
Note:
Do not touch the connector pins or soldered components on the circuit board in order to prevent possible electrostatic discharge (ESD) damage
to the PCM.
Important:
Do NOT rotate the cam lock on connector body unless the connector is positioned on the ECM/PCM.
9.
Remove the ECM/PCM by unsnapping it from the bracket.
Tip:
Before placing the new connector on the ECM/PCM, disengage both rear retaining tabs on the gray housing. After placing the new connector on
the ECM/PCM, disengage the remaining two tabs in order to remove the gray cover.
10.
Place the new connector on the ECM/PCM and rotate the cam lock to the secured position. Remove and discard the gray cover.
11.
Remove the connector from the ECM/PCM. Remove and discard the white TPA housing from the new connector.
Important:
Prior to installing the new connector body, make sure all terminal ends are at approximately the same length and in the correct position (none
at odd angles).
12.
Slowly install the original gray housing with the terminal ends into the new connector body. Verify that all terminal ends are at the same depth. If
not, find the corresponding wire at the top of the gray connector and pull up on the wire. Reinstall the wire and seat the terminal.
Important:
The green TPA should insert easily. If any resistance is encountered, check for an out-of-position terminal.
13.
When all terminal ends are at the same length, insert the new green TPA. Verify again that all terminal ends are at the same depth.
14.
Install the ground wire through the gray connector and click into place into the connector body.
15.
Install the new blue protective sleeve at the ground wire terminal (pin 73). Use a new cable tie strap to attach the connector body to the wiring
harness, then install the cover to the connector body.
16.
Reinstall the ECM/PCM and reconnect the engine and the body harness connectors to the ECM/PCM.
17.
For the Saturn VUE only, reinstall the upper air cleaner housing lid and the air cleaner resonator outlet duct. Refer to Air Cleaner Resonator Outlet
Duct Replacement in SI.
18.
Connect the negative battery cable. Refer to Battery Negative Cable Disconnection and Connection in SI.
19.
Start the vehicle and verify that the concern has been corrected.
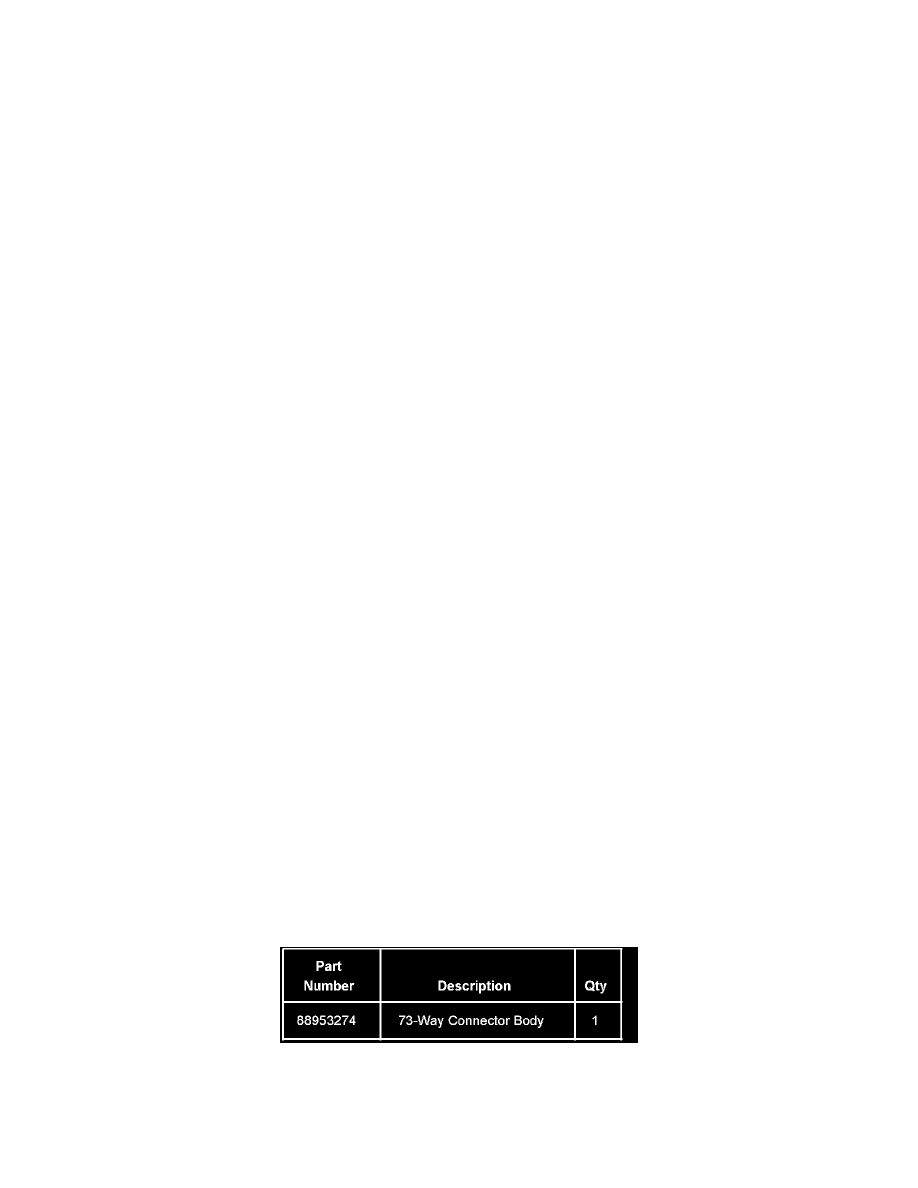
Parts Information
Warranty Information